Image Source: Mastering
Creating an engaging and professional online course or masterclass doesn’t have to come with a hefty price tag. It requires careful planning, a strategic approach to equipment, and an understanding of how to get the best results from your resources. Whether you're a subject matter expert, educator, or entrepreneur, delivering high-quality content to your students is key to ensuring their learning experience is valuable. In this guide, we’ll explore how to choose the right studio and equipment for filming your masterclass, even on a budget. We’ll also look at how Finchley Studio can help provide the equipment and expertise to create professional content without exceeding your budget.
Planning Your Masterclass for Maximum Engagement
Before jumping into filming, it’s essential to plan out your masterclass content carefully. Proper preparation can make a significant difference in the quality of your course, both in terms of engagement and production value.
1. Define Your Learning Objectives
The first step in creating a successful masterclass is to define the learning objectives for your course. These should align with your expertise and provide clear outcomes for your students. Some things to consider:
- What do you want your students to achieve by the end of the course?
- How can you effectively communicate this information to them?
- What tools or resources will you provide to help them succeed?
A solid understanding of your course’s objectives will not only help keep the content structured but also inform your decisions about the type of visuals, camera angles, and the editing style you need.
2. Write a Script or Create an Outline
Even if you prefer a more natural, unscripted approach, it’s still important to have a roadmap. A script or outline allows you to stay focused and ensures you cover all the essential points. Having an outline will also minimize wasted time during the filming process and reduce the need for extensive editing afterward.
By creating a detailed outline, you'll stay on track and capture only the necessary footage, helping to keep costs down in terms of both time and money.
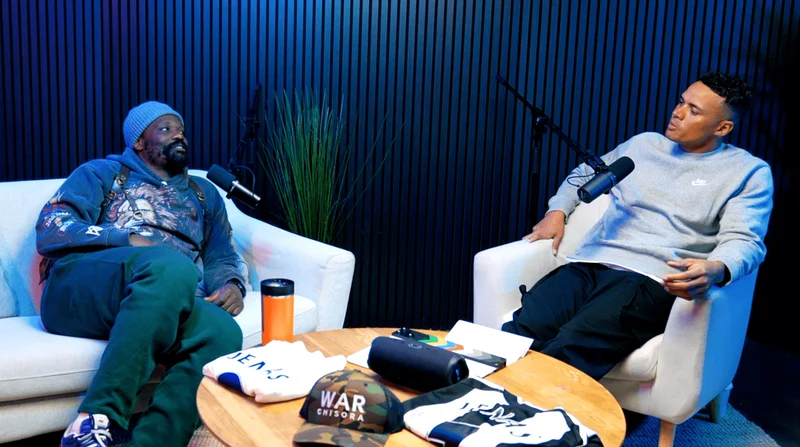
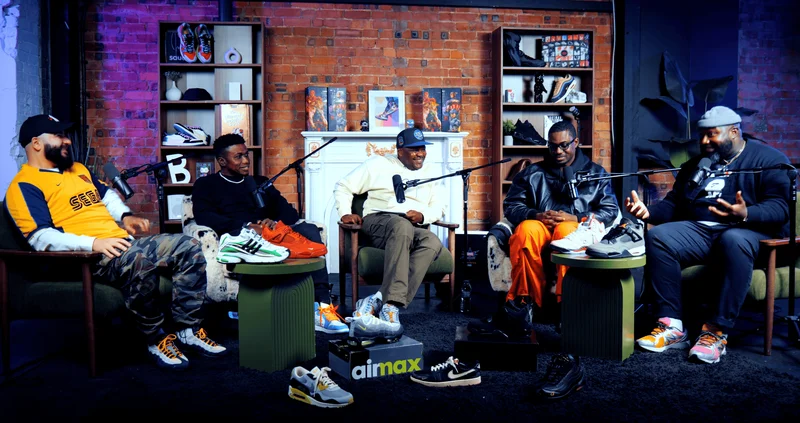
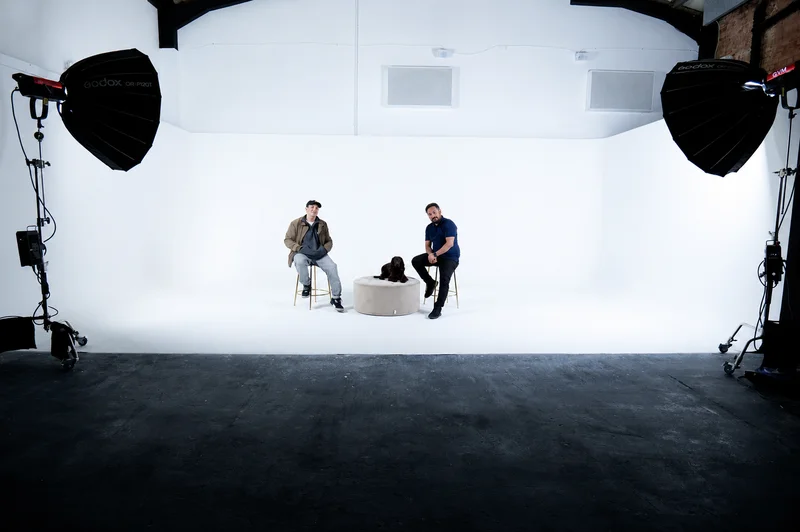
3. Choose the Right Filming Location
Selecting the right location can make a significant difference in how professional your content looks. While it’s tempting to film anywhere, a carefully chosen environment can help to avoid costly mistakes during production. Here are some things to keep in mind:
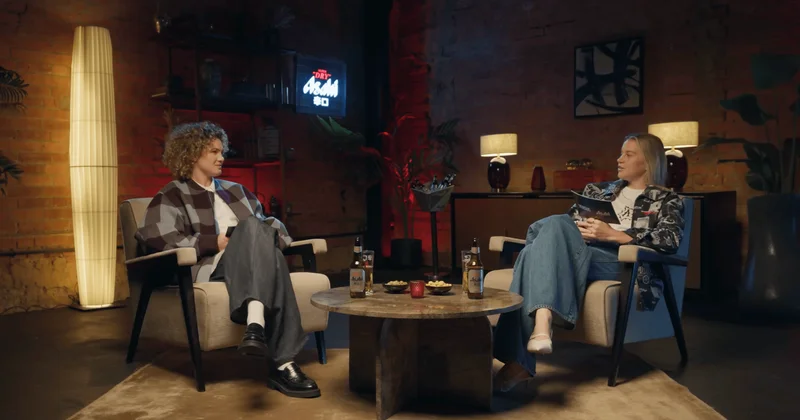
- Natural Lighting – If you're working with a tight budget, take advantage of natural light by positioning yourself near a large window. Soft, diffused daylight will give your video a professional touch without the cost of lighting equipment.
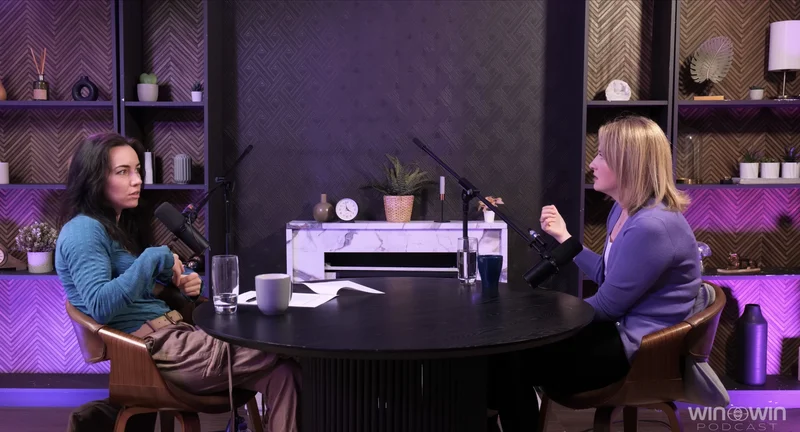
- Quiet Spaces – Avoid filming in rooms with too much ambient noise or echo. Consider soundproofing your space, or better yet, use a studio that offers soundproof environments.
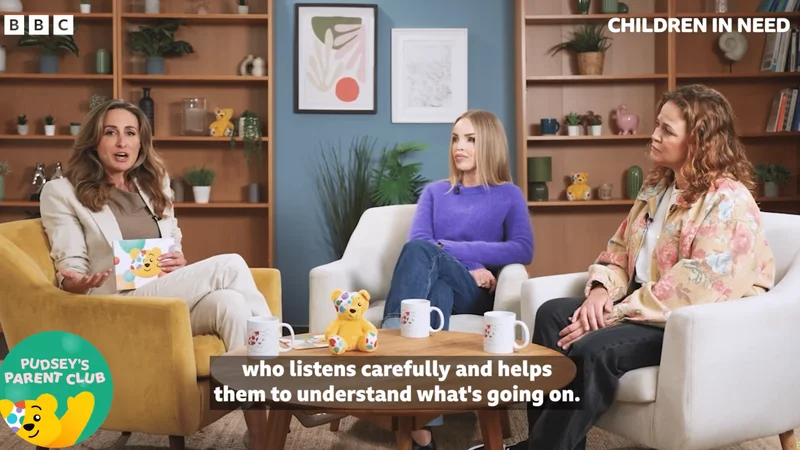
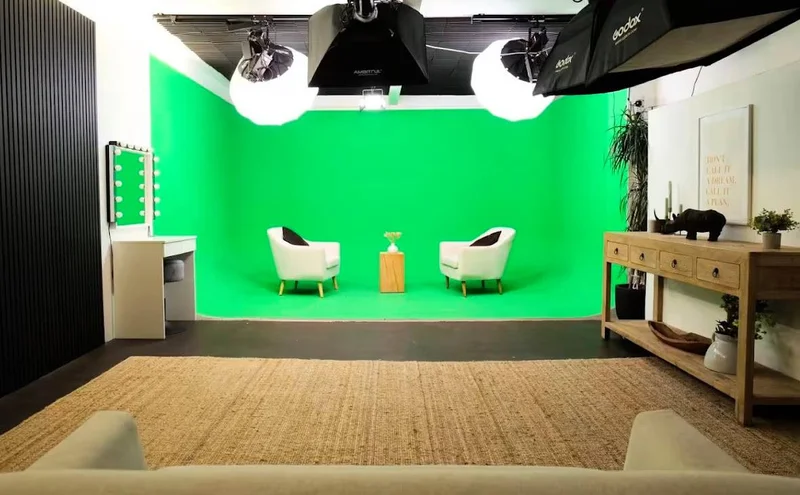
- Simple, Clean Backgrounds – A cluttered background can distract your viewers from the content. Keep the background simple and professional. You may want to use a backdrop or opt for a neutral-colored wall.
If you're looking for a professional recording environment, consider Finchley Studio. They offer high-quality, soundproof studio spaces with customizable backgrounds, ensuring a clean and distraction-free filming environment.
Choosing the Right Equipment for Filming Your Masterclass
Good equipment doesn’t need to cost a fortune. Whether you're working with a small budget or have more to invest, there are several ways to achieve professional results. Here's a breakdown of the equipment you'll need to film your masterclass:
1. Camera Setup
While it’s tempting to film using a smartphone or webcam, investing in the right camera will elevate the production quality of your course. Here are some budget-friendly options:
- DSLR or Mirrorless Cameras – DSLR cameras provide high-quality video, a professional look, and great versatility. You don’t need to go for the most expensive model; an entry-level DSLR or mirrorless camera will suffice for most masterclasses.
- Smartphone with Gimbal/Stabilizer – A modern smartphone can shoot in 4K, and when combined with a stabilizer or gimbal, it can produce smooth, professional-looking footage. This is an excellent option if you're working with a tight budget.
- Webcams for Live Filming – If your masterclass includes live sessions, a good quality webcam may suffice. Look for one with 1080p resolution or higher to ensure clear and crisp footage.
At Finchley Studio, you’ll find professional-grade cameras and support staff to ensure you capture high-quality footage with minimal effort.
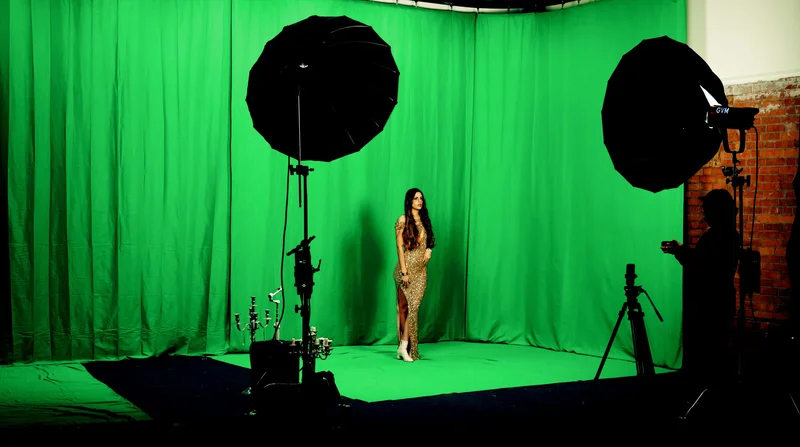
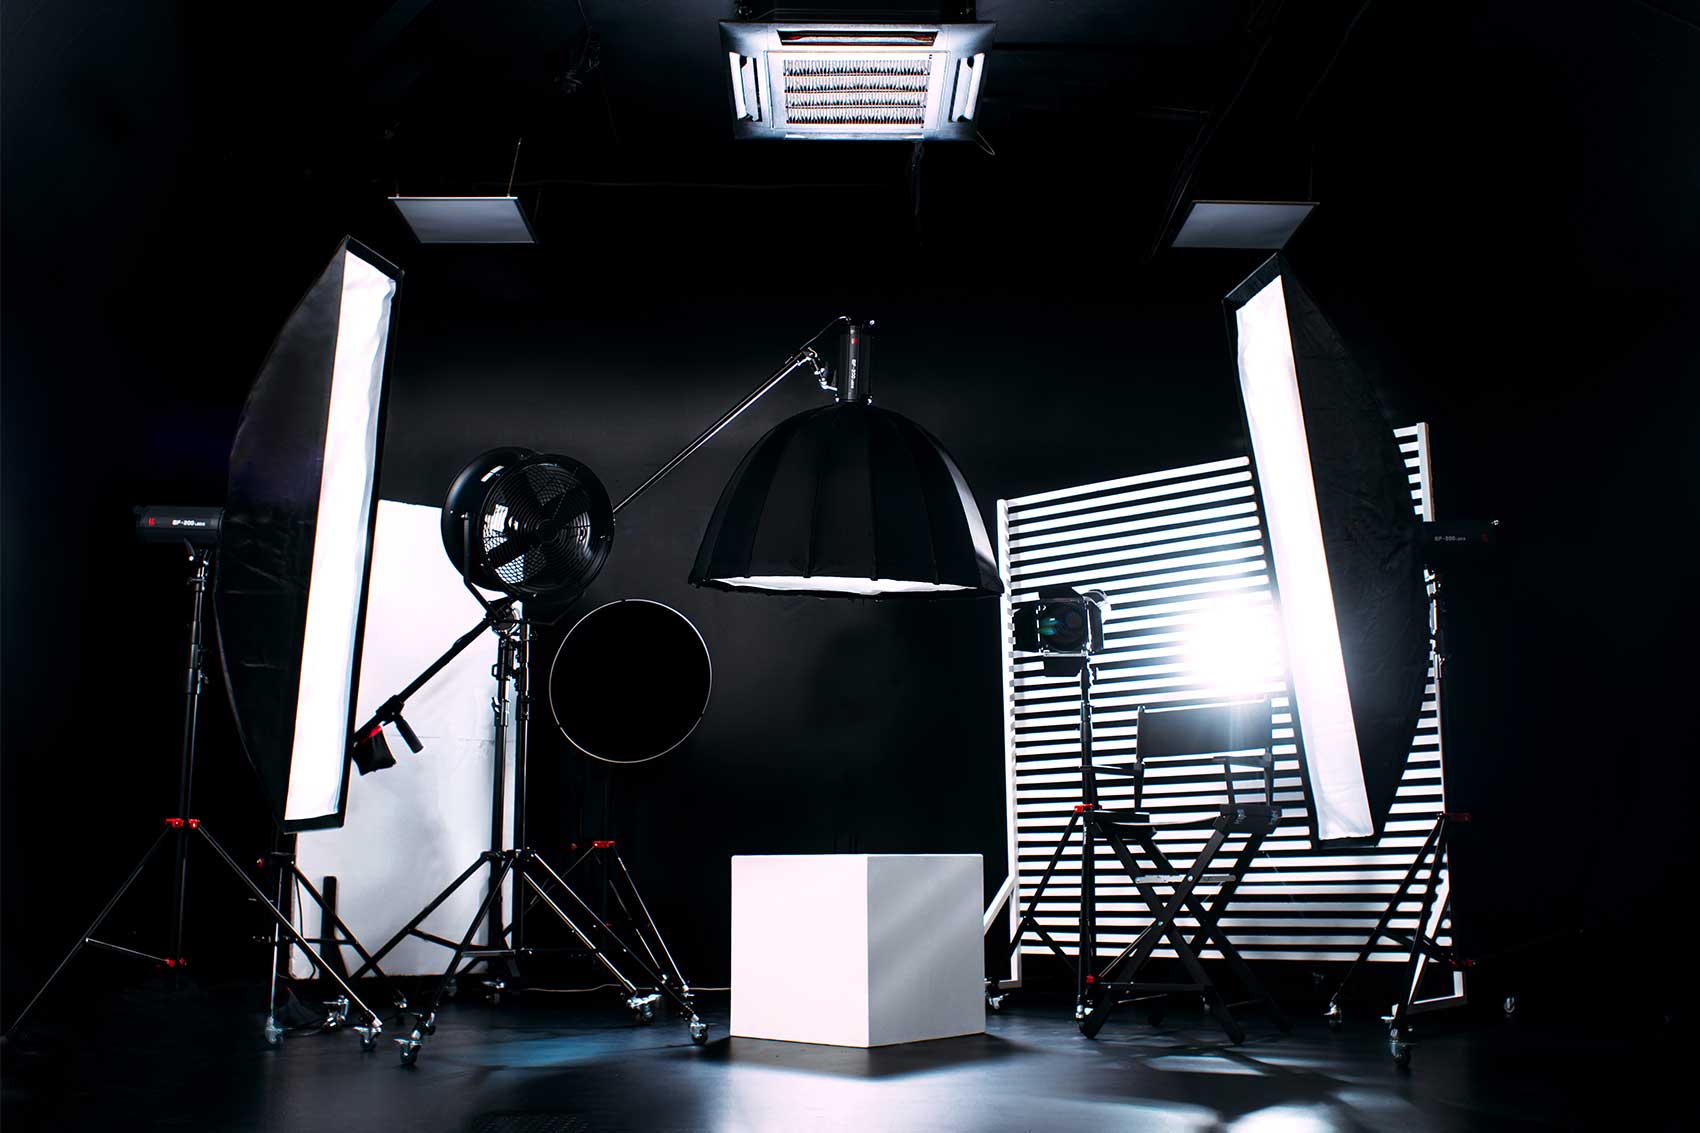
2. Lighting Equipment
Lighting is often the most overlooked aspect of filming, but it’s essential for creating clear, high-quality video. Good lighting helps your viewers focus on you, not shadows or overly dark footage. There are affordable solutions for lighting your masterclass effectively:
- Three-Point Lighting Setup – This classic technique uses three lights: the key light (main light), fill light (to soften shadows), and backlight (to create depth). This setup can create a professional look even without expensive gear.
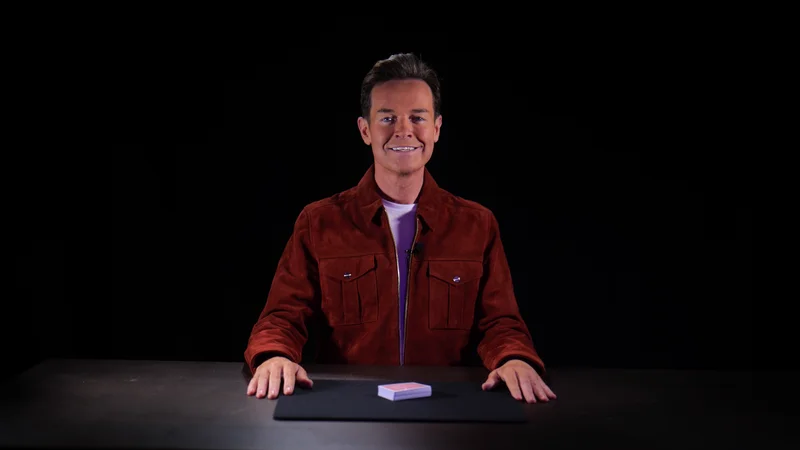
- Ring Lights – If you’re filming solo or from a close-up angle, a ring light can provide evenly distributed, flattering lighting. It’s a cost-effective option for solo speakers.
- Natural Light – For a simple, budget-friendly solution, consider filming near large windows or in a space with plenty of natural light. The soft, diffused daylight will give your videos a pleasant, professional tone.
If you’re filming at Finchley Studio, you’ll have access to state-of-the-art lighting setups that will make your content look polished and professional.
3. Audio Equipment
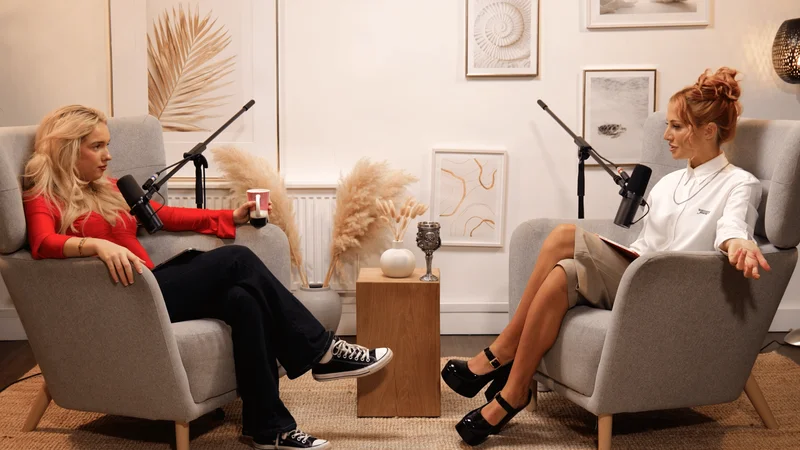
High-quality audio is just as important as the video quality. Poor sound can distract from even the best video content. To avoid this, you’ll need to invest in a reliable microphone:
- Lavalier Microphones (Clip-on Mics) – These small microphones clip to your clothing and provide clear, focused sound. They're perfect for recording interviews, presentations, and solo talks.
- Shotgun Microphones – These highly directional microphones capture sound from a specific area, which makes them ideal for shooting video without picking up background noise.
- External Audio Recorders – For even more control over your sound, an external recorder paired with a high-quality microphone is a great choice. You can sync the audio with your video in post-production.
Finchley Studio offers high-quality sound recording equipment and soundproof rooms, ensuring your audio is as crisp and clear as your video.
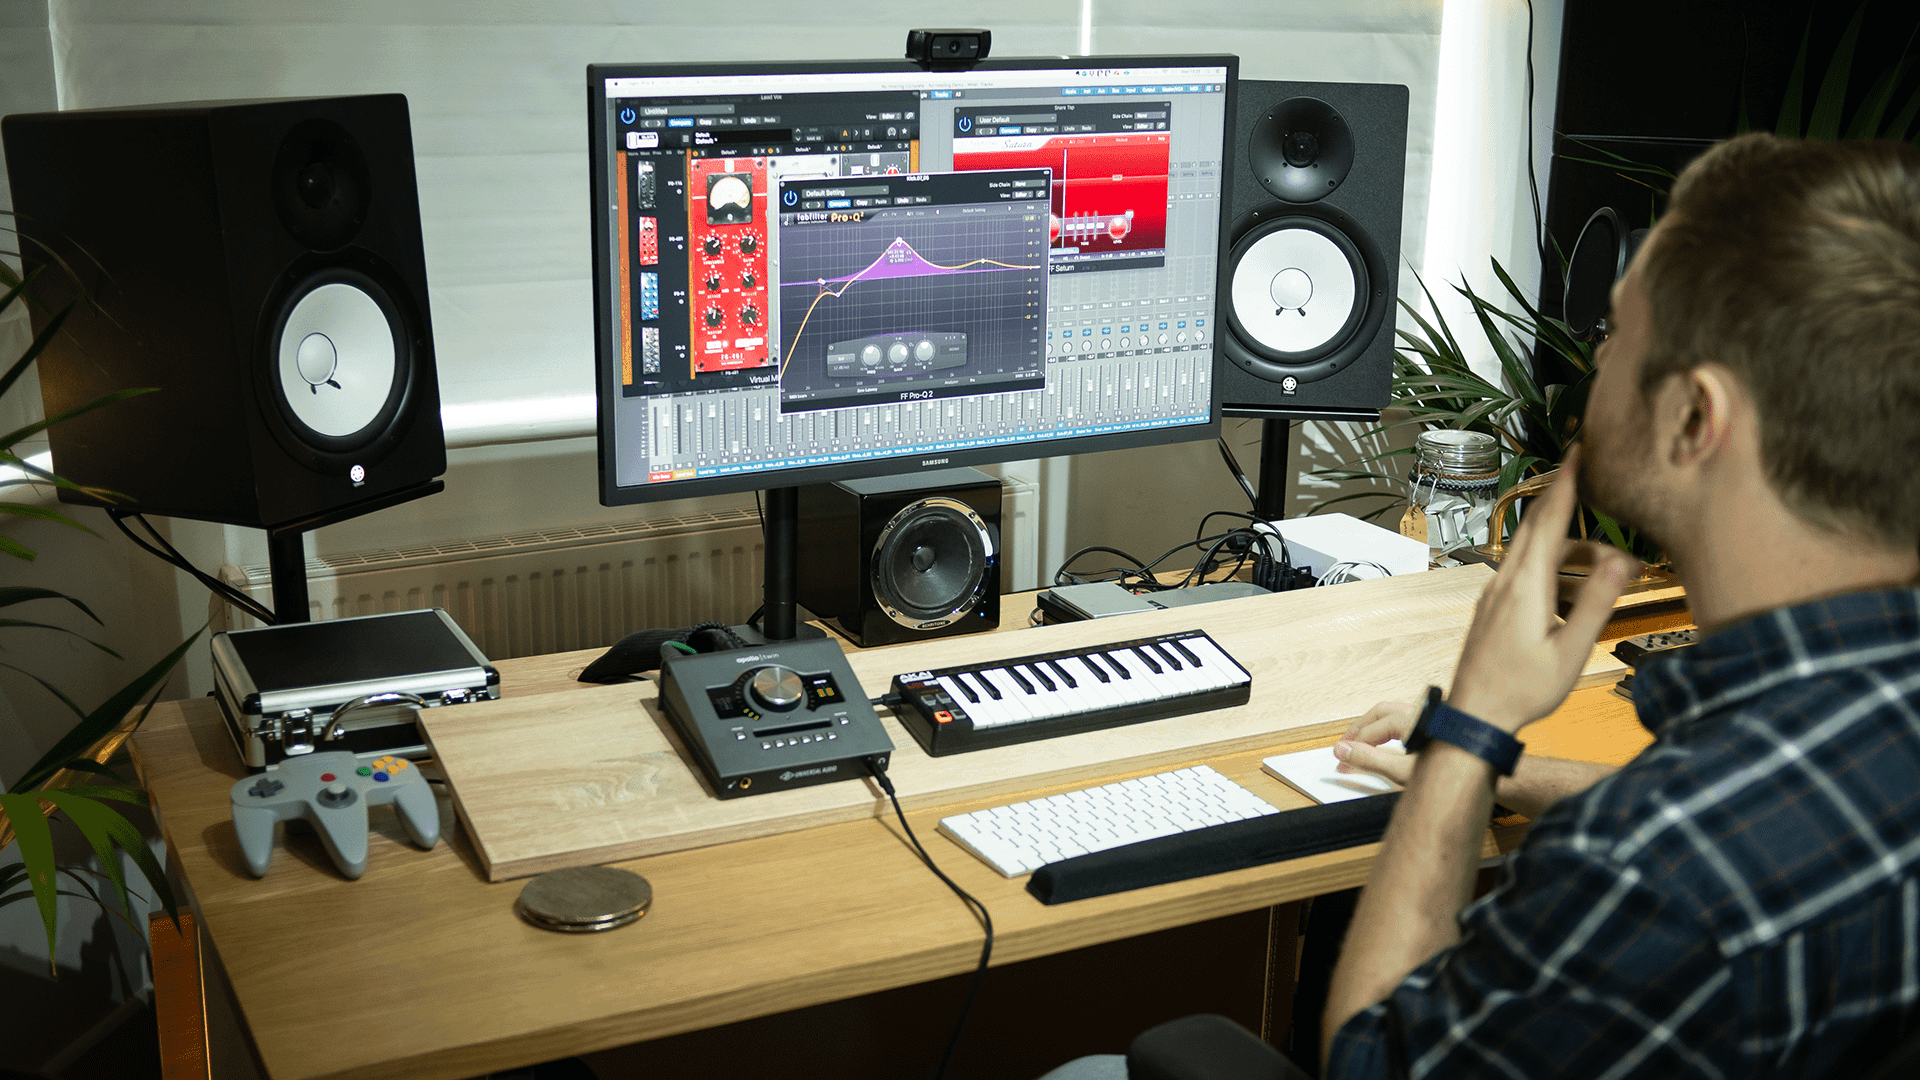
Editing Your Masterclass
Once you’ve filmed your masterclass, the next step is editing. Good editing will enhance your course and make it more engaging for your audience. Here are some tools and tips for editing:
1. Software for Video Editing
There are a variety of editing software options, both free and paid, depending on your needs:
- Adobe Premiere Pro – A professional-grade editing tool with robust features, including multi-camera editing, color grading, and audio correction. It’s a great choice if you plan on editing your masterclass yourself.
- Final Cut Pro – Ideal for Mac users, this software provides high-quality editing capabilities for professional results.
- DaVinci Resolve – A powerful, free option for color correction and audio editing. DaVinci Resolve is favored by professionals for its quality and extensive features.
- CapCut – A free, user-friendly video editor, perfect for beginners who need a quick and easy solution for basic editing.
- iMovie – Another great option for Mac users, iMovie offers simple editing tools that can help you create polished videos quickly.
2. Additional Editing Considerations
- Add Engaging Graphics – Text overlays and call-outs can help emphasize important points. Use these sparingly to keep the video dynamic but not overwhelming.
- Subtitles and Transcripts – Adding subtitles not only makes your content more accessible but can also help your students follow along better, especially if they're non-native speakers or hard of hearing.
- Color Grading – A quick color correction can improve the look of your video, making it feel more professional and polished.
If you don’t have the time or skills for editing, Finchley Studio offers professional editing services to help bring your masterclass to life, ensuring that it’s perfectly polished and ready for distribution.
Conclusion: Film Your Masterclass with Finchley Studio
Filming your masterclass doesn’t have to be complicated or expensive. With the right equipment, a solid plan, and the right location, you can create professional-grade content that delivers value to your students. If you’re looking for a professional yet budget-friendly studio space, Finchley Studio offers the equipment and expertise you need to get your masterclass up and running. From top-quality cameras and lighting to soundproof environments and expert editing, Finchley Studio ensures that your content will shine, all while keeping costs manageable.
Ready to start filming your masterclass? Book your session with Finchley Studio today and take your online course to the next level!