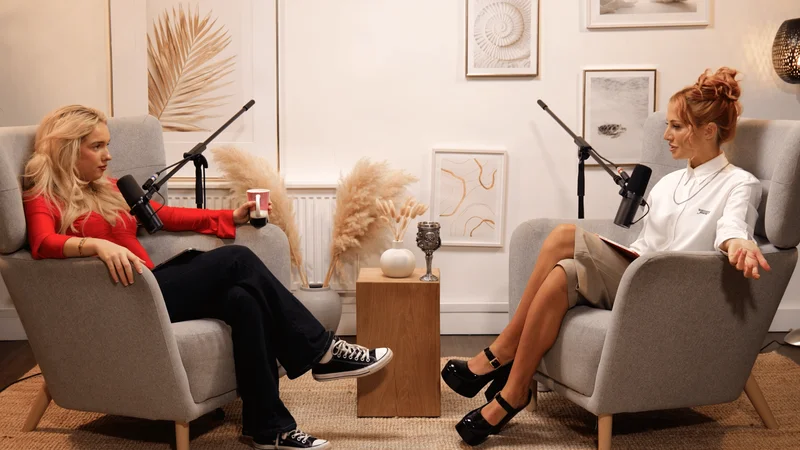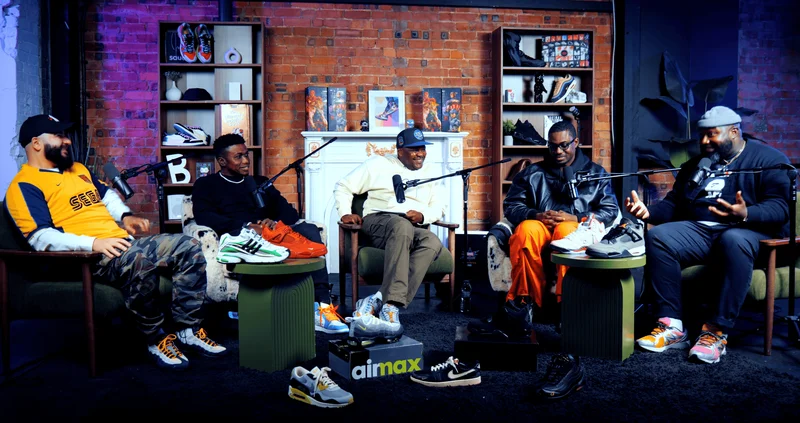
Image Source: Make Use Of
Filming a masterclass with a DSLR camera can significantly enhance the visual quality of your content. DSLR cameras are renowned for producing sharp, high-quality images, a shallow depth of field for cinematic shots, and an overall professional look that engages your audience. Whether you're teaching a course on photography, business, or cooking, following the right steps can ensure your videos appear polished and professional. Here's an in-depth guide on how to film your masterclass with a DSLR camera.
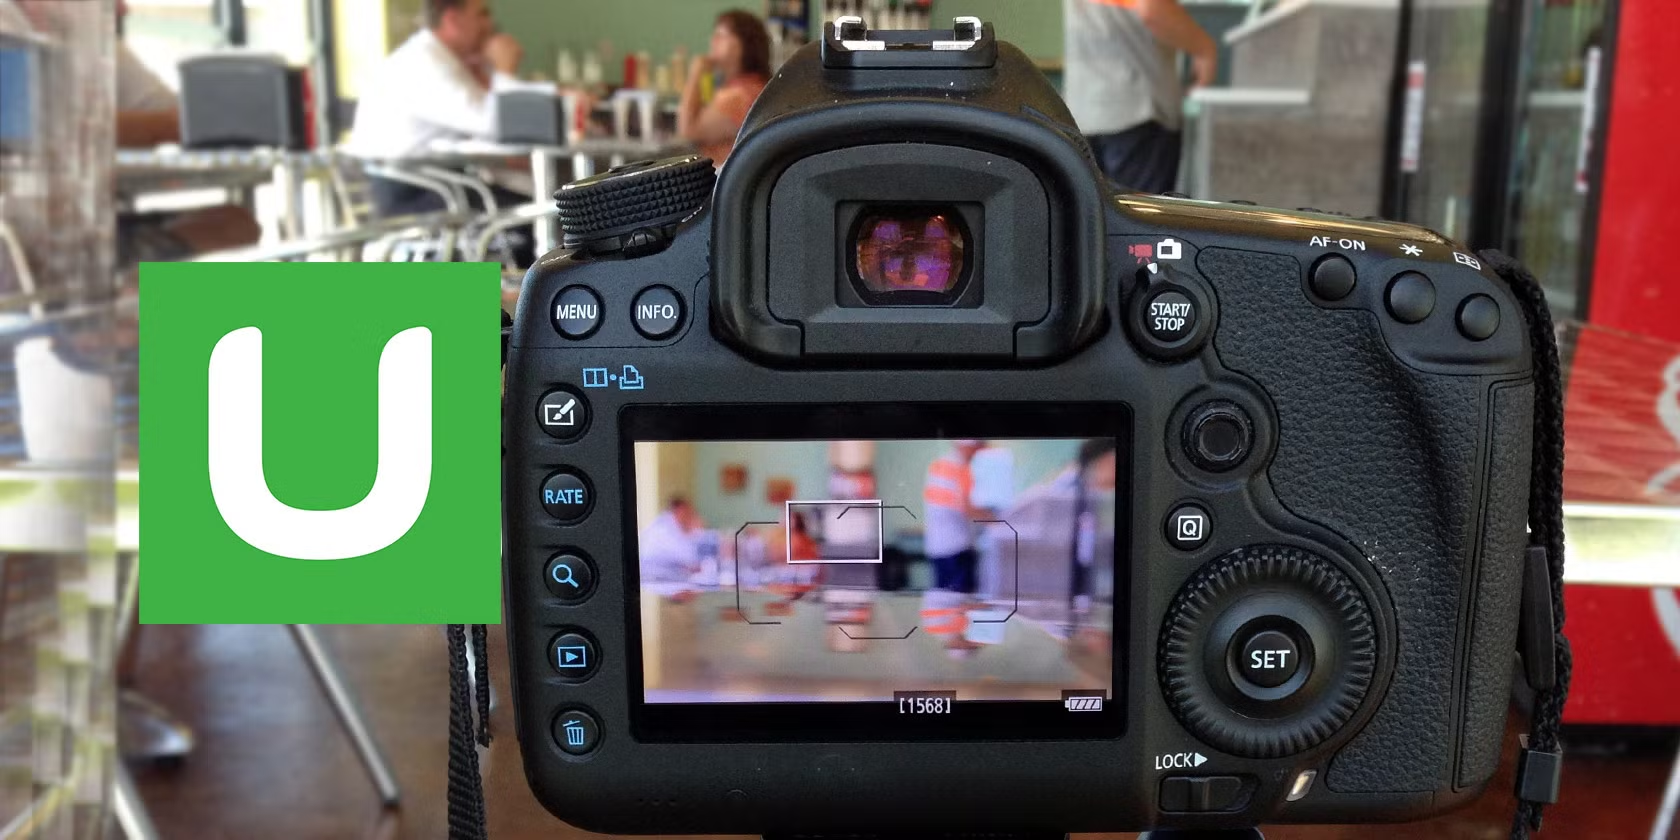
1. Choosing the Right DSLR Camera
The first step in creating high-quality video is selecting the right camera. For filming a masterclass, it’s essential to pick a DSLR that offers high resolution (at least 1080p, though 4K is ideal) and good performance in low light. Some cameras perform better than others for video, with models from Canon, Nikon, and Sony being the most popular choices among content creators.
Recommendations:
- Canon EOS 90D: Known for its 4K video and excellent autofocus system, making it great for solo creators who need crisp focus while moving.
- Sony Alpha a6400: Compact and features 4K video recording with impressive autofocus, a must-have for smooth, professional filming.
- Nikon D7500: A more affordable option that also offers 4K video recording and great color depth for cinematic visuals.
These DSLR cameras offer excellent video quality and reliability for filming your masterclass. Before making a final choice, consider what type of class you’ll be filming. For example, if you’ll be shooting in a variety of locations, a compact and lightweight DSLR might be ideal. If you need advanced video features, look for cameras that offer 4K resolution and specialized video controls.
2. Select the Right Lens
While the camera body is essential, the lens plays a critical role in the quality of your video. A good lens can improve image sharpness, background blur, and overall aesthetics.
For a masterclass, you’ll likely want to use a lens that offers good depth of field (to blur the background) while keeping the subject in focus. Prime lenses like the Canon 50mm f/1.8 or Sigma 30mm f/1.4 are great for achieving this look. The wide aperture of f/1.8 or f/2.8 allows more light into the lens and creates that professional, blurry background that makes your subject stand out.
Alternatively, a zoom lens like the Canon 24-70mm f/2.8 or Nikon 24-105mm f/4 provides flexibility if you need to adjust your shot quickly, without physically moving the camera. If you are filming a larger group of people or need to capture wide shots, consider a wide-angle lens.
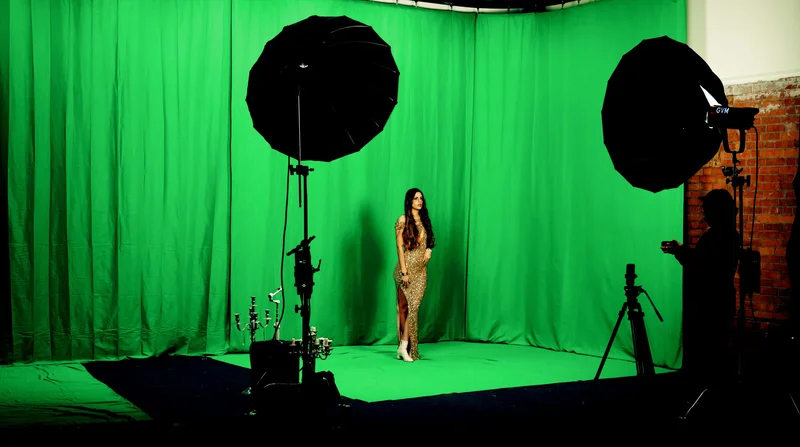
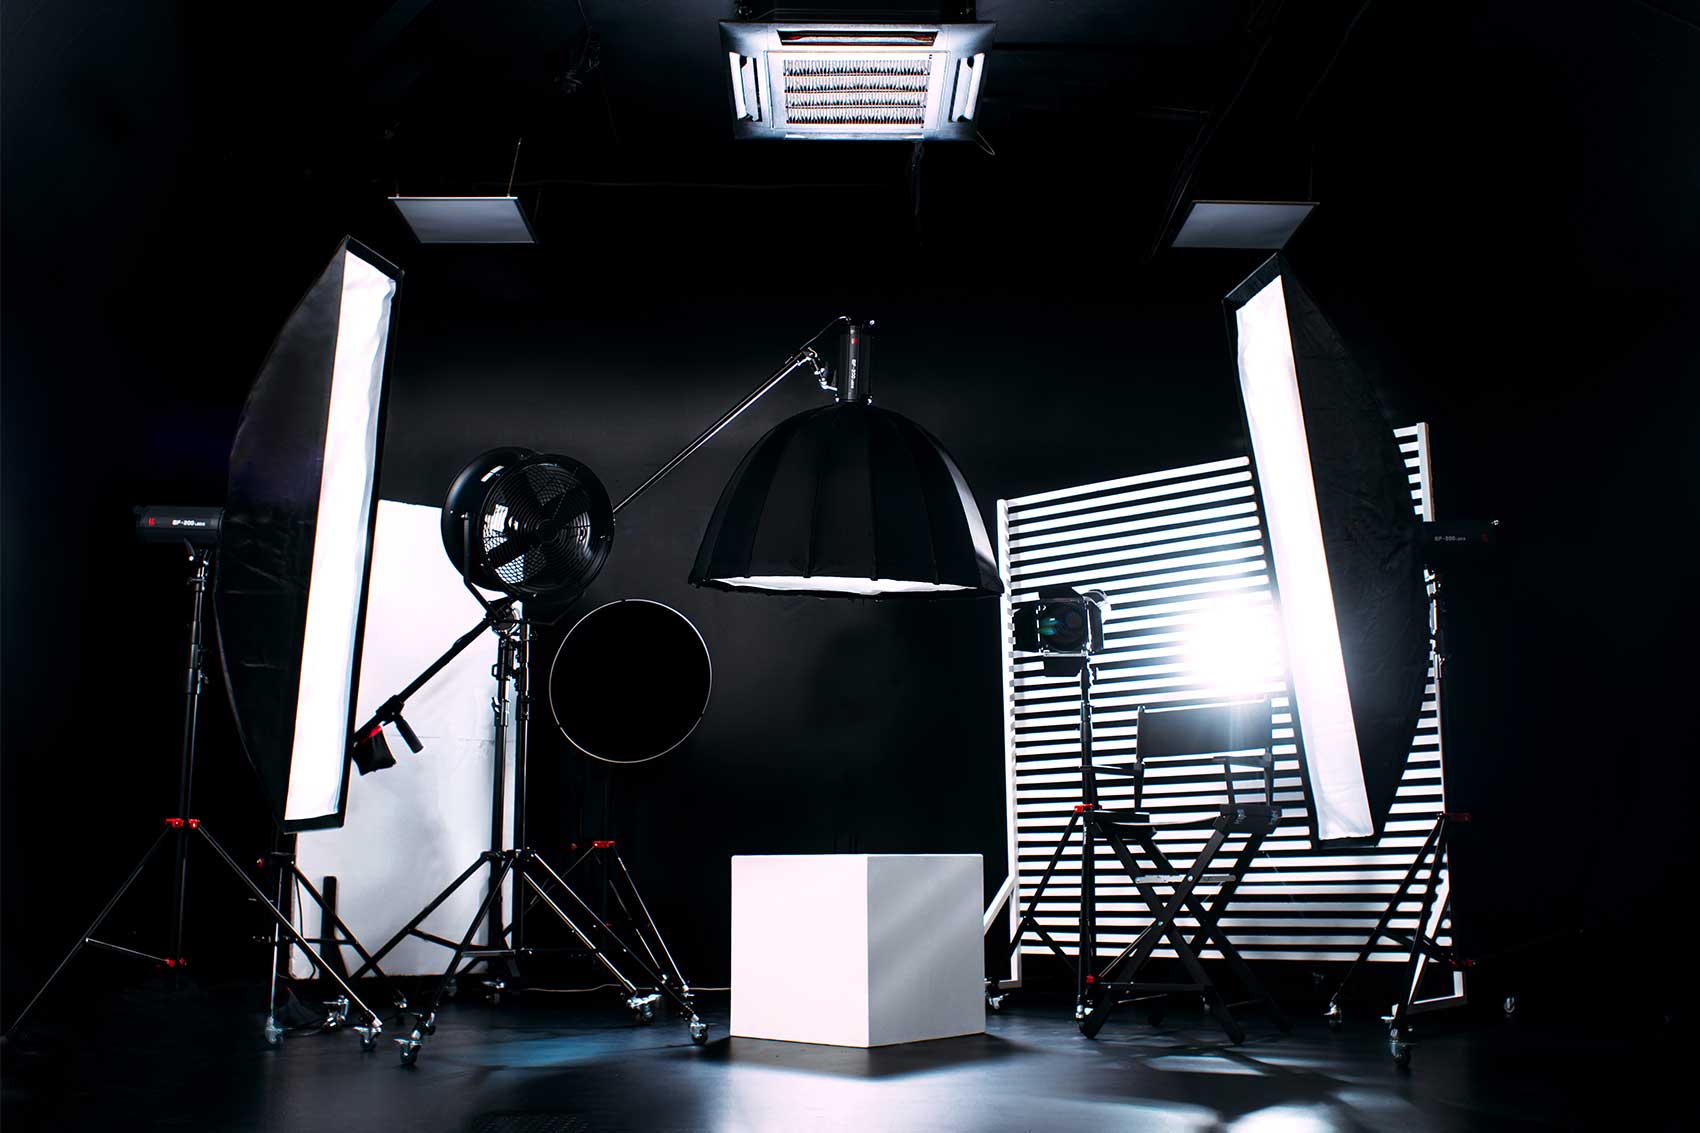
3. Lighting Your Set
Good lighting is one of the most important elements of filming high-quality video. Even the best camera can’t compensate for poor lighting, which can lead to grainy, flat, or unflattering shots. Ideally, you should use three-point lighting, which uses three light sources to illuminate the subject evenly and reduce shadows.
Key Lighting Types:
- Key Light: This is the main source of light and should be placed at a 45-degree angle from the subject.
- Fill Light: This light softens the shadows created by the key light and ensures the subject is evenly lit. Place it opposite the key light, at a lower intensity.
- Back Light: A back light (or hair light) adds depth to the shot by lighting the subject from behind, preventing them from blending into the background.
If you don’t have access to professional lights, you can still achieve good lighting with softbox lights or a ring light for close-ups. A ring light will create soft, flattering light around your face, reducing shadows and highlighting your features. A softbox, on the other hand, provides a broader, diffused light source that can cover a larger area.
For those looking to film indoors, using natural light is a great option, especially if you’re shooting near a large window. However, keep in mind that natural lighting changes throughout the day, so a controlled lighting setup with softboxes or other lighting equipment is the more reliable option.
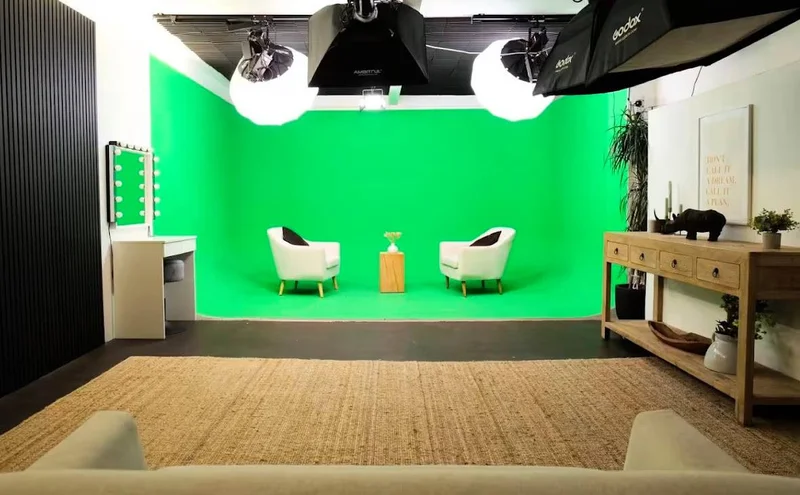
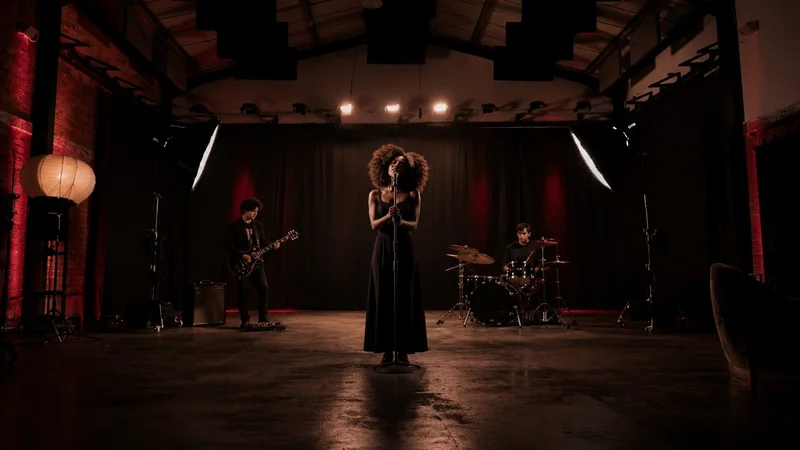
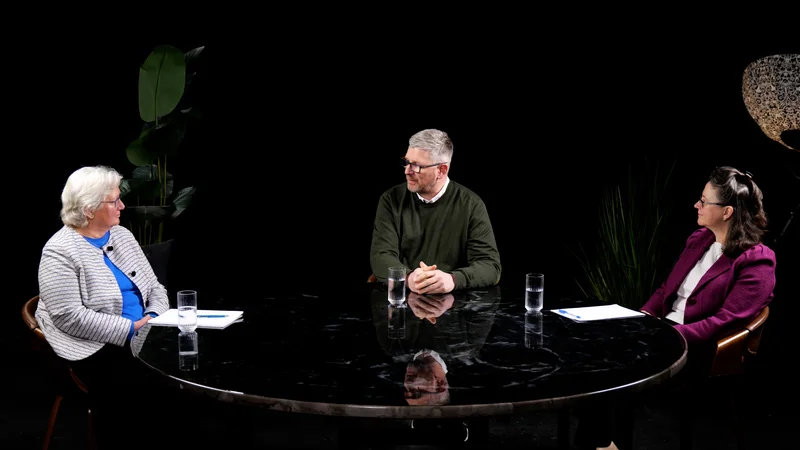
Consider using a professional studio for filming your masterclass, such as Finchley Studio’s Dialogue Room. These spaces offer adjustable lighting options and a variety of backdrops to fit any style of content.
4. Framing and Composition
Framing refers to how you position your subject within the shot. For educational videos like a masterclass, it’s important to use framing that feels comfortable and relatable for your viewers.
One of the most common framing techniques for masterclasses is the medium shot, which shows the subject from the chest up. This framing is ideal for talking head videos where the presenter is explaining concepts. You might also want to occasionally use a close-up shot when demonstrating intricate techniques or using props.
Ensure that the camera is at eye level to create a natural connection with your audience. Avoid placing the camera too far away, as this can make the subject appear small and distant. Similarly, don’t place the camera too close to avoid cutting off important parts of the subject’s body, like their hands.
If you need to capture more than one person or show different aspects of a demonstration, a wide shot is appropriate. A wide-angle lens (like an 18-55mm lens) can help you achieve this while keeping the subject in focus.
5. Audio Equipment
While good video quality is essential, poor audio quality can be a dealbreaker for any educational content. Viewers will tolerate imperfect visuals, but if the sound is unclear, they’ll lose interest quickly.
Use an external microphone to capture clear, high-quality sound. Lavalier microphones (also known as lapel mics) are small, clip-on microphones that provide excellent audio for speaking without picking up too much background noise. For wider shots or when you’re filming multiple speakers, a shotgun microphone (like the Rode VideoMic Pro) can be a great option. These microphones capture sound from a specific direction, reducing unwanted ambient noise.
If you’re filming in a studio, the sound is generally more controlled, but if you’re filming on location, you may want to monitor your audio levels regularly using headphones. Finchley Studio’s soundproofed studios ensure you get crystal-clear audio.
6. Adjust Your Camera Settings
To make the most of your DSLR’s video capabilities, ensure your camera settings are optimized for filming.
- Resolution: Set your camera to record at 1080p or 4K for the best image quality.
- Frame Rate: A frame rate of 24 fps is ideal for creating a natural cinematic look. If you need smoother video (e.g., for fast-paced movement), you may opt for 30 fps or even 60 fps.
- Shutter Speed: The general rule is that your shutter speed should be double your frame rate. For 24 fps, set your shutter speed to 1/50. For 30 fps, set it to 1/60.
- Aperture: A wide aperture (like f/1.8) will blur the background and bring attention to the subject. However, keep in mind that the wider the aperture, the more sensitive your focus becomes. For fast-paced demonstrations, a smaller aperture (e.g., f/2.8 or f/4) may help keep things in focus.
7. Stabilizing the Camera
Stabilizing your camera ensures your video isn’t shaky and maintains a professional appearance. Tripods are essential for keeping your shots steady. You can opt for a fluid-head tripod for smooth pans and tilts, or a basic tripod if your shots are static.
If you need to move around during your masterclass, consider using a gimbal or a stabilizer to keep the camera steady while walking. These tools ensure smooth footage, even when the camera is in motion.
8. Set the Scene: Prepare Your Environment
Your filming environment plays a major role in the quality of your video. Before you start recording, take a moment to tidy up the space. Keep the background clean and uncluttered, as distractions can take attention away from your presentation.
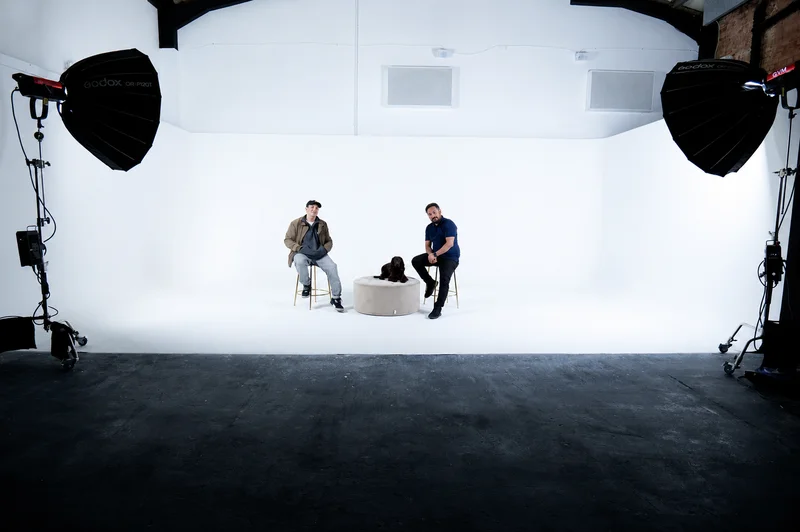
In addition to preparing your background, ensure your filming area is quiet and free of interruptions. If you're filming in a professional studio like Finchley Studio, you’ll benefit from a space that’s set up specifically for video production, allowing you to focus on delivering your content.
9. Editing Your Masterclass Video
After filming your masterclass, editing is where everything comes together. Trim out any mistakes, adjust the pacing, and add transitions to keep the flow smooth. Color correction can also help make the footage look more polished, adjusting the brightness, contrast, and saturation to make your video visually appealing.
If you're unfamiliar with video editing software, programs like Adobe Premiere Pro, Final Cut Pro, or DaVinci Resolve are excellent choices. For beginners, iMovie and Shotcut are free and user-friendly alternatives.
Alternatively, if you don’t want to deal with editing, you can outsource the task to professionals at Finchley Studio. Their team will ensure your video is edited to perfection.
Conclusion
Filming your masterclass with a DSLR camera offers a fantastic opportunity to produce high-quality educational content that looks and sounds professional. By selecting the right camera and lens, setting up the right lighting and audio equipment, and stabilizing your shots, you can create a masterclass that captivates your audience and communicates your message effectively.
For the best results, consider filming your masterclass in a professional studio like Finchley Studio, where you can access top-notch equipment and expertise to enhance your content. Take advantage of their video editing services to finalize your video with a polished, professional finish.
With the right preparation and attention to detail, your masterclass will stand out as a top-tier, high-quality course for your students. Happy filming!
Source: https://www.photographycourses.biz/how_to_make_dslr_video.html