Image Credit: Lambda Films
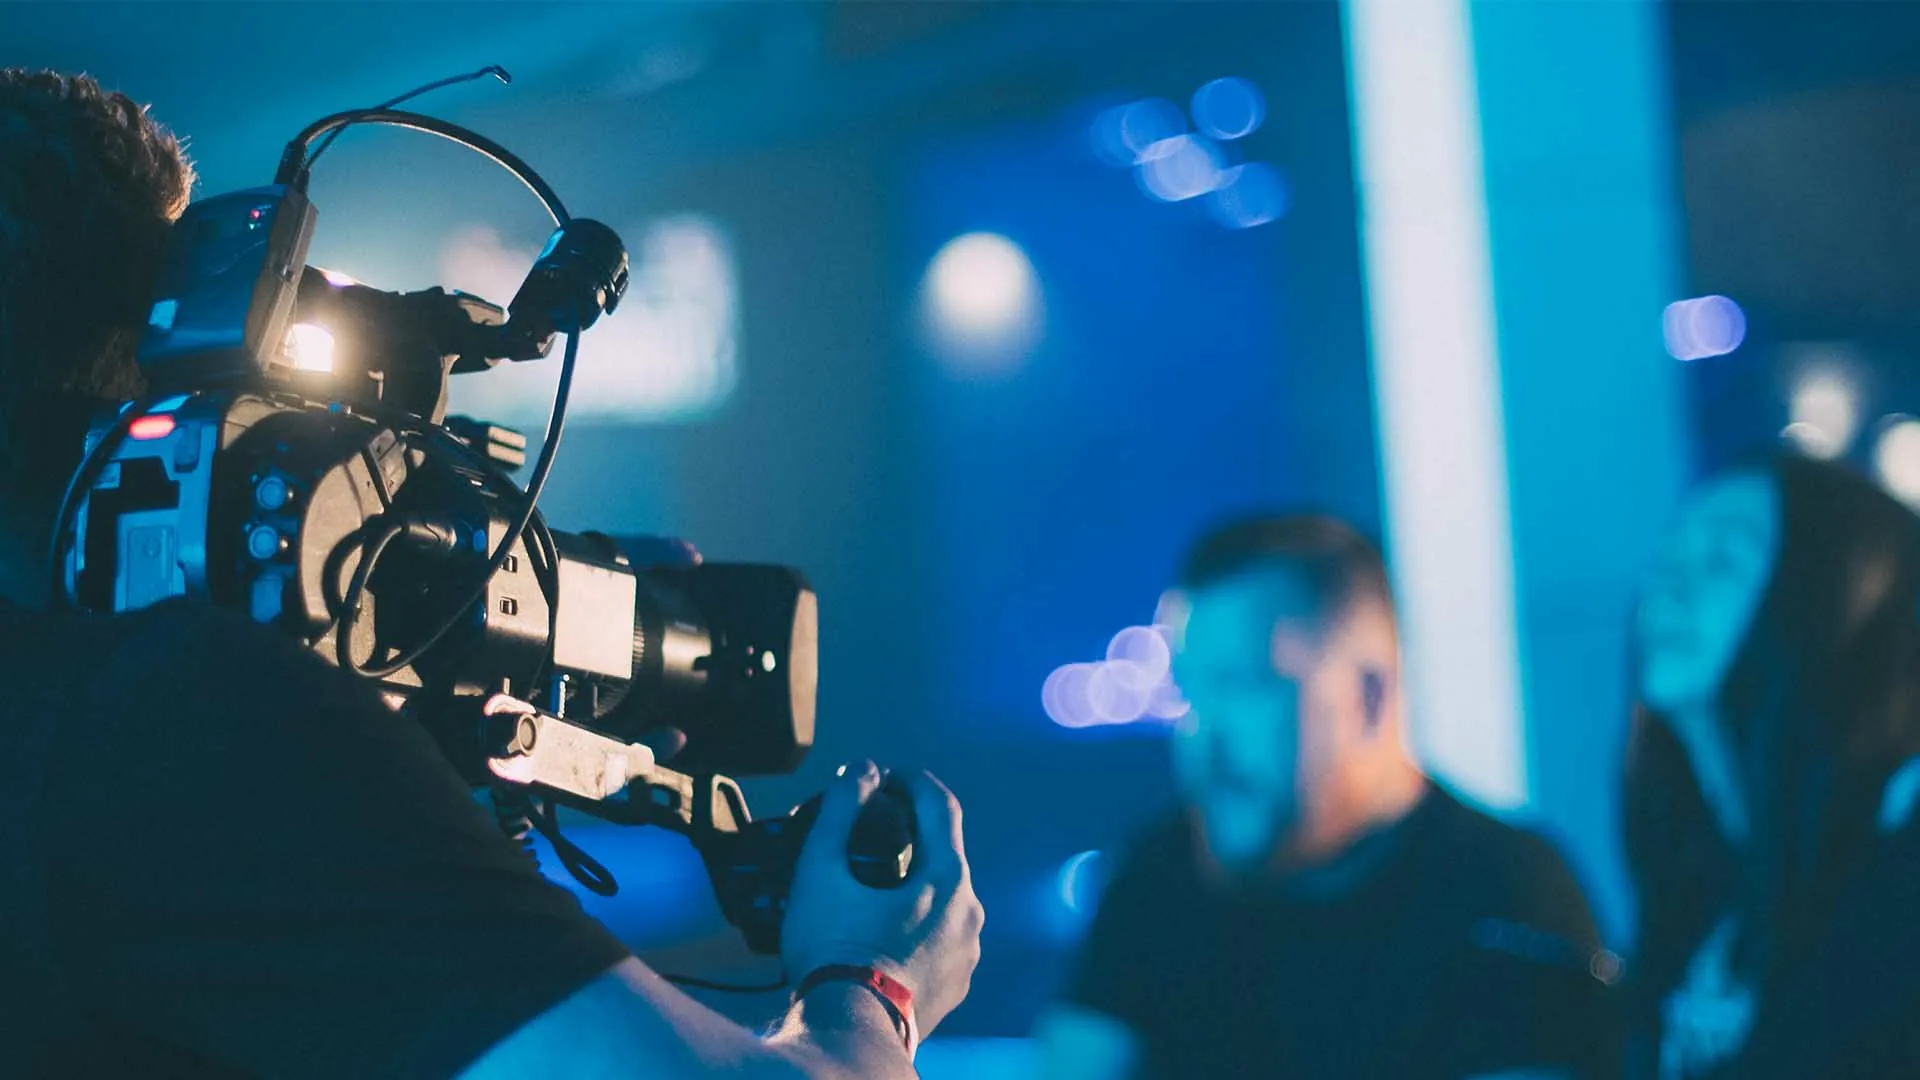
Filming a masterclass is a fantastic way to share your expertise and connect with your audience. Whether you're teaching a craft, offering professional advice, or delivering educational content, how you film and present your material can dramatically enhance its impact. Cinematic videography, which focuses on creating visually stunning and engaging videos, can help elevate your masterclass to a professional level, making your content stand out and keeping your viewers hooked.
London, with its rich history and diverse locations, provides a wealth of opportunities to film cinematic-style videos. Whether you’re shooting in a cozy studio or using some of the city’s iconic backdrops, mastering cinematic videography can transform your masterclass. Here are some essential tips for filming a masterclass in London with a cinematic touch.
1. Choose the Right Location
The location you choose to film can set the tone for your masterclass and affect its cinematic quality. London offers a variety of spaces that can complement the style and theme of your masterclass. When selecting a location, consider the following:
-
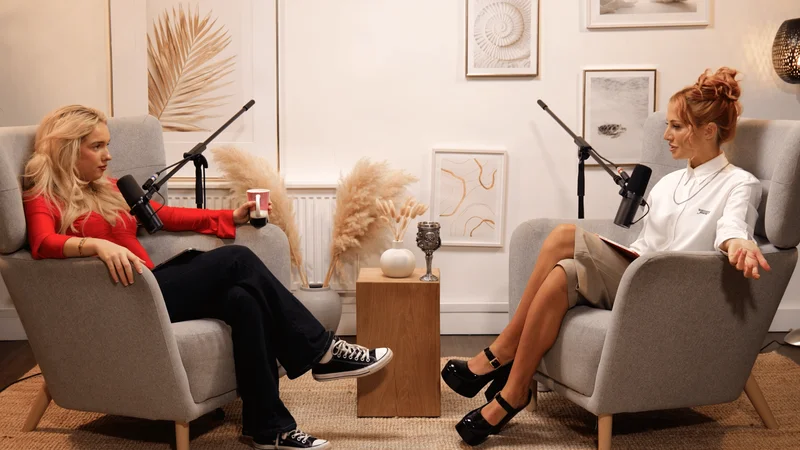
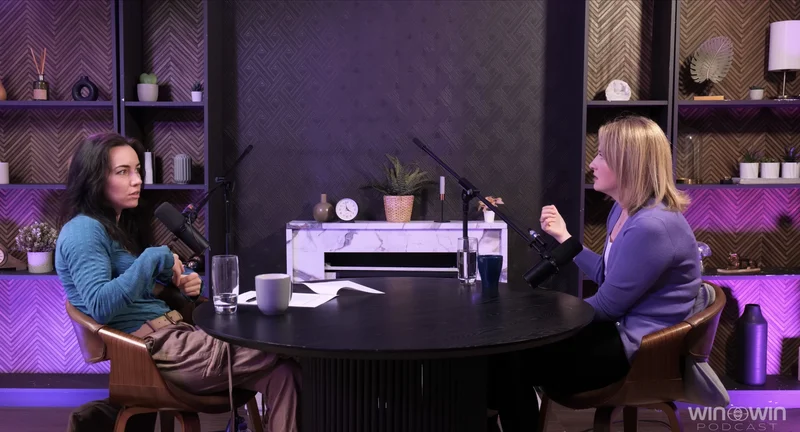
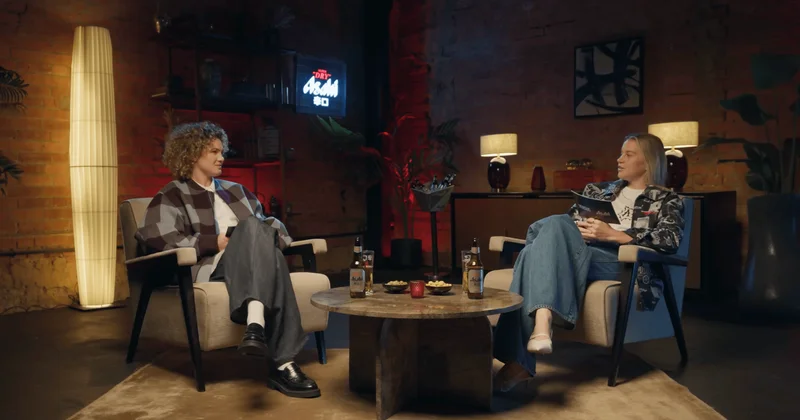
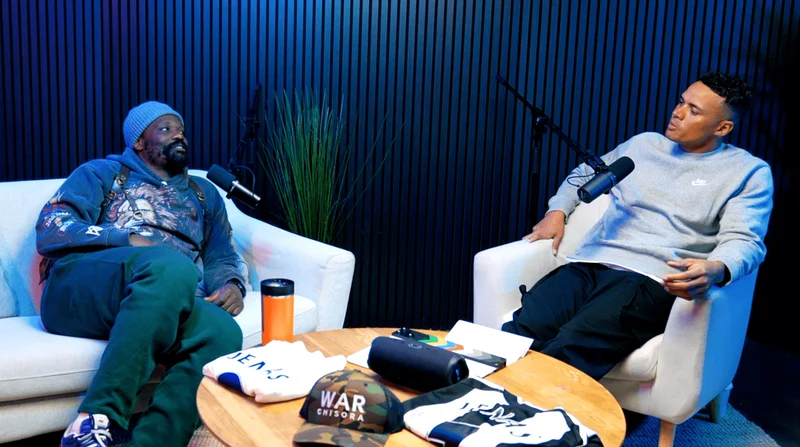
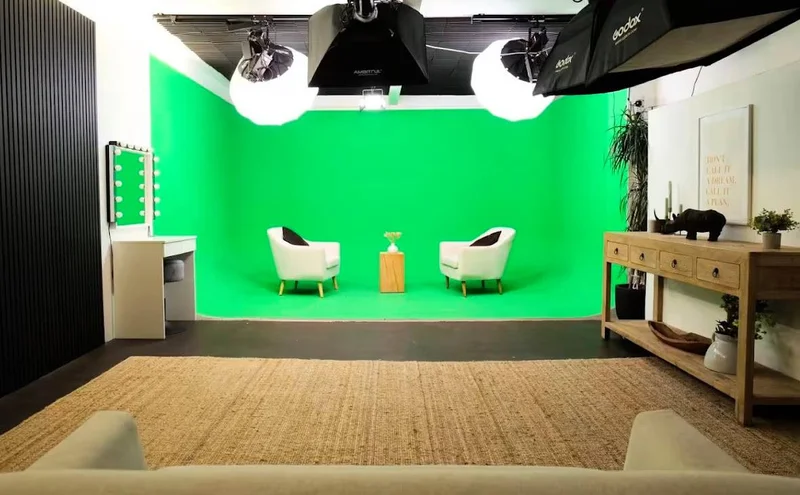
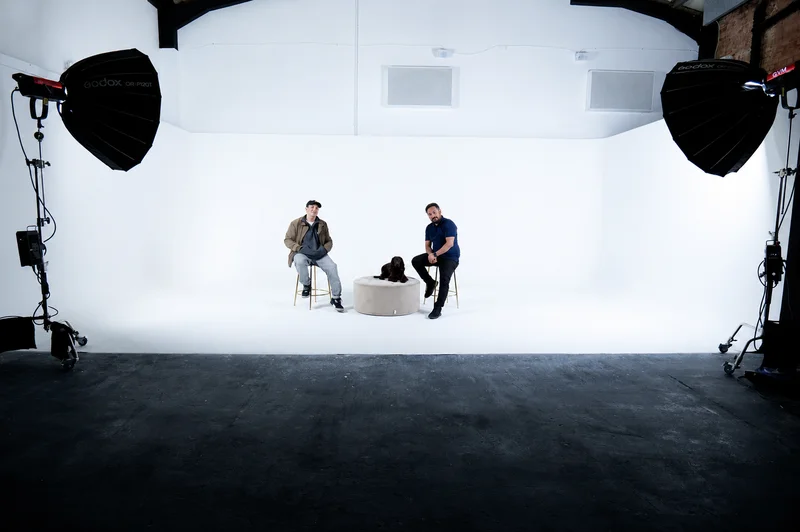
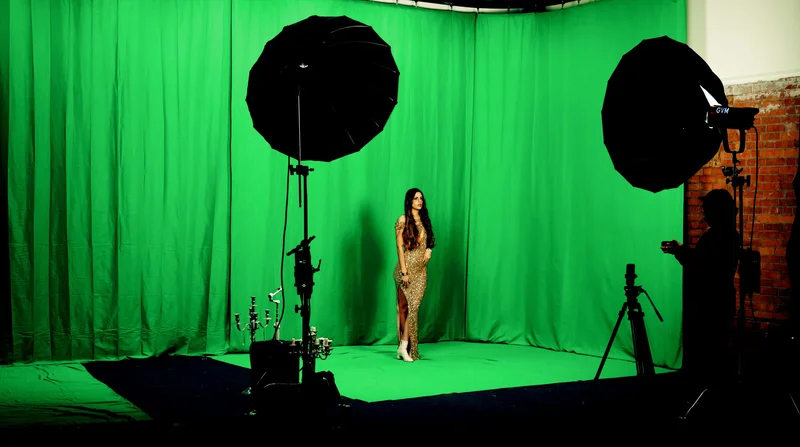
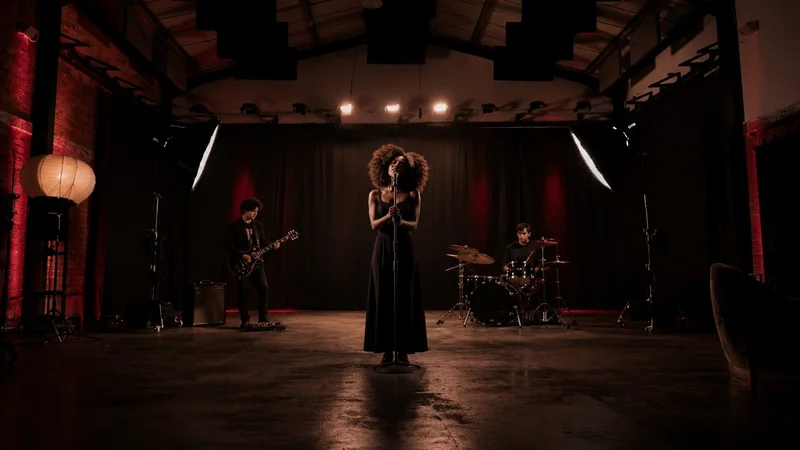
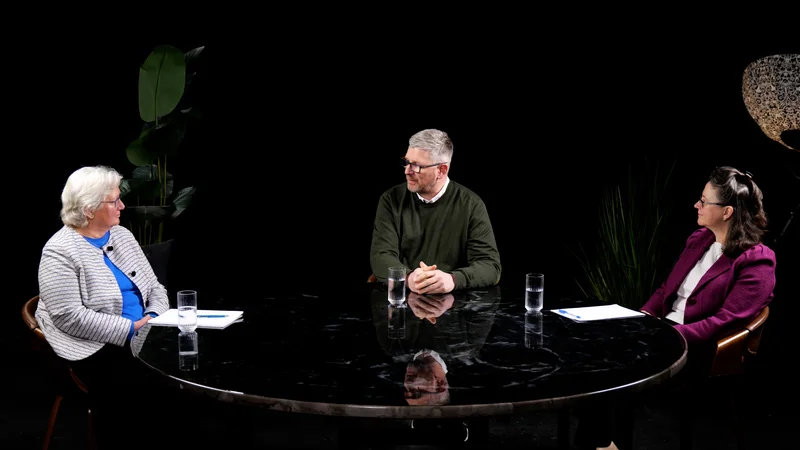
Studio Space: Filming in a professional studio, such as Finchley Studio, is ideal if you're looking for controlled lighting and sound. Studios provide the flexibility to create the perfect setup for your filming needs, with professional equipment and backgrounds that enhance your production quality. Whether you need a Green Screen Studio for a dynamic backdrop or a Dialogue Room for a more intimate, conversational feel, these spaces are perfect for cinematic videography.
-
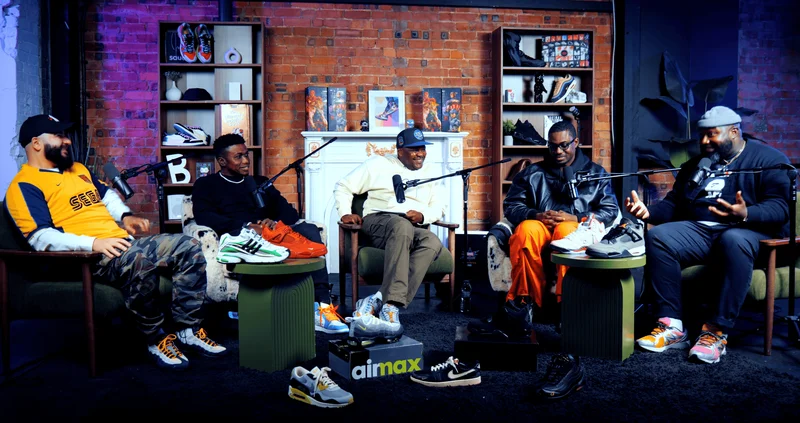
Outdoor Locations: If you're filming on location in London, choose spots that offer both aesthetics and practical benefits. Iconic landmarks like Tower Bridge, The Shard, and the London Eye can provide dramatic and visually striking backdrops, but make sure your environment aligns with the tone and focus of your masterclass. Filming near natural settings like parks or along the River Thames can offer tranquil and dynamic visuals as well.
-
Home Studio or Office: If you're filming from a home or office setting, transform the space by using proper lighting, decoration, and background to create a professional, cinematic look. For a polished feel, you might want to use a location that enhances the subject matter of your masterclass.
2. Use a High-Quality Camera
While you don’t need to invest in a top-tier cinema camera to get professional results, using a high-quality camera is essential for cinematic videography. Many DSLRs, mirrorless cameras, and even smartphones today can capture stunning video if used properly. Consider the following camera features when selecting the right one:
-
Resolution: Aim for a camera that shoots in at least 1080p resolution, though 4K is the ideal choice for cinematic videography. It provides more flexibility in post-production, allowing you to crop or zoom without losing quality. Cameras like the Sony A7 III or Canon EOS R are excellent choices for capturing sharp and vibrant visuals.
-
Frame Rate: For cinematic footage, 24 frames per second (FPS) is the traditional frame rate for film, giving your videos that film-like look. For slower motion effects, shooting at higher frame rates like 60 FPS or 120 FPS can help create smooth, cinematic slow-motion shots.
-
Lenses: The lens you choose will greatly affect the look of your footage. Wide lenses (around 35mm or lower) are great for capturing wide shots, while a longer lens (85mm or higher) can give you a shallow depth of field, making the subject pop against a blurred background. Lenses with a wide aperture (e.g., f/1.8 or lower) help achieve that cinematic “bokeh” effect, which is essential for creating a professional look.
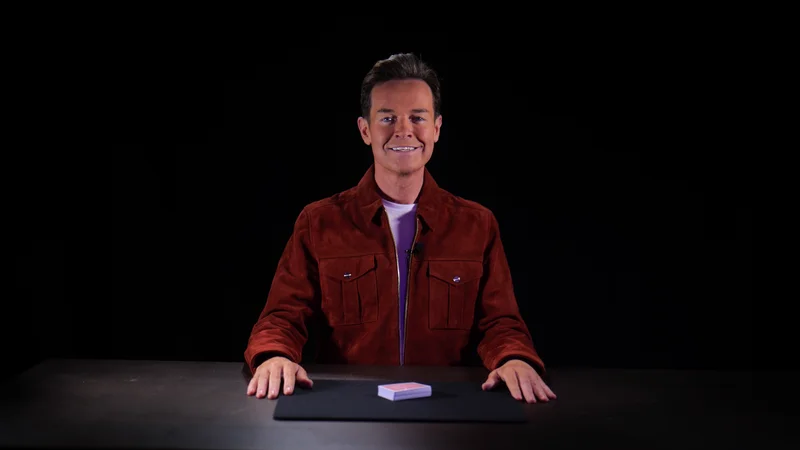
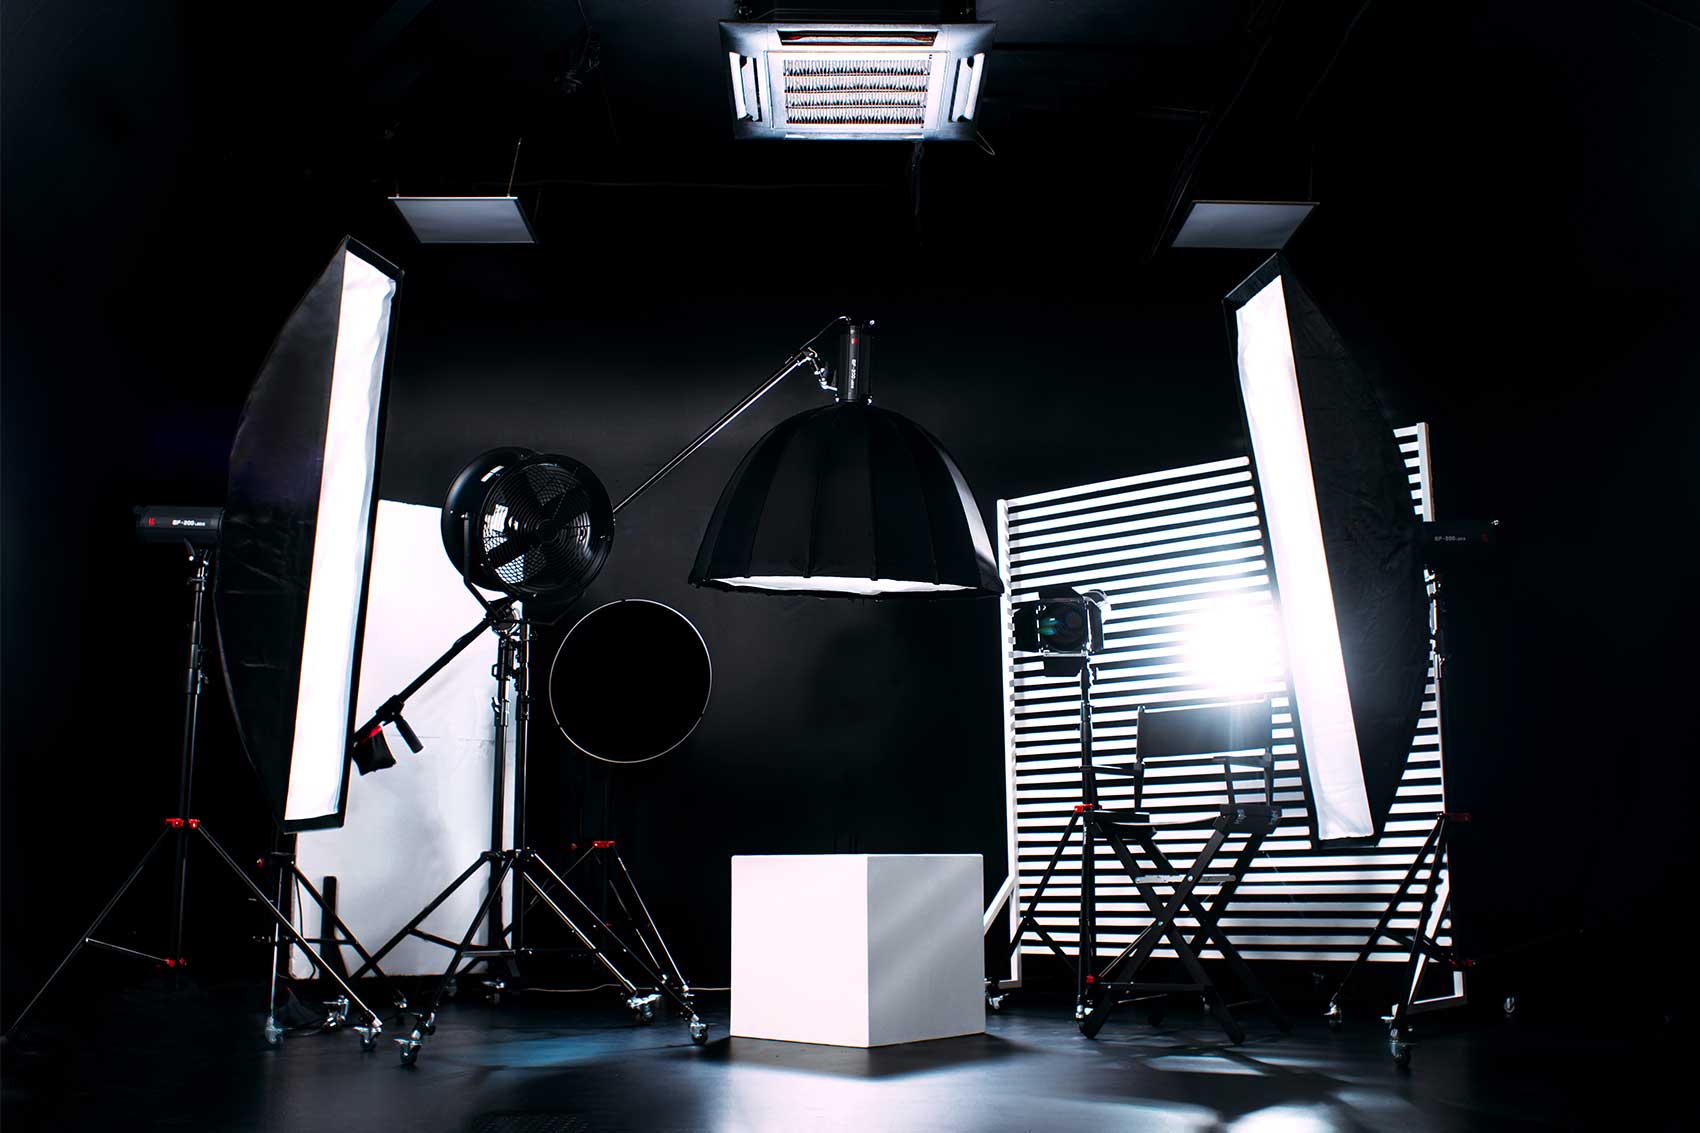
3. Master Lighting Techniques
Lighting is one of the most crucial elements in cinematic videography. The right lighting setup can enhance the visual appeal of your video, set the mood, and highlight the key elements of your masterclass. Here are a few lighting tips to ensure your footage looks cinematic:
-
Three-Point Lighting: This is a classic lighting setup used in film and television. It consists of three main light sources: a key light (the main light), a fill light (to soften shadows), and a backlight (to create separation between the subject and the background). This setup gives your subject a three-dimensional look and avoids harsh shadows or flat lighting.
-
Natural Light: London offers an abundance of natural light, especially during the golden hour (the first hour after sunrise and the last hour before sunset). If you’re shooting outdoors or near a window, make use of this natural light for softer, more flattering results. If shooting indoors, position your subject near windows or use diffusers to soften the incoming sunlight.
-
Soft Lighting: Use softboxes or diffusers to soften the light and avoid harsh shadows. Soft, diffused light helps create a more flattering look, especially for talking-head shots or interviews during your masterclass.
-
Background Lighting: Consider adding lighting to the background to create depth in your shot. You can use practical lights (e.g., lamps or ambient lights) to create a warm, inviting atmosphere or experiment with colored gels to add a creative flair to your background.
4. Composition Is Key
In cinematic videography, framing your shots properly is just as important as the technical aspects of your camera. Good composition will keep your viewers engaged and make your content look visually appealing. Here are a few tips on how to frame your shots:
-
Rule of Thirds: The rule of thirds is a fundamental technique in cinematography that divides the frame into three equal horizontal and vertical sections. By placing your subject or important elements along these lines or at their intersections, you create more balanced and dynamic shots. This will make your masterclass more engaging for viewers.
-
Leading Lines: Leading lines in the environment can help guide the viewer’s eye toward your subject. Use natural elements like roads, paths, or architectural features in your location to create visual interest and draw attention to key points in your video.
-
Depth of Field: A shallow depth of field (achieved with a wide aperture) can help isolate your subject from the background and draw attention to important details. This effect is perfect for interviews or segments where you want to emphasize a particular concept or action.
-
Wide Shots: Wide shots allow you to showcase your location or setting, adding variety and visual interest to your masterclass. This can help make your video feel more cinematic and immersive. Use wide shots strategically, such as when introducing a new segment or setting the stage for a new lesson.
5. Incorporate B-Roll Footage
B-roll is supplemental footage that supports your main content. It can be used to visually illustrate what you're talking about, provide context, or add a creative flair to your video. B-roll footage is essential for cinematic videography, as it helps to tell the story more effectively.
For your masterclass, consider incorporating B-roll footage that highlights key points, like:
- Close-up shots of materials, tools, or products you're discussing.
- Shots of the environment, especially if you're filming in an iconic London location.
- Cutaways to relevant visuals that reinforce your teachings, such as illustrations, charts, or real-world examples.
- Behind-the-scenes shots, like setting up the equipment or interacting with your crew, can also add a layer of authenticity to your video.
6. Sound Design and Music
Sound is just as important as the visual elements in cinematic videography. High-quality audio helps your masterclass feel professional and immersive. Use clear microphones for capturing speech, and add background music that enhances the mood without overpowering your voice.
-
Microphones: Lavalier microphones are great for capturing clear, hands-free audio if you’re moving around during your masterclass. Alternatively, shotgun microphones provide more directional sound capture if you're stationary.
-
Background Music: Music can set the tone of your masterclass. Whether you want to create an inspiring atmosphere or a calming vibe, make sure the music complements the content. There are many royalty-free music libraries available, such as Artlist, Epidemic Sound, or YouTube’s Audio Library.
-
Sound Effects: Incorporate subtle sound effects to emphasize key moments or transitions. A well-timed sound effect can elevate the cinematic feel of your video.
7. Post-Production for Cinematic Quality
Post-production is where the magic truly happens in cinematic videography. Editing your footage thoughtfully and adding color grading, sound design, and effects can take your masterclass to the next level.
-
Color Grading: Color grading gives your video a unique look and feel. Tools like DaVinci Resolve or Adobe Premiere Pro allow you to adjust the color palette of your video, making it warmer, cooler, or giving it a vintage film-like look.
-
Smooth Transitions: Use smooth transitions between shots to maintain the flow of your video. Avoid jarring cuts, and instead, use fades or wipes to guide the viewer’s eye from one section to the next.
-
Audio Editing: Ensure your audio is crisp and clear by eliminating background noise, adjusting levels, and adding music and sound effects. A well-balanced audio mix is crucial for a cinematic feel.
Source: https://www.jonnynoakesfilms.co.uk/film-blog-chester-film-community/essential-tips-in-videography-amp-photography