Image Credit: YouTube/Insider Tech
Creating compelling YouTube content is more than just recording footage—it’s about weaving together visuals, sound, and creative transitions to tell a story that keeps your audience engaged. Whether you’re a beginner or a seasoned content creator, choosing the right editing software is crucial. Shotcut, a free and open-source video editor, has emerged as a powerful tool that provides professional-grade editing capabilities without costing you a dime. This guide will walk you through every step—from getting started with the software to mastering advanced editing techniques—so you can produce polished, high-quality videos that stand out on YouTube.
Getting Started with Shotcut
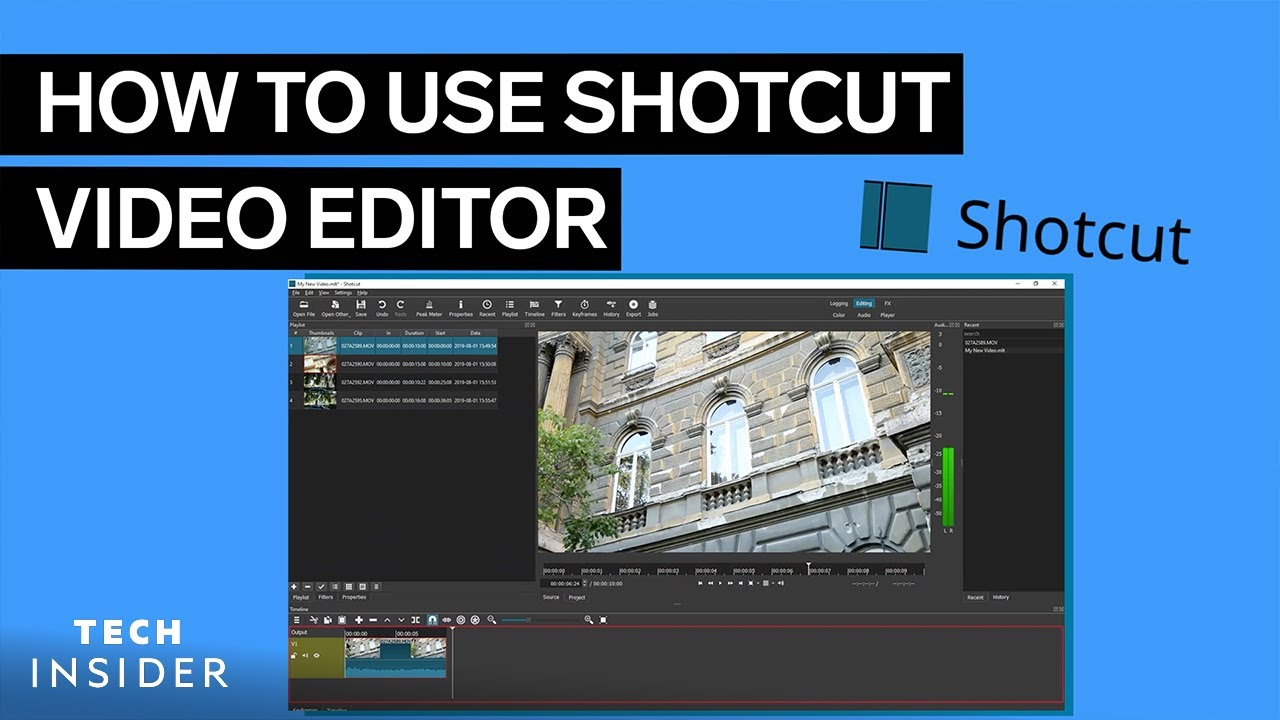
Before you dive into the editing process, the first step is to download and install Shotcut from its official website. With versions available for multiple operating systems, you can easily get started regardless of whether you’re on Windows, macOS, or Linux. Once installed, launching Shotcut opens the door to a suite of tools designed to streamline your editing workflow.
Setting Up Your Project
-
Create a New Project
Open Shotcut and start by creating a new project. You’ll be prompted to select a destination folder for your project files. It’s important to organize your files from the beginning—this makes managing your footage, audio, and graphics easier as your project grows. In the new project dialog, set your desired resolution and frame rate. For YouTube content, 1080p is the standard, with frame rates typically set at either 30fps or 60fps. Choosing these settings upfront ensures your final video meets YouTube’s quality standards. -
Import Media
The next step involves importing your raw media. Shotcut’s support for a wide range of formats means you can drag and drop video clips, images, and audio files directly into your project’s playlist or timeline. This flexibility eliminates the need for additional codecs, allowing you to focus on the creative process rather than technical compatibility issues. Organize your media files into bins or playlists for easy access during editing. -
Set Up the Timeline
The timeline is your creative canvas. Here, you’ll arrange your clips in a logical sequence, trim excess footage, and build the narrative structure of your video. Shotcut’s timeline is highly intuitive, supporting drag-and-drop functionality along with advanced editing tools that let you adjust the placement and duration of your clips. Planning your timeline before you begin editing can save you time and help maintain a consistent video flow.
Essential Editing Techniques in Shotcut
Mastering Shotcut’s editing features can transform raw footage into a polished masterpiece. Let’s explore some of the core techniques that will elevate your video production quality.
1. Cutting and Trimming Clips
One of the most fundamental tasks in video editing is cutting and trimming. Shotcut makes this process simple with its “Split at Playhead” tool. By positioning the playhead at the exact moment you want to cut your clip, you can create precise edits that allow you to remove unwanted segments or separate long clips into smaller, manageable pieces. This technique not only helps in eliminating unnecessary content but also improves the overall pacing of your video.
Tips for Effective Trimming:
- Keep the Story Flowing: Avoid abrupt cuts that might disrupt the narrative. Instead, trim in a way that maintains a natural flow.
- Utilize Keyboard Shortcuts: Familiarize yourself with keyboard shortcuts to speed up your workflow. For example, the ‘S’ key in Shotcut often serves as a quick shortcut for splitting clips.
- Zoom In for Precision: Use the zoom feature on the timeline to make frame-accurate edits, ensuring that every cut is perfectly timed.
2. Adding Transitions
Transitions play a pivotal role in creating a seamless viewing experience. With Shotcut, you can add professional transitions by overlapping clips on the timeline. When clips overlap, Shotcut automatically creates a transition zone that you can further customize by right-clicking on it. Choose from various effects like fades, wipes, and dissolves to add that extra professional touch.
Best Practices for Transitions:
- Keep It Simple: While it’s tempting to use flashy transitions, subtle effects often work best to maintain a professional look.
- Match the Mood: Select transition effects that complement the tone of your content. For instance, a fade-out might suit a somber scene, while a quick dissolve could enhance a dynamic sequence.
- Avoid Overuse: Using too many transitions can distract your viewers. Reserve them for key moments to emphasize changes in scene or mood.
3. Enhancing Videos with Filters
Shotcut comes equipped with a robust library of filters that can dramatically improve your video quality. Filters allow you to adjust and enhance various aspects of your footage.
Commonly Used Filters:
- Brightness & Contrast: Adjust these settings to ensure that your video is well-lit and visually balanced. Enhancing brightness and contrast can bring out details that might otherwise be lost in shadow or overexposure.
- Color Grading: Use color correction tools to set the mood and tone of your video. Whether you’re going for a warm, inviting feel or a cool, dramatic look, color grading helps in creating a consistent aesthetic throughout your video.
- Stabilization: Shaky footage can detract from the professionalism of your video. The stabilization filter smooths out unwanted movements, making your video appear more polished.
- Sharpening and Noise Reduction: Fine-tune the clarity of your video by applying sharpening filters to bring out details, and noise reduction filters to eliminate grainy or low-quality visual artifacts.
4. Incorporating Text and Graphics
Text overlays, titles, lower thirds, and captions add context and professionalism to your video. Shotcut’s ‘Text’ filter lets you integrate these elements directly into your footage. You can customize fonts, colors, sizes, and even animate text to create engaging on-screen graphics.
Strategies for Effective Text Use:
- Clarity is Key: Ensure that your text is legible against various backgrounds. Use contrasting colors and, if necessary, add a subtle shadow or outline.
- Consistent Style: Maintain a consistent style throughout your video. This helps reinforce your brand identity and makes your content appear more cohesive.
- Timing and Placement: Place text strategically—avoid cluttering the screen. Use text to highlight key information or to guide your audience through the narrative.
5. Improving Audio Quality
Audio quality is as important as visual quality when it comes to engaging your audience. Shotcut provides several tools to help you fine-tune your audio tracks.
Key Audio Techniques:
- Gain/Volume Adjustments: Use the ‘Gain/Volume’ filter to balance your audio levels. Ensuring that your voiceover, background music, and sound effects are well-balanced is essential for clarity.
- Noise Reduction: Background noise can be distracting. Shotcut’s noise reduction filter can help minimize unwanted sounds, such as wind, hums, or static, thereby enhancing the overall audio experience.
- Audio Transitions: Just as with video, smooth audio transitions can improve the flow of your video. Fade-ins and fade-outs can make audio cuts less jarring and more natural.
6. Exporting Your Video for YouTube
After spending hours perfecting your edits, the final step is to export your video using YouTube’s recommended settings. This ensures that your video looks great on all devices and meets the platform’s technical requirements.
Recommended Export Settings:
- Format: Use the H.264 codec in an MP4 container. This format is widely supported and offers an excellent balance between quality and file size.
- Resolution: Export your video in 1920x1080 resolution (1080p) to meet YouTube’s high-definition standards.
- Bitrate: A bitrate of around 8 Mbps is recommended for HD content. Adjust higher for more complex videos or lower for simpler ones.
- Frame Rate: Match the frame rate of your original footage—typically 30fps or 60fps—to ensure smooth playback.
- Final Check: Before uploading, watch your exported video to verify that all elements—visuals, transitions, and audio—are in sync and of high quality.
Taking Your Video Production to the Next Level with Finchley Studio
While Shotcut provides all the tools you need for post-production, the quality of your raw footage can significantly impact the final product. Recording in a professional studio environment can elevate your video quality, and Finchley Studio offers state-of-the-art spaces designed specifically for content creators.
Why Consider a Professional Studio?
Filming in a professional setting brings numerous benefits, including:
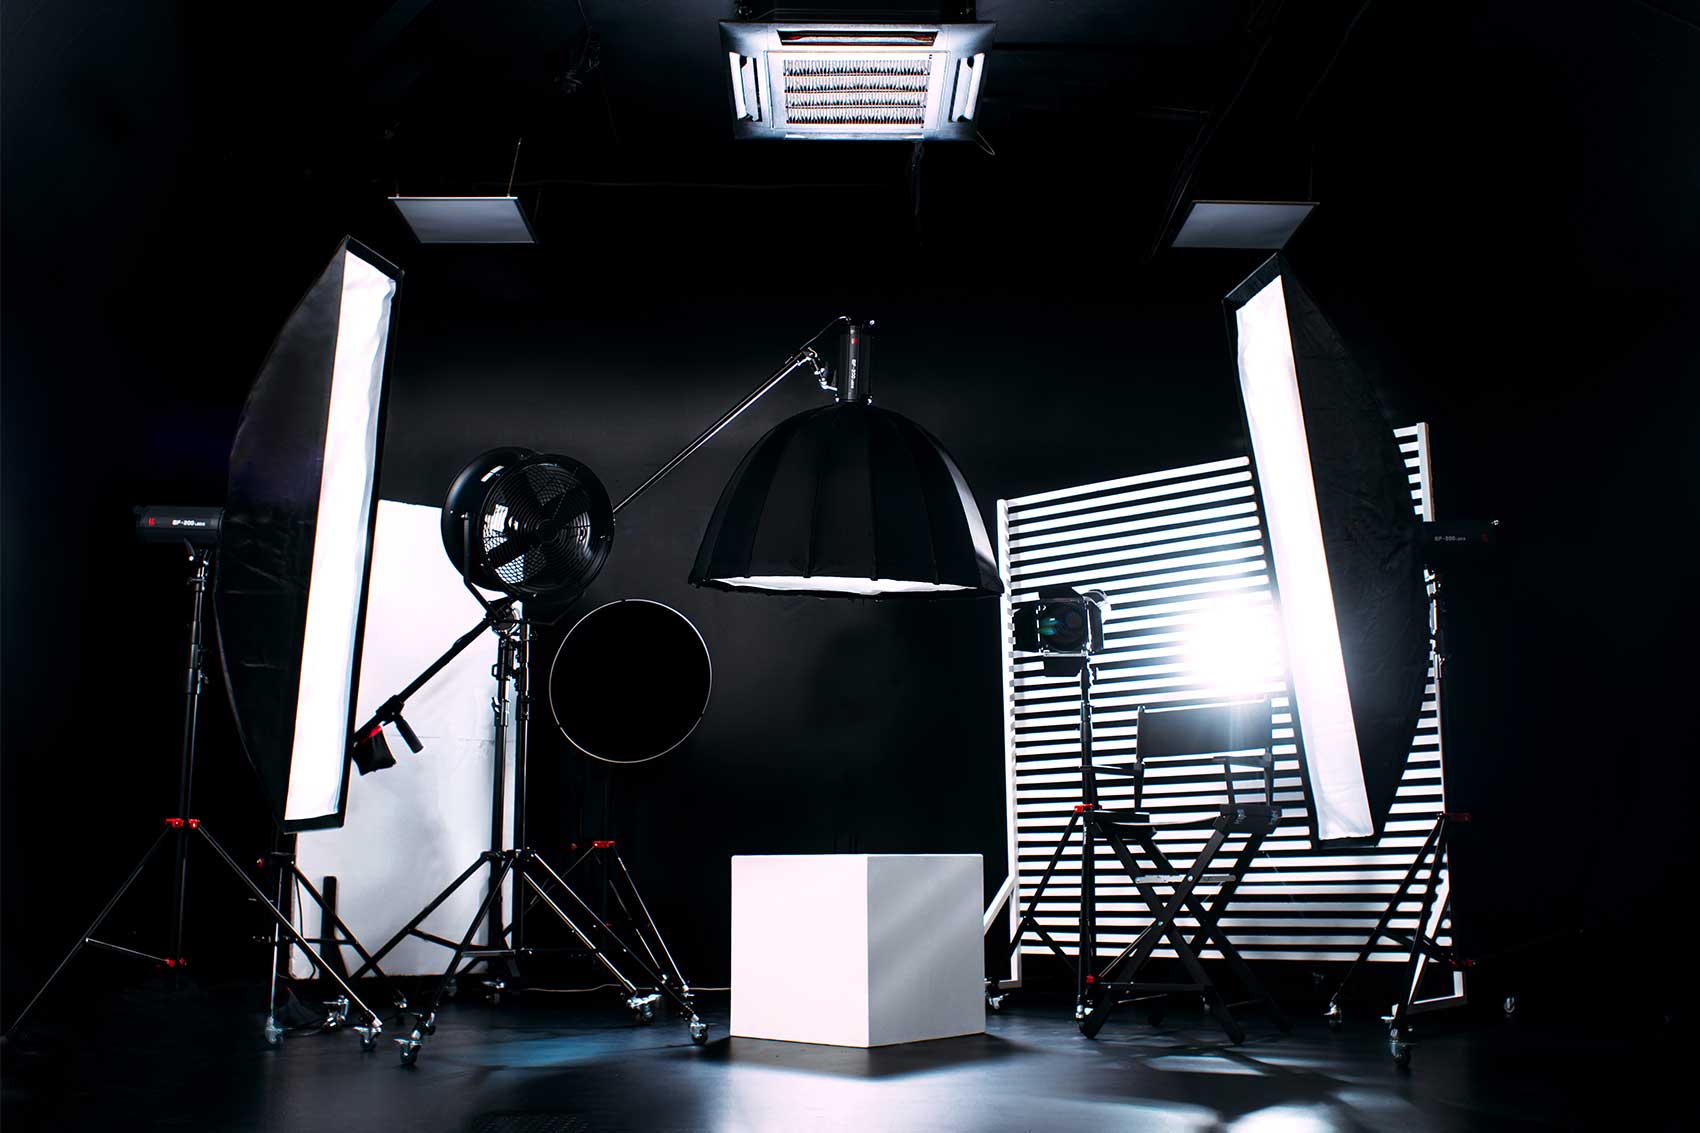
- Enhanced Lighting: Proper lighting is essential for high-quality visuals. Studio lighting setups ensure that every shot is well-illuminated and free from unwanted shadows.
- Superior Sound Quality: Soundproofed studios minimize ambient noise, ensuring your audio is crisp and clear. This is especially important for dialogue-heavy videos like interviews or tutorials.
- High-Resolution Cameras: Studios are equipped with top-of-the-line cameras that capture footage in high definition, providing a solid foundation for your post-production work in Shotcut.
- Controlled Environment: A professional studio offers a controlled environment, reducing the variables that can affect your filming, such as weather or background distractions.
Explore Finchley Studio’s Top-Notch Filming Spaces
Finchley Studio is designed to meet the needs of modern content creators, offering a variety of filming spaces to suit different video formats and styles:
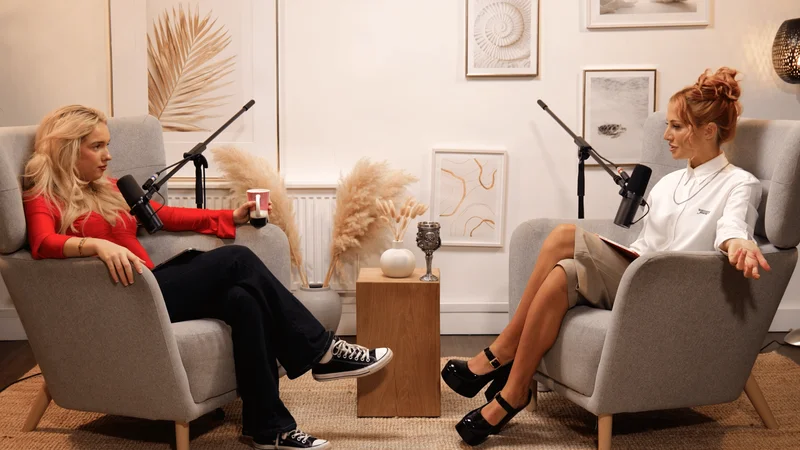
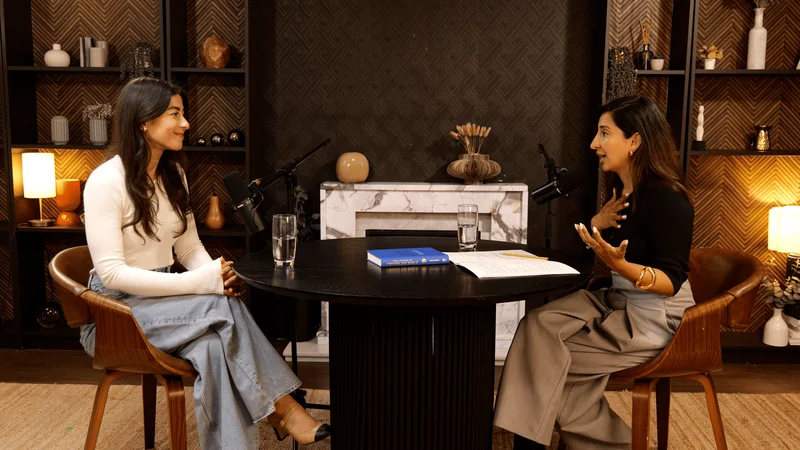
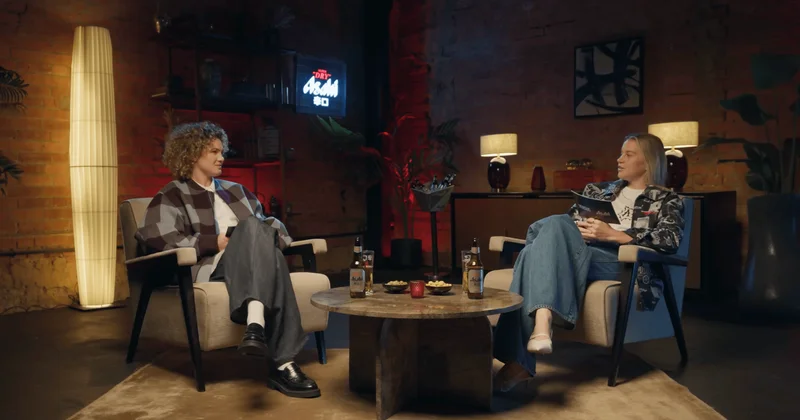
- Dialogue Room: Ideal for one-on-one interviews, tutorials, and educational content, the Dialogue Room provides an intimate setting that enhances the clarity of your message.
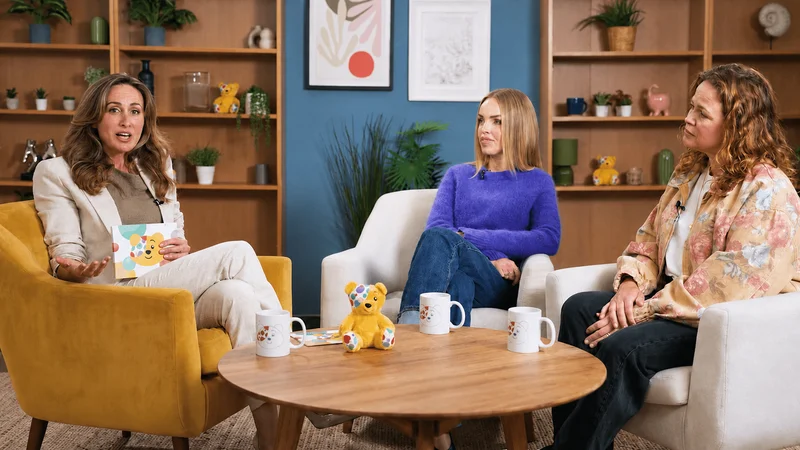
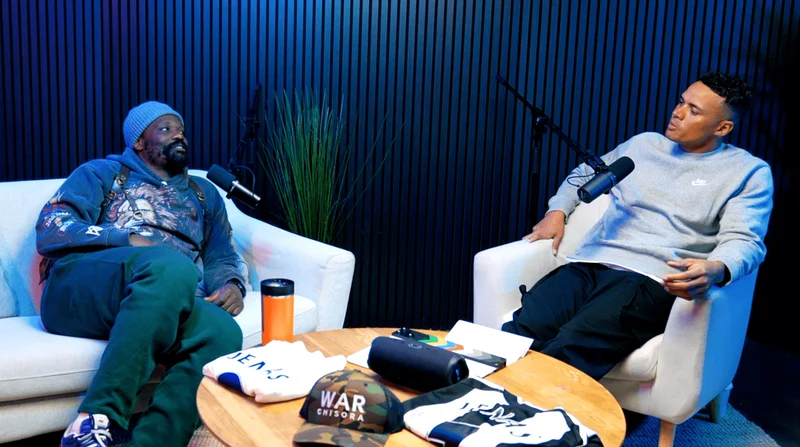
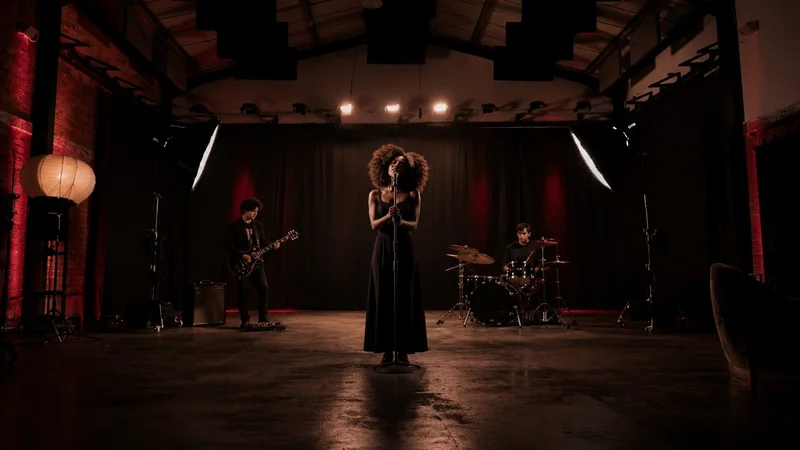
- Lounge Studio: Perfect for group discussions or casual video shoots, the Lounge Studio offers a relaxed yet professional backdrop, making it an excellent choice for vlog-style content or panel discussions.
- Gathering Studio: This space is best suited for panel discussions, roundtable conversations, and corporate videos. Its flexible layout accommodates multiple speakers, ensuring that everyone is seen and heard clearly.
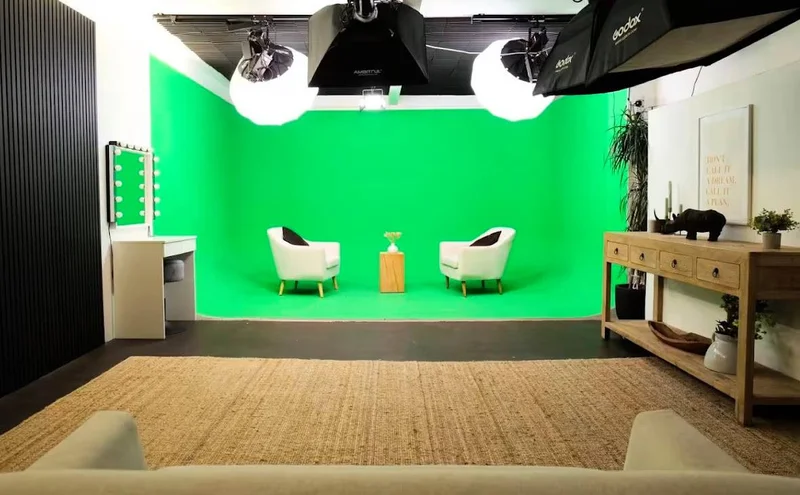
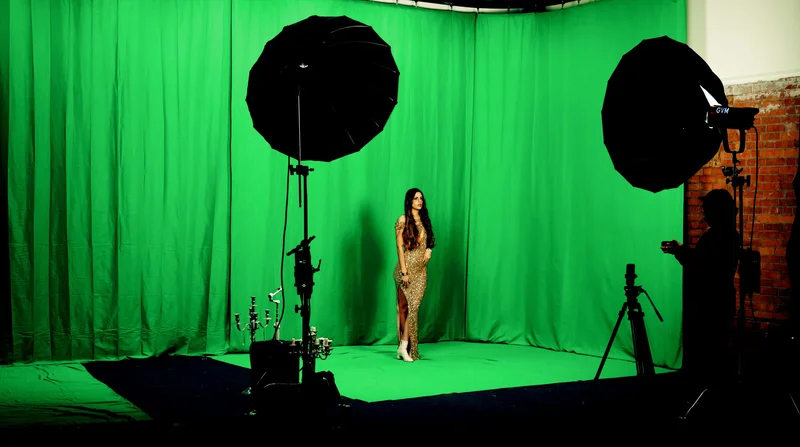
- Green Screen Studio: For creators who wish to incorporate custom backgrounds or special effects, the Green Screen Studio offers a versatile solution that lets you transform your footage into visually stunning content.
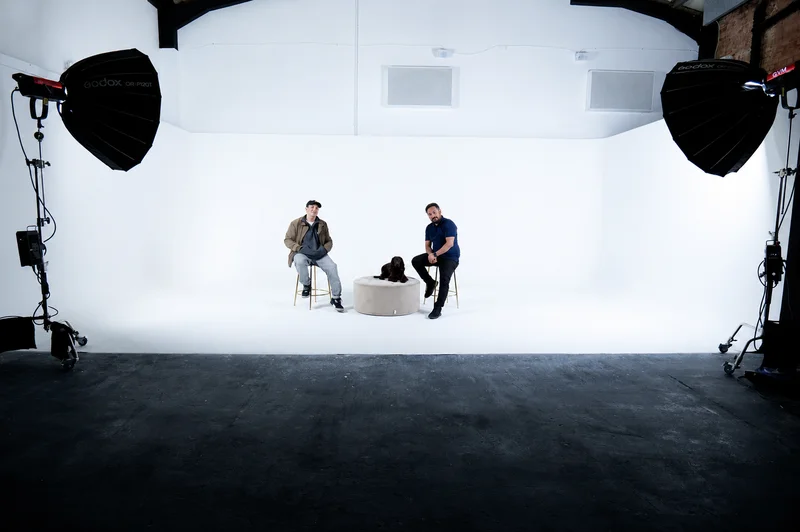
- White Infinity Cove: If you’re aiming for a clean, modern aesthetic, the White Infinity Cove provides a minimalist backdrop with an infinite white canvas that enhances the focus on your subject.
- Photography Studio: Beyond video production, high-quality stills are vital for social media and branding. The Photography Studio is tailored for capturing professional-grade images that can be used for thumbnails, promotional materials, and more.
Enhancing Your Overall Production Value
Booking a session at Finchley Studio isn’t just about getting better footage—it’s an investment in your brand. With the support of professional equipment and expert staff, you can ensure that your content is not only visually appealing but also aligns with industry standards. A well-produced video reflects positively on your channel, increases viewer retention, and sets you apart from the competition. By integrating top-notch studio quality with the powerful post-production tools available in Shotcut, you create a seamless production pipeline that elevates every aspect of your YouTube videos.
Advanced Tips for Maximizing Shotcut’s Potential
For content creators ready to push their editing skills further, here are a few advanced techniques that can help you achieve an even more professional look:
Customizing Workflow with Keyboard Shortcuts
One of the secrets to efficient editing is mastering keyboard shortcuts. Shotcut allows you to customize these shortcuts, which can save precious time during complex editing sessions. Spend some time setting up shortcuts for your most frequently used actions, such as cutting clips, applying filters, or toggling between the preview window and timeline.
Layering Multiple Filters
While basic filter use can enhance your footage, combining multiple filters on a single clip can produce even more impressive results. For example, try applying both color grading and stabilization filters to create a dynamic and smooth visual effect. Experiment with filter order and intensity to see what works best for your specific content.
Utilizing Proxy Editing
If you’re working with high-resolution footage on a less powerful computer, consider using Shotcut’s proxy editing feature. This allows you to edit lower-resolution copies of your clips, which can significantly speed up your workflow. Once your edits are complete, the software will apply your changes to the original high-resolution files, ensuring that your final output remains of professional quality.
Backup and Version Control
As your projects grow in complexity, keeping backups and managing different versions becomes critical. Shotcut makes it easy to save project files at various stages, so you can revert to an earlier version if needed. Establish a consistent backup routine to protect your work against unexpected data loss.
Final Thoughts
Shotcut is an impressive, free video editing tool that bridges the gap between entry-level software and professional-grade editing solutions. With its intuitive interface, diverse range of filters, and powerful editing features, Shotcut empowers creators to produce high-quality YouTube videos without incurring heavy costs. By following the outlined steps—starting from setting up your project, through precise editing, to mastering audio and visual enhancements—you can transform raw footage into captivating content that resonates with your audience.
Additionally, while excellent post-production software like Shotcut is vital, the quality of your original footage sets the foundation for your entire project. Investing in professional studio space, such as those offered by Finchley Studio, can take your content to the next level. With industry-standard lighting, soundproofed environments, and high-resolution recording equipment, your studio sessions can complement the power of Shotcut, ensuring that every element of your video—from visuals to audio—is of the highest standard.
By integrating these tools and techniques, you are not just editing a video—you’re crafting a professional narrative that captivates your viewers from start to finish. Whether you’re preparing a tutorial, a vlog, or an in-depth documentary, Shotcut’s robust feature set combined with the enhanced production value of a professional studio environment can help you achieve your creative vision and grow your YouTube presence.
Embrace the creative process, experiment with different techniques, and don’t be afraid to push the boundaries of your editing skills. With practice and persistence, you can master Shotcut and produce videos that not only meet but exceed the expectations of today’s discerning online audiences.
Source: https://www.shotcut.org/tutorials/