Executive summary
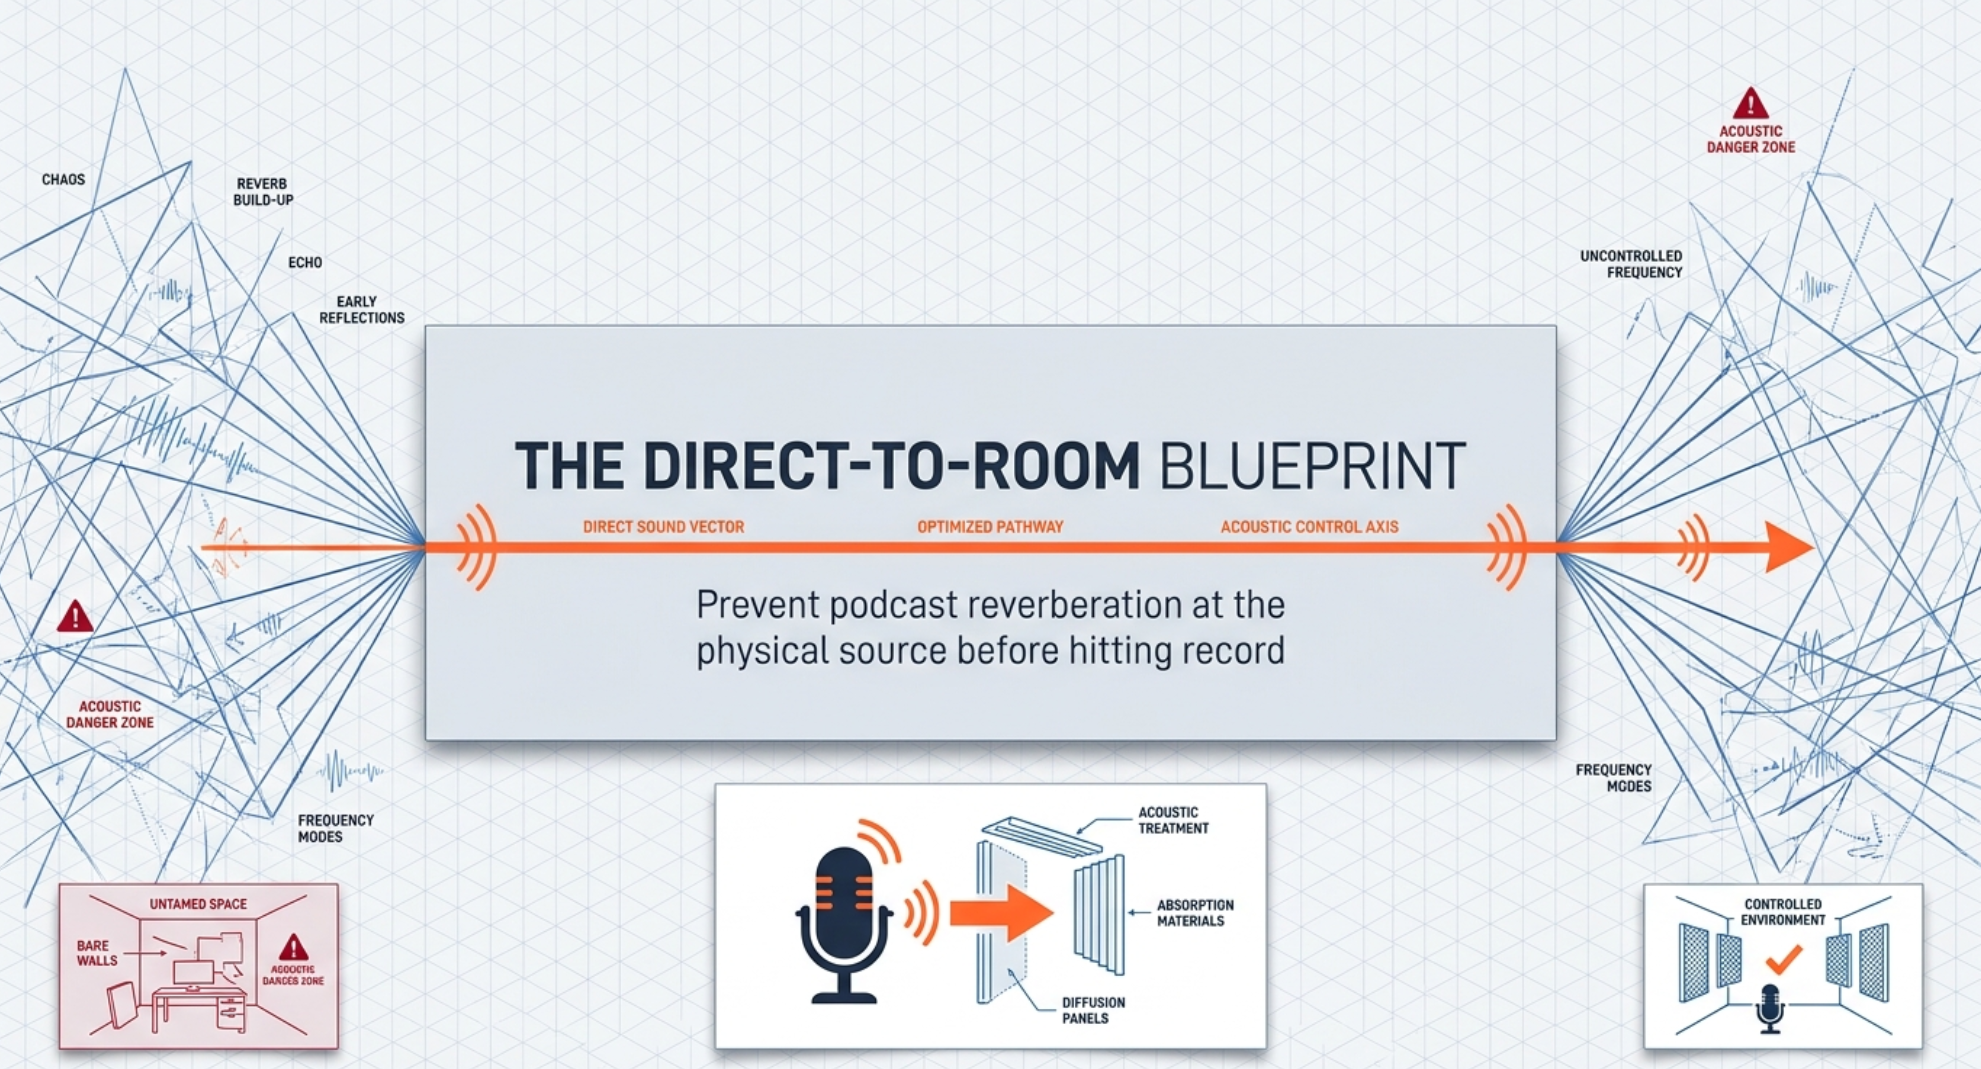
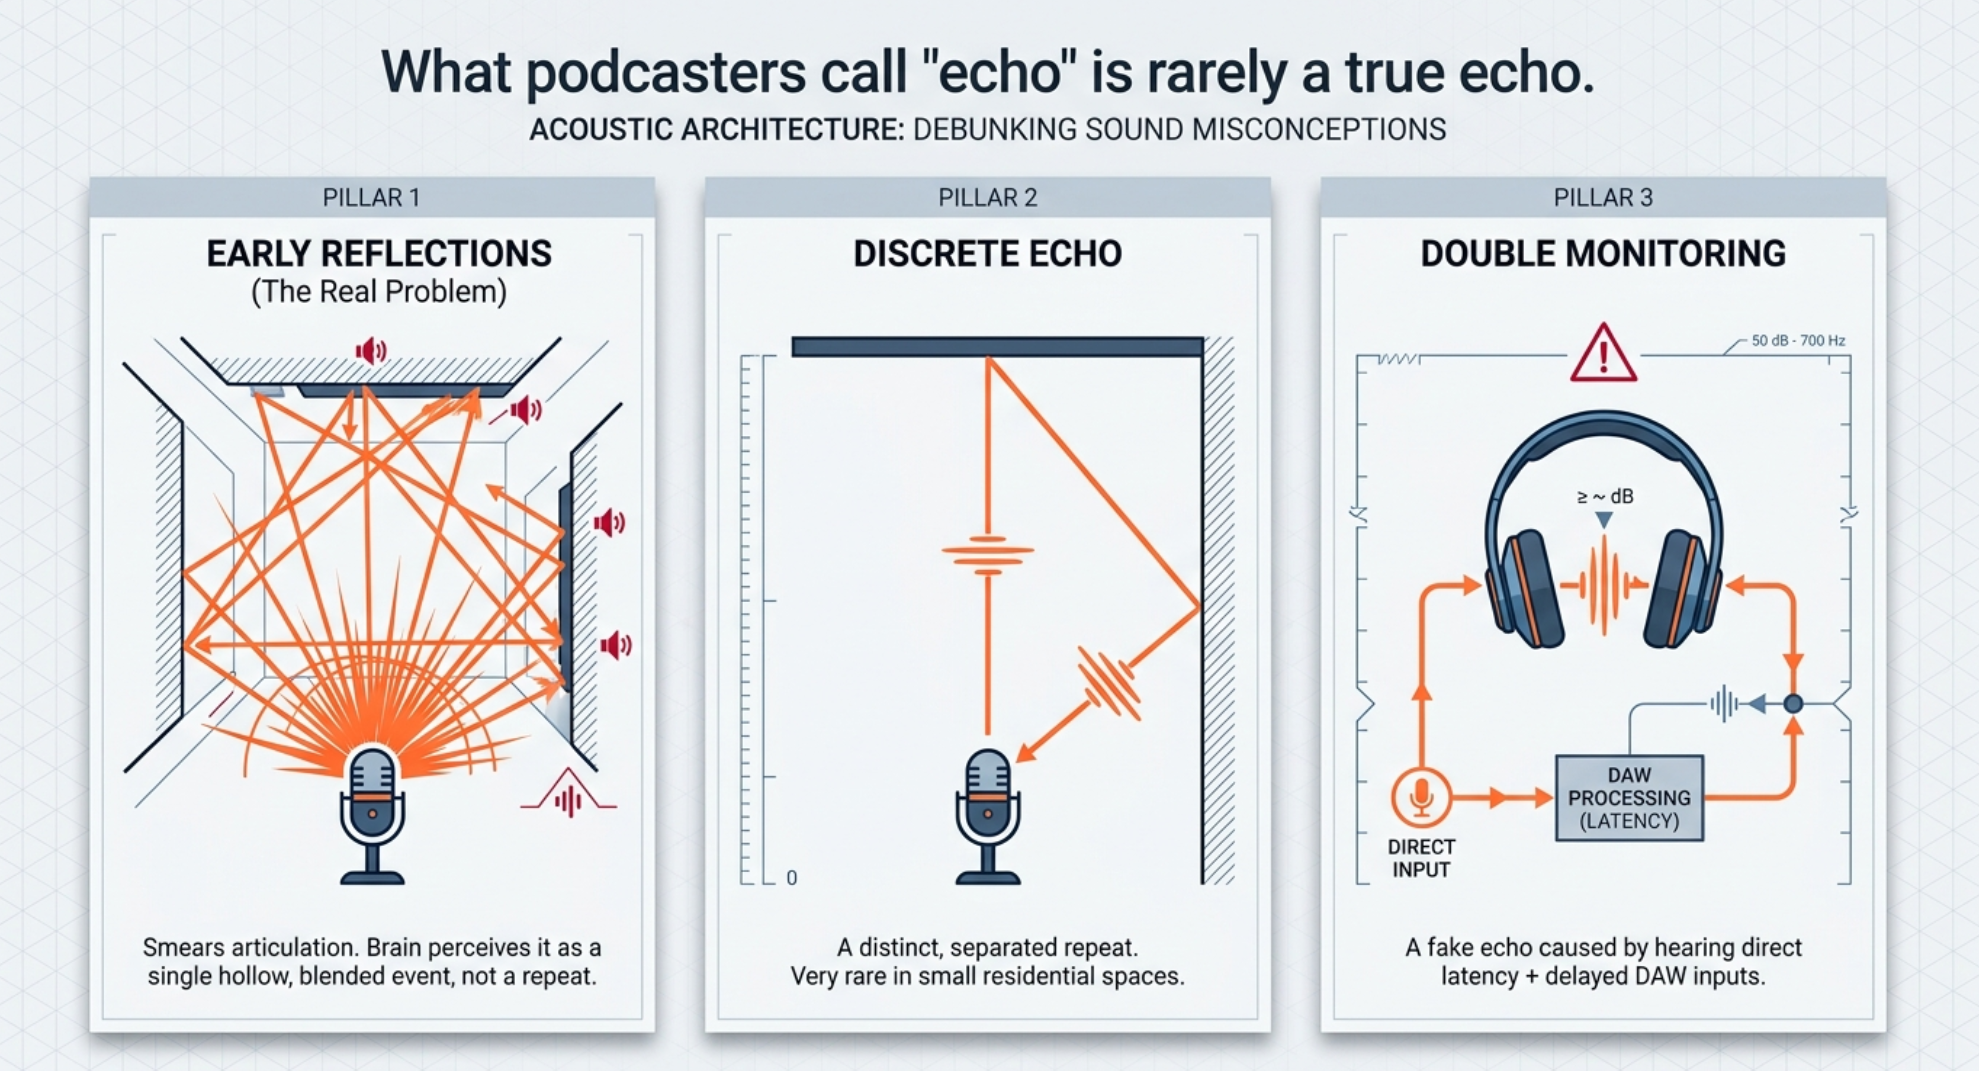
What podcasters often call "echo" is usually not a true, clearly separated echo. In most home setups it is a blend of early reflections from nearby walls, desks, windows, and ceilings, plus short-room reverberation that arrives fast enough to smear speech rather than repeat it as a distinct slap. In stricter audio terms, distinct echo is a delayed repetition, while early reflections in small rooms are typically heard as a blended event. Monitoring latency can also create an "echo" sensation if you hear the same input twice in headphones. The strongest pre-recording fixes are almost always physical, not plug-in based: record in the quietest, softest room you have; use a directional mic suited to the room; keep the mic close to the mouth; reduce first reflection points on side walls, ceiling, floor, windows, and desks; and set up one low-latency monitoring path instead of accidentally monitoring both direct and delayed DAW signals. In plain terms, the more direct voice you capture relative to the room, the drier and more professional the recording will sound.
Software de-reverb, gating, and AI speech enhancement are useful recovery tools, but they are not the best first line of defense. The official documentation for de-reverb tools from plugin makers consistently frames them as a way to salvage or attenuate already-recorded room sound. They can help, sometimes a lot, but they work best when the recording was already reasonable and only needs cleanup.
Assumptions. Room size and budget were unspecified, so this report assumes a typical small residential recording space such as a bedroom, office, or spare room, and gives cost ranges using current public retail examples in the UK and US where relevant. The source base prioritizes the Acoustical Society of America plus manufacturer and technical guidance from Shure, RØDE, DPA Microphones, Audio-Technica, Focusrite, GIK Acoustics, Primacoustic, Auralex, Adobe, iZotope, Waves, and Acon Digital.
Why an echoey podcast happens
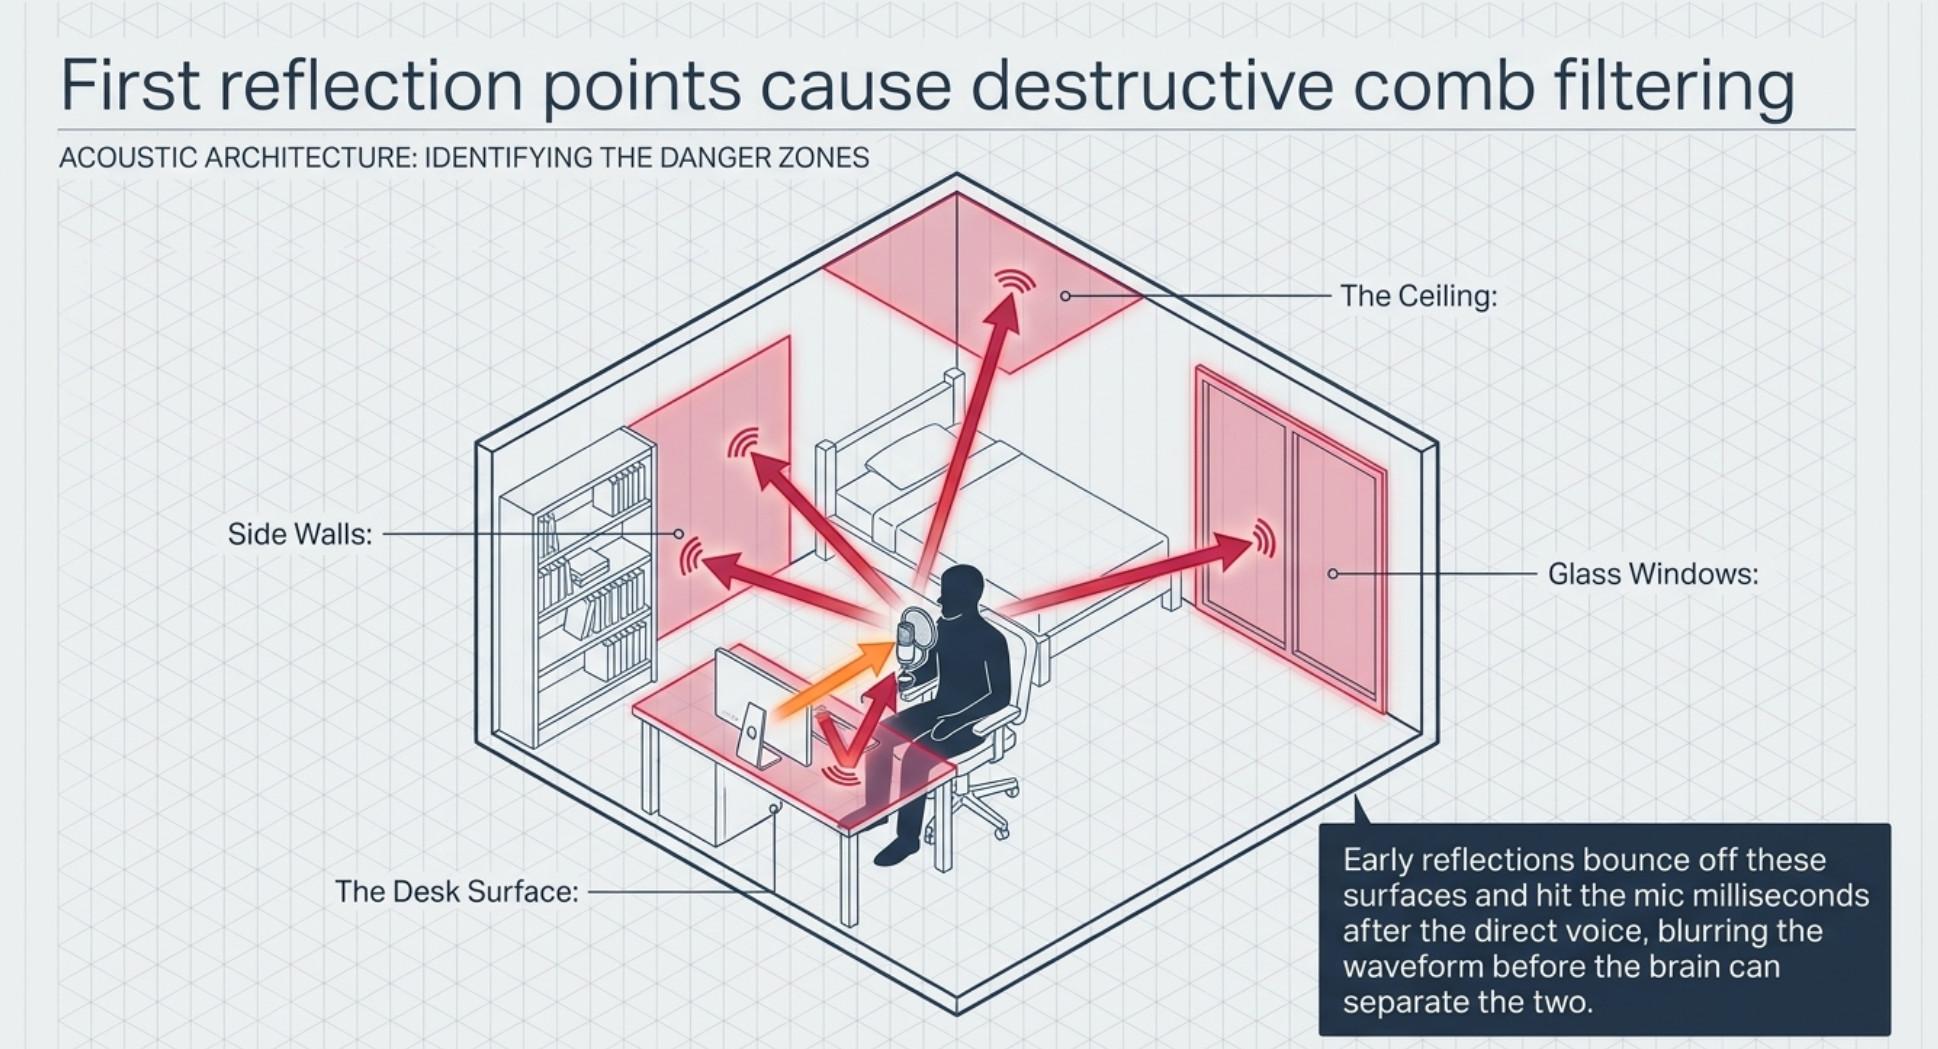
A bad spoken-word room is usually a combination of three problems: excess reflections, too much microphone distance, and poor monitoring or gain practice. The ASA's podcast-room guidance is blunt about the basics: unwanted sounds include mechanical noise, vocal reflections, traffic, or people in adjacent rooms; square rooms should be avoided when possible because of modal buildup; carpet is helpful on the floor; side walls in the podcaster's speaking plane should get absorptive treatment; wall materials in those zones should be around 1-2 inches thick; and the ceiling should also be absorptive Acoustical Society of America.
The most important physical principle is the direct-to-room ratio. Shure's recording guide explains that direct sound follows the inverse-square law, so every doubling of source distance drops the direct sound by about 6 dB, while ambient room sound remains comparatively similar across the room because it has already reflected many times. That is why moving a mic farther away makes the room disproportionately louder and why, beyond a certain critical distance, the room can dominate no matter what mic type you use Shure.
Early reflections are especially destructive for voice because they blur articulation before your brain separates them from the direct sound. GIK describes early reflections in small rooms as arrivals within roughly 30-40 ms of the direct sound, which are usually perceived as a single blended event rather than a separate repeat. Adobe's delay documentation, by contrast, notes that discrete audible echoes emerge when delays are long enough to be heard as separate copies. In practice, that means the "echoey" sound of a spare bedroom is usually a room-acoustics problem, not a special-effect echo GIK Acoustics.
Reflections are not limited to walls. Shure explicitly warns that tabletops and music stands can reflect into the microphone, and its recording guide also explains how a single mic can suffer reflection comb filtering when it picks up both direct sound and a delayed reflected version of the same sound. That is one reason so many desk-mounted podcast setups sound hollow or phasey even when the wall treatment is decent Shure.
Microphone choice matters, but less than many people assume. Audio-Technica's voice-capture guidance says dynamic microphones tend to minimize room noise and suit untreated rooms, while condenser microphones are more sensitive and excel in treated spaces with more controlled acoustics. Shure's polar-pattern guide adds that cardioid and tighter unidirectional patterns isolate the on-axis source better than omnis, whereas omni mics sound more open and natural but are poor choices when you need to reject room ambience Audio-Technica.
"Too much gain" is often misdiagnosed as the cause of reverb. Strictly speaking, the preamp is not generating reverb. The practical problem is that people often compensate for weak source level by sitting too far from the mic or by turning up the preamp until the room and noise floor come up with the voice. Conservative gain staging and close placement solve that much better than chasing hotter meters Shure.
A final cause is latency or double monitoring. Focusrite's support documentation explains that if you monitor through direct monitoring and also hear the delayed DAW input, you will hear the signal twice, producing an echo or phasey sound. Their technical latency article adds that whenever someone hears both the direct sound and the delayed monitored sound, any latency can create comb filtering. This is one of the fastest problems to test and one of the easiest to fix Focusrite.
Diagnostics and pre-recording checklist
The fastest useful room assessment is not one single test but a short sequence of tests. The key is to separate room acoustics, placement, and monitoring faults.
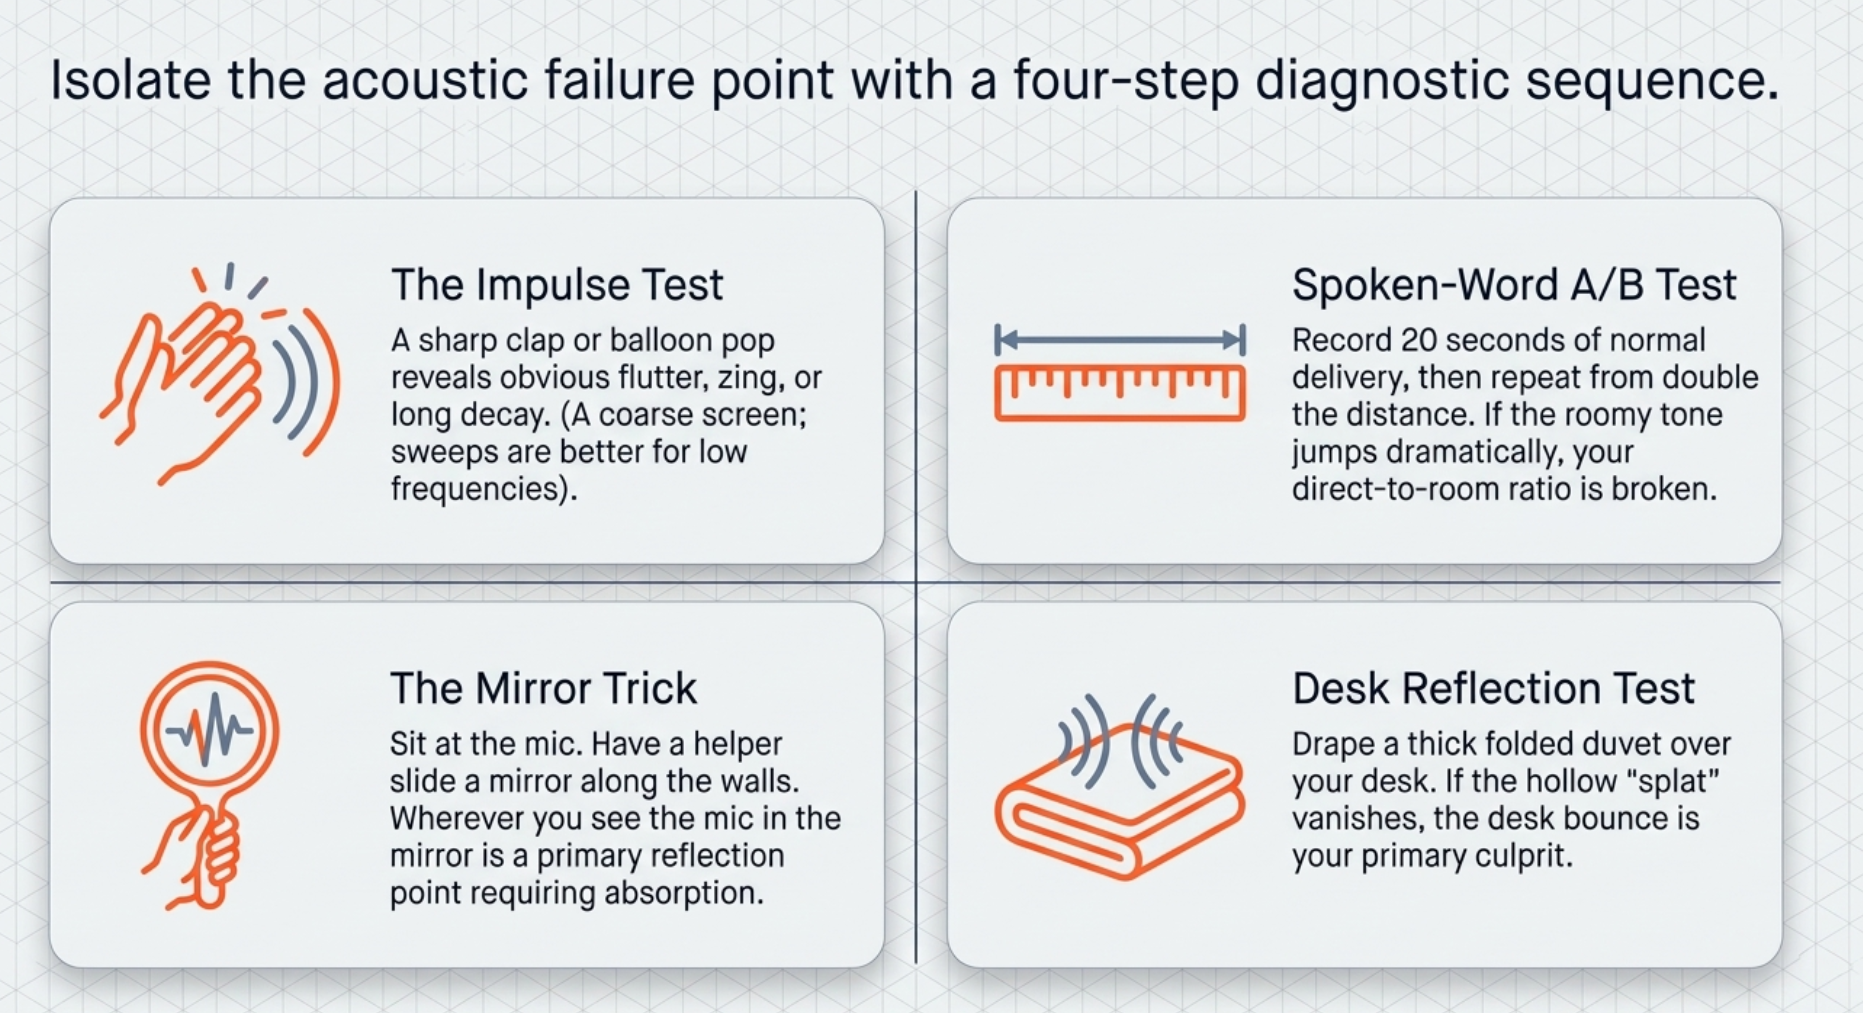
Clap or impulse test. A sharp clap, balloon pop, or other transient can reveal obvious flutter, zing, or long decay, and acoustics vendors and measurement-tool makers both acknowledge impulse-based reverberation checks. But a clap is only a coarse screen. REW notes that classical RT60 is not especially meaningful in domestic rooms below a few hundred hertz, so if you want a more trustworthy diagnosis, use a measurement sweep and inspect decays, waterfalls, or spectrograms instead of trusting your hands alone Rational Acoustics.
Spoken-word A/B test. Record 20 seconds of your normal delivery at your intended mic position, then repeat the same line from noticeably farther back. If the roomy tone jumps dramatically, the problem is mostly direct-to-room ratio, not the microphone brand. That conclusion follows directly from Shure's direct-versus-ambient guidance Shure.
Mirror test for reflection points. GIK recommends the classic mirror trick: sit or stand in your recording/listening position while a helper moves a mirror along the wall; the place where you can see the source in the mirror is a reflection point. For spoken-word setups, the same logic applies to the nearest side wall, ceiling, desk edge, and window line near the mic/talker geometry GIK Acoustics.
Desk reflection test. Shure specifically warns that hard surfaces such as tabletops can hurt the recorded sound. A fast test is to drape the desk with a folded blanket or duvet and repeat the same line. If the voice becomes less hollow or splatty, the desk was contributing a strong early reflection Shure.
Latency test. If the "echo" only happens in headphones while recording, disable software input monitoring or mute the record track while using direct monitoring. If the problem disappears, it was not room reverb at all Focusrite.
This checklist is grounded in ASA room guidance, GIK reflection-point practice, RØDE and Shure placement guidance, conservative gain staging, and Focusrite's monitoring recommendations Acoustical Society of America.
Microphone choice and placement
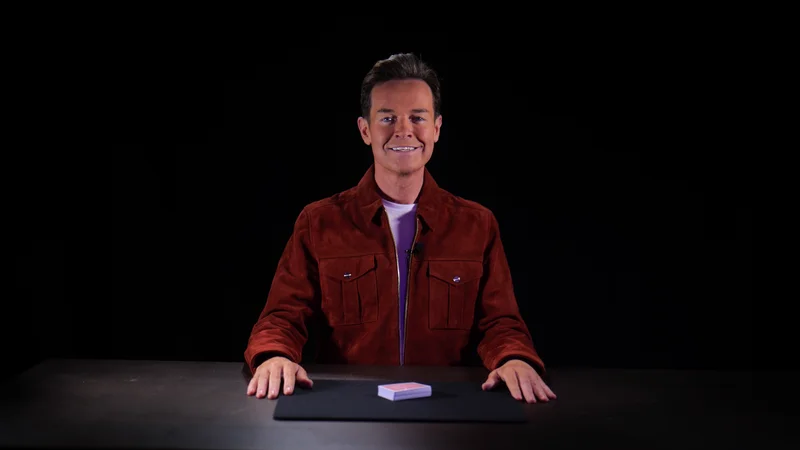
The right microphone does not "beat" physics, but it can make the physics easier to manage. In an untreated room, a directional mic used close to the mouth normally gives the most audible improvement because it raises the direct-to-room ratio. In a treated room, a good condenser can sound more detailed and open. A lavalier wins for convenience and framing, but it rarely beats a close-talked boom or broadcast dynamic for maximum dryness and intelligibility Audio-Technica.
The following table synthesizes manufacturer guidance on microphone transducers for speech work Audio-Technica.
Polar pattern matters almost as much as transducer type. Shure's directionality guide notes that cardioid rejects best at the rear, while supercardioid and hypercardioid patterns narrow the front pickup further but introduce rear sensitivity and require more disciplined positioning. Omnis sound open and natural, but they are the wrong default in a reflective room because they do not reject ambient sound well Shure Polar Patterns.
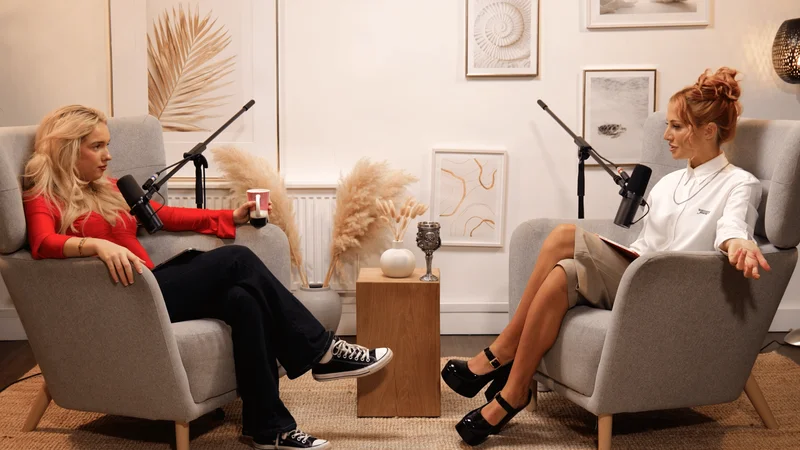
For visual context, compare close-talk mic positioning, lav placement, and first-reflection zones while reading the placement notes below. Shure's spoken-word guide and GIK's reflection article are especially useful reference links Shure.
The next table translates the manufacturer placement guidance into spoken-word distances and angles that work well in real rooms RØDE.
A few product examples are especially instructive. For untreated-room spoken word, the Shure SM7B is still a benchmark, but Shure also states it works best with about 60 dB of preamp gain, which is important for interface matching. For hybrid USB/XLR convenience, the RØDE PodMic USB is a flexible dynamic option. For a treated space where you want a clearer condenser presentation, the Audio-Technica AT2035 is a standard value pick. For on-camera lav use, the RØDE Lavalier GO is a simple, affordable reference point Shure SM7B.

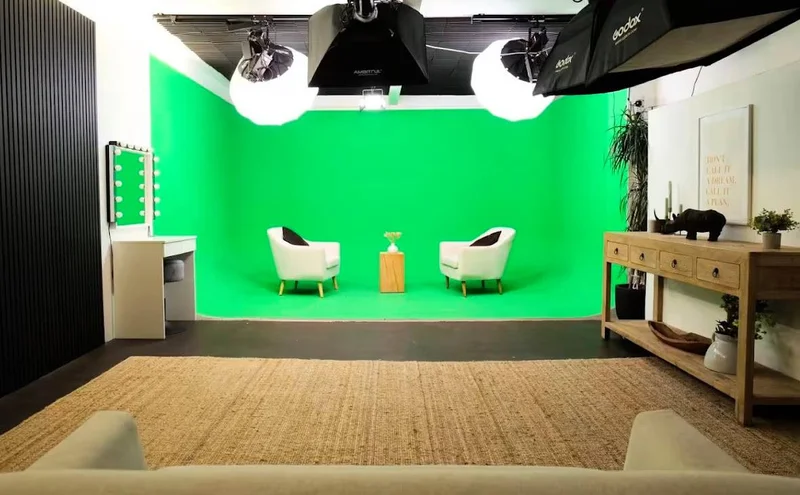
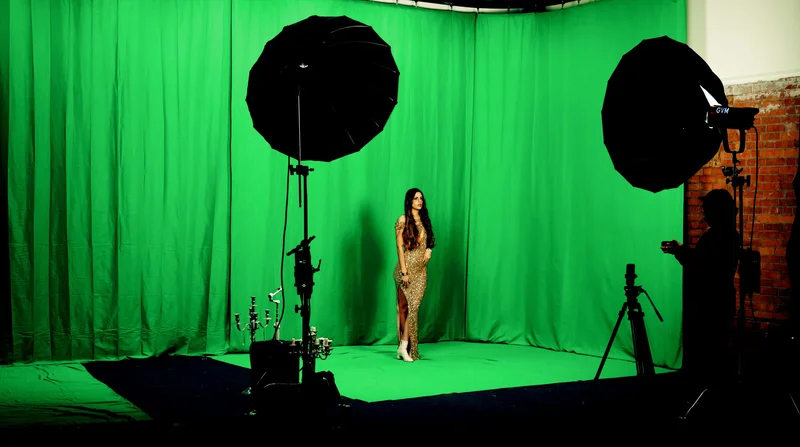
Acoustic treatment and temporary fixes
For podcasting, the winning strategy is usually broadband absorption near the speaker and first reflection points, with bass control added if the room is boxy or boomy. ASA's podcast-room advice explicitly calls for absorptive treatment on the walls in the same plane as the podcaster's voice and on the ceiling, while GIK's guidance emphasizes first reflections and corner treatment as the usual first priorities. Rugs, curtains, bookshelves, and upholstered furniture help, but they are support players unless they are substantial and well placed Acoustical Society of America.
One common mistake is overvaluing thin decorative foam and undervaluing denser broadband panels. Primacoustic's foam-versus-fiberglass comparison states that denser glass-wool panels continue working lower in frequency than typical foam and can provide several times the absorption of same-size foam panels. Shure's recording guide likewise warns that carpet alone is not a serious substitute for real absorption. In practical terms, a rug helps floor bounce, but it does not replace wall, corner, or ceiling treatment Primacoustic.
The table below mixes fixed and portable options. Effectiveness is a practical spoken-word estimate, inferred from published absorber ratings, placement guidance, and common room behavior rather than a single universal lab number. Current example prices mix UK and US listings because the budget and geography were unspecified ATS Acoustics.
Three practical takeaways matter most. First, first-reflection panels and a ceiling cloud give more predictable improvement than randomly covering a room. Second, if the room is boomy, corners are where low-frequency energy tends to build up, so that is where bass traps pay off. Third, in temporary setups, coverage area matters: GIK explicitly says large freestanding screens outperform small mic-stand shields because the latter only provide limited local absorption around the microphone GIK Acoustics.
For small rooms and renters, the most efficient temporary arrangement is usually this: put the speaker close to a directional mic, drape or screen the side and rear reflection areas near the speaker, cover the desk, and close heavy curtains on glass. GIK's PIB screens, acoustic blankets from VocalBoothToGo, and even generic moving blankets on a clothing rack all fit this strategy, but generic moving blankets are materially weaker than purpose-built acoustic blankets GIK Acoustics PIB.
A few useful reference products and links for planning are: GIK broadband panels and PIB screens, Auralex LENRD corner traps, the SE RF-X reflection filter, Aston Halo, VocalBooth ToGo acoustic curtains/blankets, and low-cost blackout curtains from IKEA GIK Acoustics Shop.
Signal chain and software
Once the room and placement are respectable, the signal chain becomes the polish layer. Focusrite recommends conservative gain staging, with peaks around -12 dBFS rather than recording as hot as possible. The logic is simple: you keep headroom, avoid clipping, and still record well above the noise floor. Gain should be set with the performer in the actual recording position and at the loudest expected speaking level, not at a timid sound-check whisper Focusrite Gain.
A high-pass filter is often useful for spoken word because it reduces low-end rumble and mud, but it is not a reverb cure. RØDE's processing guide describes HPF as a way to reduce low-end noise or clean up a muddy voice, and Audio-Technica's AT2035 page explicitly frames its 80 Hz HPF as a tool for removing unnecessary low-end noise. This is a tonal-cleanup move, not an acoustic-treatment replacement RØDE Processing.
A pad is even more specialized. Official mic documentation from Audio-Technica, Shure, and RØDE describes pads as attenuation for hot sources or overload prevention, not as anything related to room sound. If your close-spoken podcast voice is not overloading the microphone or preamp, you usually do not need a pad. If a hot condenser is clipping internally or the source is extremely loud, engage the pad to lower sensitivity and preserve headroom Audio-Technica AT2035.
Monitoring deserves more attention than many podcast guides give it. The cleanest approach is either direct monitoring with the DAW input muted, or very low software latency with no duplicate direct path. What you must not do is hear both at once. Focusrite's support pages explicitly identify that as a cause of echo and phase issues Focusrite.
The next table summarizes the most useful pre/post tools for spoken-word cleanup. The "when to use it" column is the important one RØDE Processing.
For software examples, Adobe Podcast Enhance Speech is the easiest browser-based option when speed matters; Adobe says it removes background noise and echo and lets you adjust enhancement strength. iZotope RX De-reverb is a more traditional restoration tool and is explicitly framed by iZotope as a way to salvage overly reverberant recordings. Acon DeVerberate adds automatic dialogue-focused reverb reduction plus an early-reflections filter. Waves Clarity Vx DeReverb is optimized for one-knob, vocal/dialogue room removal Adobe Podcast.
If you need rough cost anchors, Acon lists DeVerberate at $99, Waves currently shows Clarity Vx DeReverb at $29.99 on its product page, and iZotope lists RX 11 Standard at $399. Adobe's public plan pages clearly list the premium features and limits for Enhance Speech, though pricing is not always surfaced as plainly on those pages Adobe Podcast.
Workflow and troubleshooting
The most reliable workflow is boring in the best possible way: fix the room before you chase the waveform.
Choose the quietest room you can tolerate visually. A smaller, softer room usually beats a larger, prettier one. Avoid obviously square, glassy, sparse rooms if you have a choice. Silence fans, HVAC, laptop whine, and notifications; if possible, move noisy computers farther away from the mic Acoustical Society of America.
Treat the obvious reflection path first. Close heavy curtains, put down a rug if the floor is hard, cover desk bounce, and add absorption at the nearest side-wall and ceiling reflection zones. If the room is boomy, start adding corner trapping GIK Acoustics.
Pick the microphone for the room, not for the internet. In an untreated room, a close-talk dynamic cardioid or supercardioid is often the safest choice. In a treated room, a good cardioid condenser can sound more articulate. Use a lav only when framing, mobility, or multi-person production really need it Audio-Technica.
Mount the mic properly. Use a boom or stand rather than letting the mic sit low and far away on the desk. Add a pop filter if relevant, and angle the mic slightly off-axis or from above/below the mouth Shure.
Set the spoken-word distance. Use roughly 2-6 inches for a broadcast dynamic, around 6-12 inches for a spoken-word condenser, and about 20-30 cm for a chest-mounted lav. Stay consistent; inconsistency sounds worse than almost any single "perfect" distance RØDE.
Gain-stage with your real delivery. Speak at full show intensity and set peaks conservatively around -12 dBFS. Turn on a modest HPF only if needed. Use a pad only if the source or mic is genuinely overloading Focusrite Gain.
Fix monitoring before you record the full take. Use direct monitoring or software monitoring, not both. If the headphones sound phasey or delayed, solve that now Focusrite.
Record a 20-second reference pass and listen critically. If it still sounds roomy, halve the mic distance before you buy anything. If it sounds boomy, reduce proximity, add HPF, or trap corners. If it sounds hollow, suspect desk bounce or another nearby reflection. If the live headphone sound is the only problem, suspect monitoring Shure.
Only then use post tools. Light gate or expander for between-phrase cleanup, then de-esser/EQ/compression as needed. Reach for de-reverb or AI enhancement only when you cannot re-record or when the room problem is already mostly controlled and just needs finishing Adobe Audition.
A short troubleshooting list helps when you need to diagnose fast:
If the voice sounds distant or roomy: move the mic closer first; Shure and RØDE both stress close placement because distance is what lets the room win Shure.
If plosives are the problem: keep the mic slightly off-axis, use a pop filter, and aim from just above or below the mouth Shure.
If the voice is muddy or over-bassy: you are likely too close to a directional mic, so back off slightly or use a modest HPF Shure.
If the "echo" is only in headphones: disable duplicate monitoring; that is a latency issue, not room reverb Focusrite.
If the lav sounds hollow or noisy: move it higher within the 20-30 cm range, stop clothing rub, and remember that a boom or headworn mic is acoustically superior for intelligibility RØDE Lavalier.
If a gate makes speech sound chopped: lower the threshold, increase hold/release, or bypass it; gates only help when the signal drops below threshold, so they are poor tools for reverb that exists during the words themselves Adobe Audition.
The most cost-effective upgrade order for most home podcasters is this: close placement and monitoring fix first, then curtains/rug/desk control, then 2-4 real broadband panels at first reflections, then corner trapping if the room is boomy, then portable gobos or acoustic blankets if the room must stay flexible, and only then heavier reliance on de-reverb software. That order follows the physics of direct-versus-ambient balance and the treatment priorities emphasized by ASA, Shure, GIK, and the plugin makers themselves Acoustical Society of America.