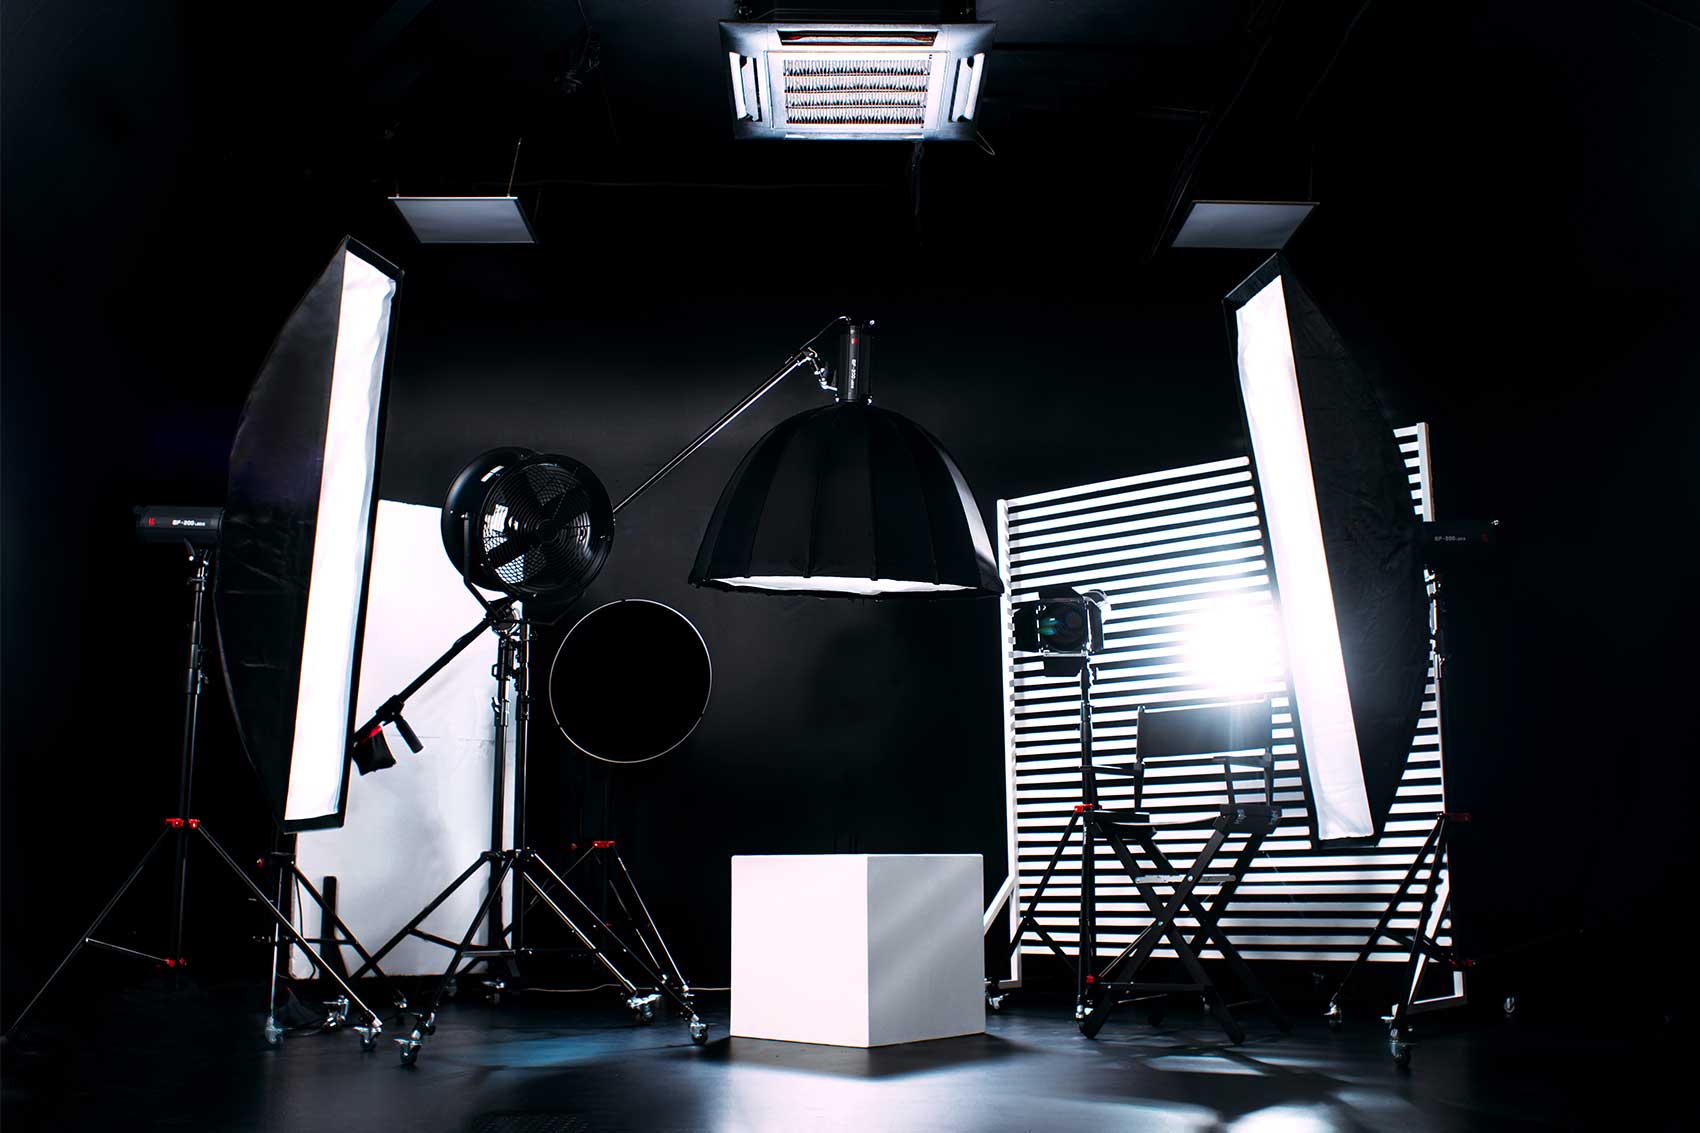
Image Credit: Tutti Space
Designing a studio blackout set in your own home is an innovative way to take control of your creative process and produce high-quality videos. Whether you’re a content creator, podcaster, or aspiring filmmaker, a personal blackout set allows you to experiment with dramatic lighting, bold shadows, and cinematic visuals—all without stepping outside. In this comprehensive guide, we explore the essential equipment you need to create a professional-quality blackout set at home and share expert editing tips to refine your footage.
By building your own blackout set, you can emulate the controlled lighting environment of professional studios. This means you can eliminate unwanted ambient light and sculpt every beam and shadow to achieve the exact mood and style you desire. And if you ever need to take your production to the next level, you can always look to professional facilities like Finchley Studio for inspiration or partnership.
Why Create a Home Studio Blackout Set?
Total Control Over Lighting
A home-built blackout set offers complete control over your lighting. Without natural or ambient light interfering, you can:
-
Precisely Position Your Lights: Every light source can be deliberately placed to create dramatic highlights and deep shadows.
-
Enhance Visual Drama: The stark contrast between light and dark areas intensifies the visual impact, giving your footage a cinematic quality.
-
Ensure Consistency: When filming at different times of day, external light conditions can change unexpectedly. A blackout set provides a stable environment where lighting remains constant.
Creative Flexibility
A blackout set allows you to experiment with different lighting techniques:
-
High-Contrast Setups: Use techniques like chiaroscuro to emphasize textures, form, and movement.
-
Colored Lighting Effects: Incorporate colored gels or RGB LED panels to evoke mood—whether cool blues for a futuristic vibe or warm tones for intimacy.
-
Dynamic Shadows: Manipulate shadows to add depth, create silhouettes, or focus the viewer’s attention on your subject.
Cost-Effective Production
Setting up a studio blackout set at home is a cost-effective alternative to renting professional space. With some essential equipment and creative ingenuity, you can produce professional-grade content on a budget. This is especially valuable for independent creators, small businesses, and hobbyists looking to elevate their videography without significant overhead.
Essential Equipment for a Home Blackout Set
Creating a functional blackout set requires some key pieces of equipment. Here are the essentials you should consider investing in:
1. Blackout Curtains and Panels
To create a true blackout environment, you need to block out all external light sources. Use thick blackout curtains, tarps, or foam panels to cover windows, doors, and any openings that could let in natural light. This ensures that only your controlled light sources illuminate the set.
2. Professional Lighting Equipment
Lighting is the heart of your blackout set. Depending on your budget and needs, consider the following:
-
LED Panels and Softboxes: These provide adjustable brightness and color temperature. They are perfect for both key and fill lighting.
-
Spotlights: Use spotlights to create focused beams on your subject. This is particularly useful for achieving dramatic highlights.
-
Backlights/Rim Lights: These help separate your subject from the background, creating depth and adding a professional touch.
-
Colored Gels or RGB LED Panels: To add creative color effects, invest in gels or LED panels that can change hue and intensity. This allows you to experiment with different moods and styles.
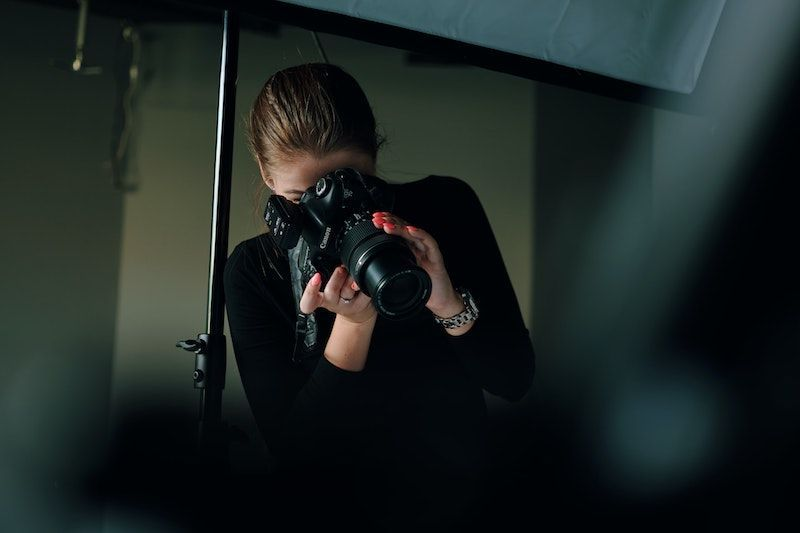
3. Camera Equipment
To capture stunning footage in a blackout set, your camera should have excellent low-light performance and the ability to record in high resolution (ideally 4K). Here are a few considerations:
-
DSLR or Mirrorless Camera: Models with larger sensors, such as the Canon EOS R series or Sony Alpha series, are ideal for low-light conditions.
-
Smartphone with Advanced Camera Features: Modern smartphones, especially when paired with additional lenses, can produce high-quality footage if set up correctly.
-
Tripod or Stabilisation Gear: A sturdy tripod is essential to avoid camera shake in low-light conditions, which is crucial when capturing the intricate details of your blackout set.
4. Audio Equipment
Clear audio is just as important as crisp visuals. Consider investing in:
-
External Microphones: Lavalier or shotgun microphones capture dialogue or ambient sounds clearly.
-
Acoustic Panels: Use foam panels or portable sound blankets to minimize echo and ensure clean audio in your recording space.
5. Editing Software
Post-production is where your footage is refined into a polished final product. Whether you’re editing on a desktop or mobile device, choose software that offers advanced color grading and exposure adjustment capabilities. Some popular options include:
-
Adobe Premiere Pro – A professional editing suite that’s industry standard.
-
DaVinci Resolve – Renowned for its color grading tools and 4K editing capabilities.
-
Final Cut Pro X – A powerful option for Mac users.
For those working on smartphones, there are several excellent apps for editing blackout set footage, which we’ll explore next.
Best Video Editing Apps for Refining Blackout Set Footage on Mobile
If you’re shooting on a smartphone or need to make quick edits on the go, here are some top video editing apps for both Android and iPhone:
Adobe Premiere Rush
Available on both Android and iOS, Adobe Premiere Rush offers:
-
Robust Color Grading Tools: Adjust exposure, contrast, and saturation to fine-tune your low-light footage.
-
Multi-Track Editing: Allows layering of video and audio for a more dynamic edit.
-
Easy Sharing Options: Export in high resolution and share directly to YouTube or social media.
LumaFusion (iOS Only)
LumaFusion is a professional-grade video editing app with:
-
Multi-Layer Editing: Perfect for creating complex edits with multiple video and audio tracks.
-
Advanced Color Correction: Precisely adjust shadows and highlights to maintain the dramatic look of your footage.
-
High-Quality Export Options: Ensure your edits look sharp even in 4K.
Kinemaster
Kinemaster, available on both Android and iOS, features:
-
Intuitive Interface: Easy for beginners, yet powerful enough for advanced edits.
-
Chroma Key and Layer Editing: Integrate creative effects seamlessly.
-
Precise Control Over Lighting Adjustments: Enhance the low-light aesthetics of your blackout set footage.
FilmoraGo
Another user-friendly option on Android and iOS, FilmoraGo offers:
-
Simple Drag-and-Drop Interface: Perfect for quick edits.
-
Effective Color Correction Tools: Adjust brightness, contrast, and saturation with ease.
-
Built-In Effects and Transitions: Add a creative flair to your final cut.
Setting Up Your Home Blackout Set
Creating your own blackout set at home can be both fun and highly rewarding. Here’s a step-by-step guide to help you set up your studio:
1. Choose the Right Room
Select a room that you can control completely. Ideally, the room should have minimal windows and external light sources. A small to medium-sized room works best, as it’s easier to block out light completely.
2. Install Blackout Materials
-
Cover Windows and Doors: Use blackout curtains or tarps to cover any windows and doors. If needed, reinforce with dark foam panels.
-
Seal Cracks and Gaps: Even small gaps can let in unwanted light. Use weather stripping or tape to seal these areas.
3. Arrange Your Lighting
Plan your lighting setup based on your shooting requirements:
-
Set Up Key, Fill, and Back Lights: Position your lights according to your storyboard. Experiment with different angles to achieve the desired mood.
-
Test Your Setup: Use a camera or smartphone to capture test shots. Adjust the light intensity and angles until you achieve a balanced, dramatic look.
4. Organise Your Space
-
Cable Management: Ensure all cables are neatly organized to prevent tripping hazards and to maintain a clean workspace.
-
Acoustic Treatment: If possible, add acoustic panels or foam to reduce echo, which is especially important if you’re recording audio in the space.
Essential Editing Tips for Blackout Set Footage
Once your footage is captured in a well-set-up blackout environment, the editing process is where you can elevate your content to professional levels. Here are some editing tips to consider:
Advanced Colour Grading
-
Enhance Shadows and Highlights: Use tools within your editing software to adjust the balance between shadows and highlights. This helps in preserving detail in low-light areas while making the dramatic lighting pop.
-
Use LUTs: Applying a Look-Up Table (LUT) can instantly give your footage a cinematic look. Many LUTs are designed specifically for low-light or high-contrast footage.
-
Consistency is Key: Ensure that all clips maintain a consistent colour profile, which is vital when assembling footage from different angles or takes.
Noise Reduction Techniques
-
Apply Noise Reduction Filters: Low-light shooting often results in some noise. Use noise reduction features in editing software like DaVinci Resolve or Premiere Pro to clean up the footage without losing detail.
-
Sharpen Selectively: After noise reduction, apply selective sharpening to areas that need extra definition, ensuring the final product remains crisp and clear.
Dynamic Transitions and Effects
-
Smooth Transitions: Use AI-assisted transitions to blend different scenes seamlessly. This is particularly effective in blackout set footage where lighting shifts can be dramatic.
-
Incorporate Creative Effects: Adding subtle effects such as light flares, glows, or even slow-motion sequences can enhance the mood of your video. Experiment with keyframing to animate these effects for a more dynamic feel.
Audio Enhancements
-
Sync Audio Perfectly: Use audio editing tools to ensure that dialogue, music, or ambient sounds are perfectly synced with your visuals. Clean, crisp audio can elevate the overall quality of your video.
-
Balance Background Music: Adjust the volume of background music and sound effects so that they complement rather than overpower your visual storytelling.
Mobile Editing Options
For creators who prefer editing on their smartphone, the previously mentioned apps like Adobe Premiere Rush, LumaFusion, Kinemaster, and FilmoraGo offer robust features that can handle all the necessary adjustments for blackout set footage.
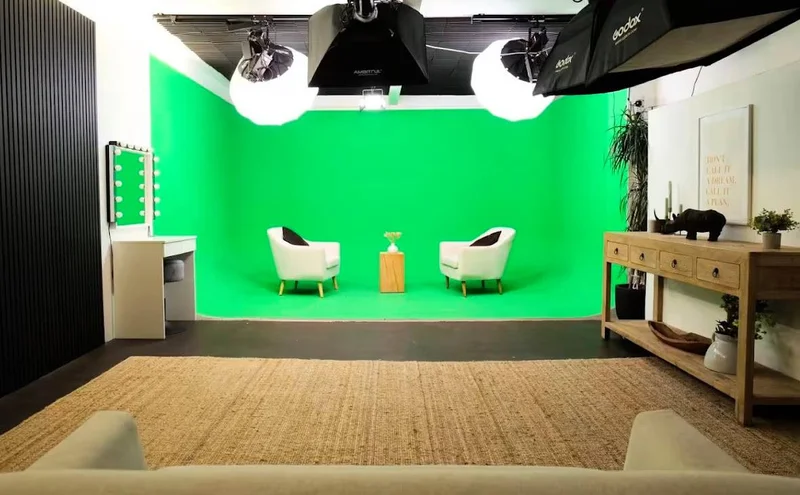
Leveraging Professional Support: Finchley Studio
While creating a studio blackout set at home can produce outstanding results, sometimes partnering with a professional facility offers additional advantages. Finchley Studio is a leading name in high-quality video production and can provide valuable insights, equipment, and space when you need to push your creative boundaries further.
Why Choose Finchley Studio?
-
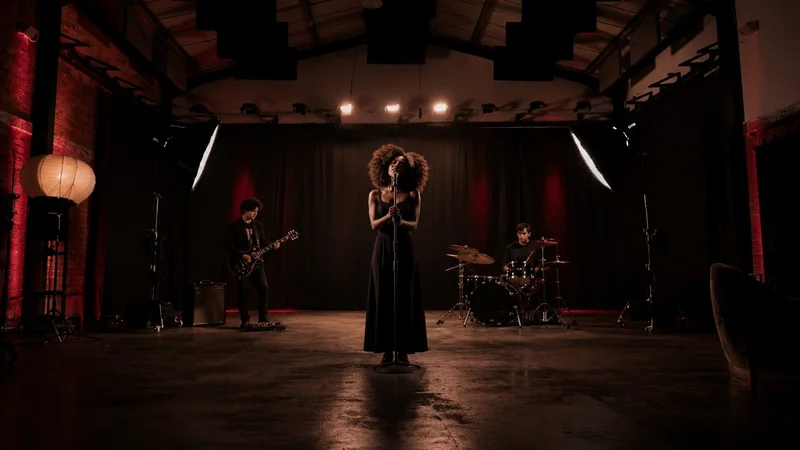
State-of-the-Art Blackout Set: Their dedicated Blackout Set is engineered to eliminate all external light, allowing for complete creative control.
-
Expert Technical Support: On-site professionals are available to assist with lighting configurations, camera setups, and troubleshooting, ensuring every shot is perfect.
-
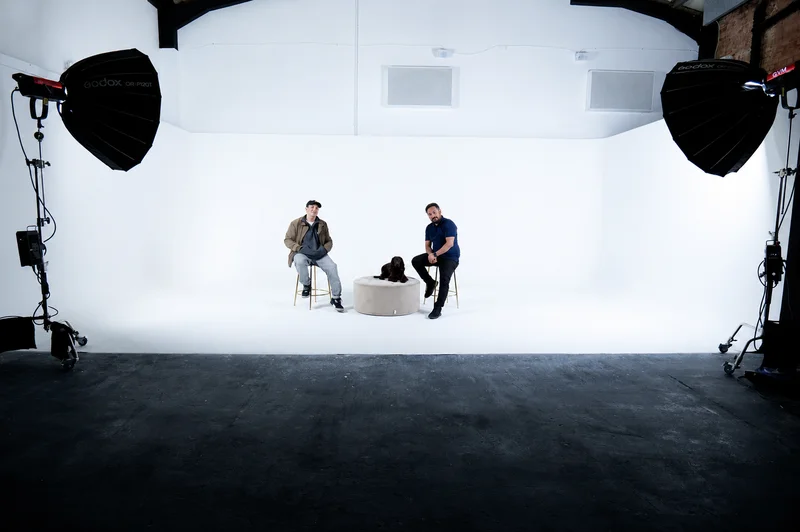
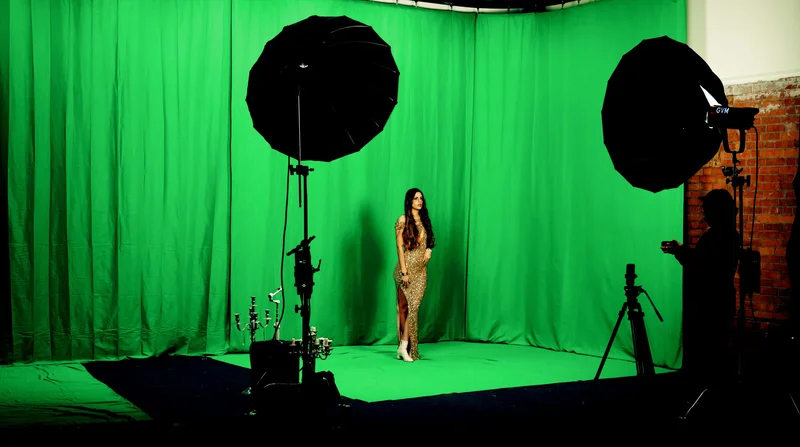
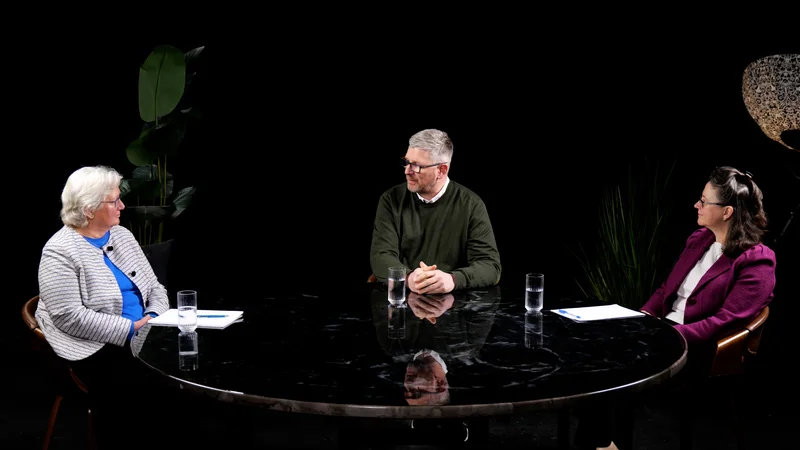
Diverse Studio Options: In addition to the Blackout Set, Finchley Studio offers a variety of environments like the Dialogue Room, Lounge Studio, Gathering Studio, Green Screen Studio, White Infinity Cove Studio, Photography Studio, and Blackwood Studio to cater to all production needs.
-
Comprehensive Editing Services: Their Video Editing Service is available to polish your final cut, ensuring professional quality even for the most demanding projects.
-
Convenient Booking: Ready to elevate your production? Book now and take advantage of Finchley Studio’s top-tier facilities.
Final Thoughts
Creating a studio blackout set at home is a powerful way to take control of your creative process and produce stunning video content. By investing in the essential equipment—from blackout curtains and professional lighting to quality cameras and audio gear—you can transform your space into a versatile production studio. Coupled with expert editing tips and the right software tools, you’ll be well-equipped to capture and refine footage that rivals professional productions.
Whether you’re a fashion videographer, a filmmaker, or a content creator looking to experiment with high-contrast, cinematic visuals, a home-built blackout set offers endless creative possibilities. And when you’re ready to step up your production, professional facilities like Finchley Studio provide the resources and expertise to help you achieve your vision.
Embrace the challenge of creating your own blackout set, experiment with lighting, and refine your footage using advanced editing techniques. With dedication and creativity, you can produce videos that captivate audiences and stand out in today’s competitive digital landscape.
FAQs
What is a blackout set and why should I create one at home?
A blackout set is a controlled environment where all external light is eliminated, allowing you to manipulate lighting precisely. Creating one at home lets you produce dramatic, high-contrast footage with complete control over every aspect of your visuals.
What equipment do I need for a home blackout set?
You’ll need blackout curtains or panels, professional lighting equipment (LED panels, spotlights, softboxes, colored gels), a quality camera with good low-light performance, and proper audio equipment. Additionally, investing in reliable video editing software or apps is crucial for refining your footage.
Can I edit my blackout set footage on my smartphone?
Yes, many advanced video editing apps like Adobe Premiere Rush, LumaFusion, Kinemaster, and FilmoraGo are available for both Android and iPhone. These apps offer robust tools for color grading, exposure adjustment, and adding creative effects to your footage.
How do I ensure consistency in my blackout set footage?
Maintaining a consistent environment is key. Block all external light sources and set up your lighting in advance. Use manual camera settings, test your setup thoroughly, and apply a consistent color grading template during post-production.
Creating a home blackout set empowers you to experiment and elevate your creative projects without breaking the bank. With the right setup, equipment, and editing tools, you can produce professional-quality videos that capture every nuance of light and shadow. And if you ever need that extra level of expertise or equipment, Finchley Studio offers state-of-the-art facilities and comprehensive support to help you bring your vision to life.
Book now with Finchley Studio if you’re looking for a professional environment, or use these tips to create your own at home. Either way, you’re on your way to mastering the art of blackout set videography.
By integrating these essential equipment recommendations and editing tips, you’ll be well-prepared to capture and refine stunning video content. Transform your creative ideas into visual masterpieces that truly stand out—whether in your home studio or with the help of professional facilities.
Source: https://www.youtube.com/watch?v=LhUYF_0qyXE