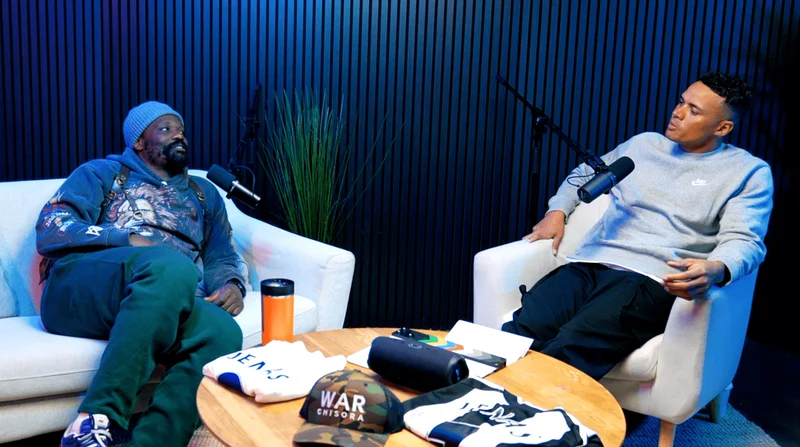
Image Source: YouTube/TheIcelandicGuy
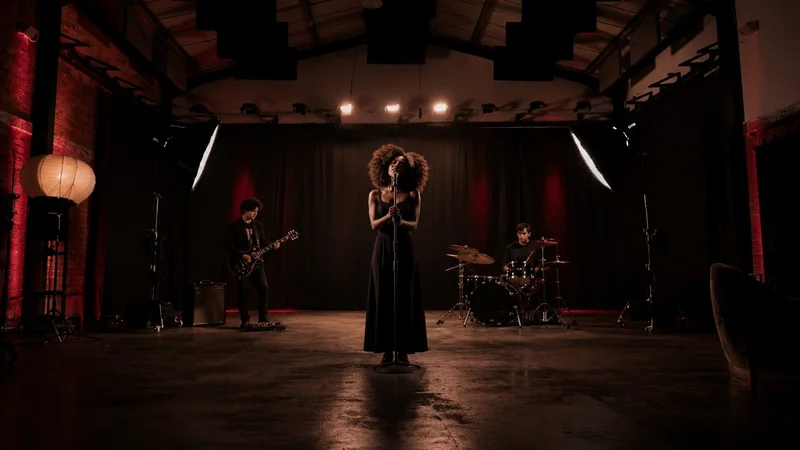
Creating a high-quality blackout set video is an excellent way to enhance the visual appeal of your YouTube content. A blackout set allows filmmakers to have complete control over lighting, providing the flexibility to craft unique, dramatic visuals. This technique is especially popular in music videos, product shoots, and cinematic short films. In this guide, we’ll walk you through the essentials of shooting and editing a blackout set video, ensuring you get professional-quality results.
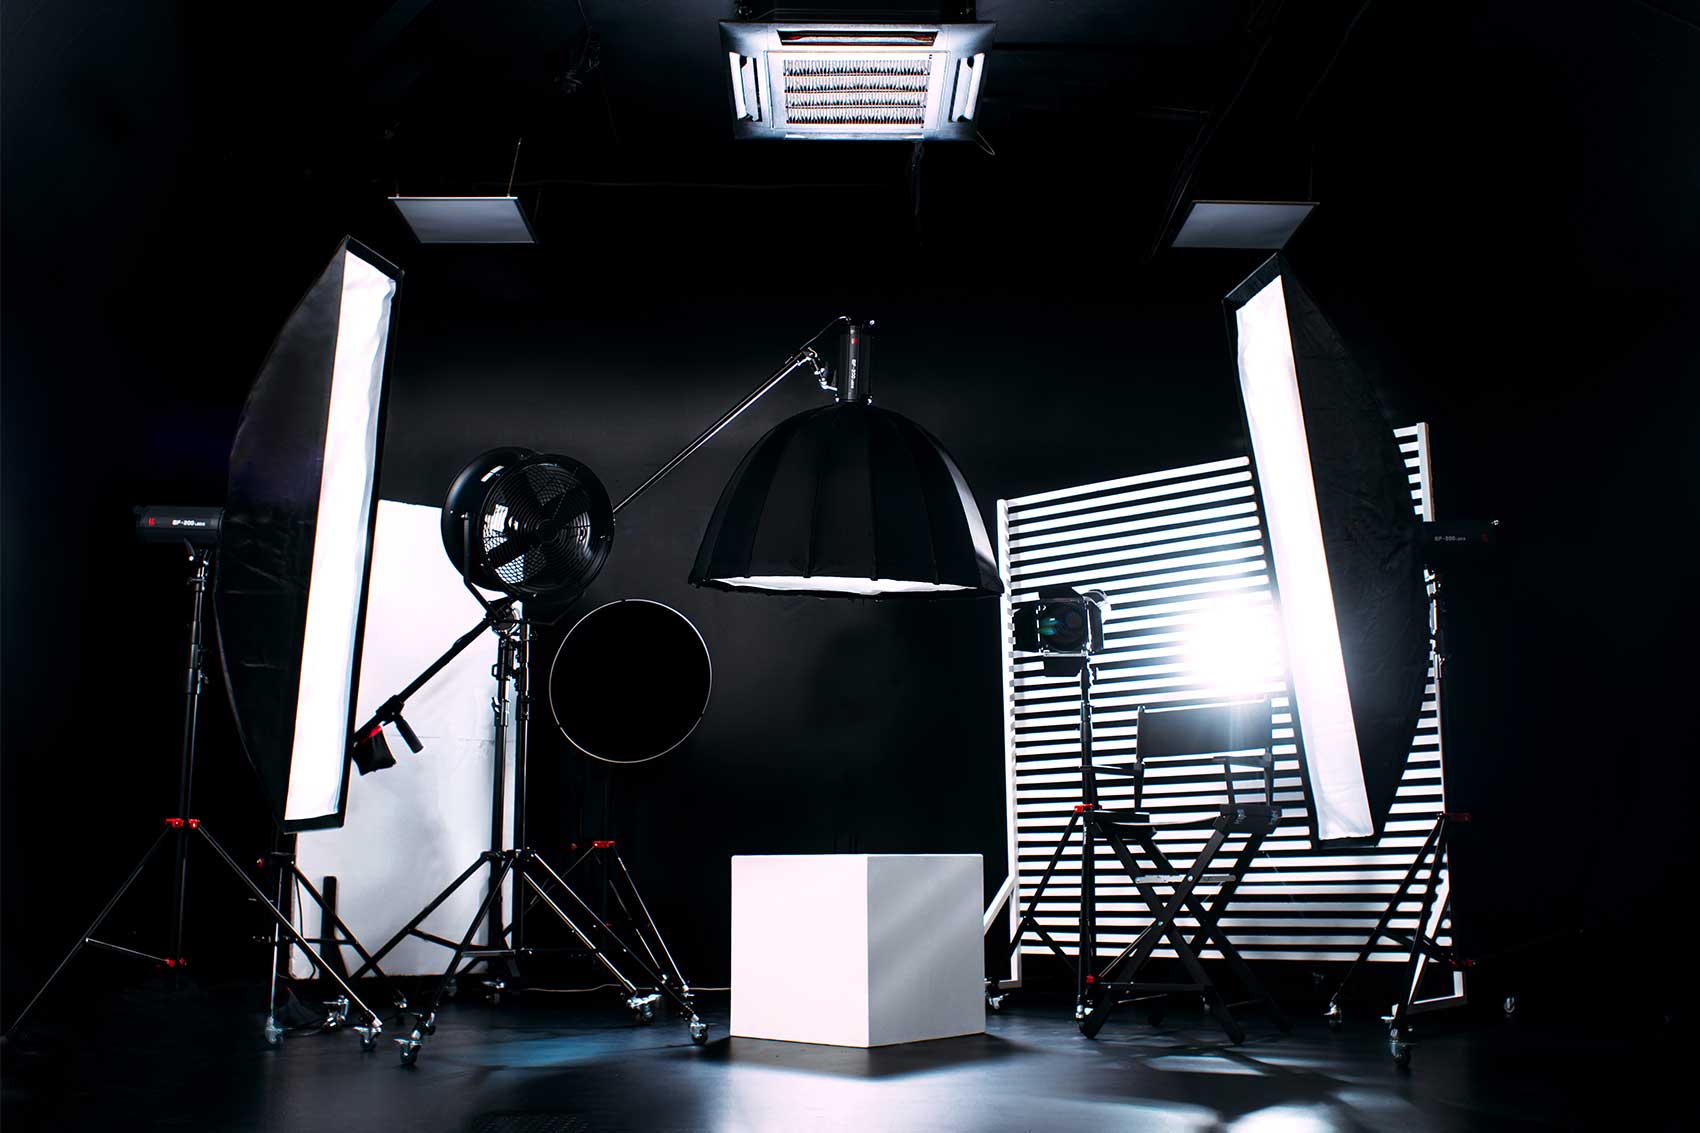
What is a Blackout Set?
A blackout set is a controlled environment where all external light sources are blocked. This creates a completely dark space, allowing you to manipulate the lighting and atmosphere of your scene more precisely. Whether you're filming a music video, a short film, or a commercial, using a blackout set will enable you to achieve a striking, controlled look that stands out.
The beauty of the blackout set is in its simplicity. By eliminating ambient light and controlling the illumination of your subject, you create a visual style that's sharp and cinematic. This allows for bold lighting choices and dramatic shadow play, which can be enhanced even further during the editing phase.
Step-by-Step Guide to Shooting a Blackout Set Video
1. Prepare the Set
-
Block External Light: Start by sealing windows and doors to prevent natural light from spilling into the set. You may use black curtains or blackout sheets to achieve this. Some filmmakers use thick, dark tarps to ensure total darkness. It's essential to eliminate any light from the outside world to have full control over the scene's lighting.
-
Create a Dark Environment: Ensure that the set is entirely dark. You may need to test the space using a dim light to check if there is any unwanted light source. If you're working in a larger room, make sure the walls and ceiling are also dark to avoid reflective light that can ruin your shot.
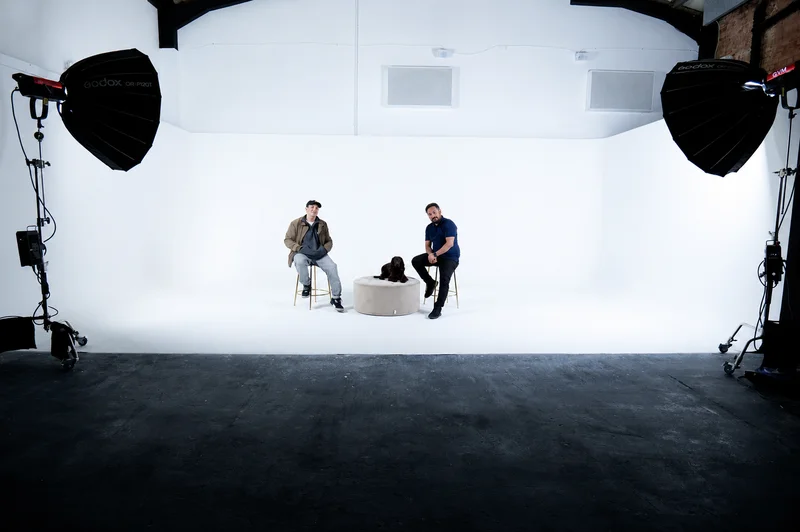
2. Choose Your Lighting Setup
Lighting is crucial when shooting on a blackout set. Since you control the light entirely, you can use various lighting techniques to create different moods.
-
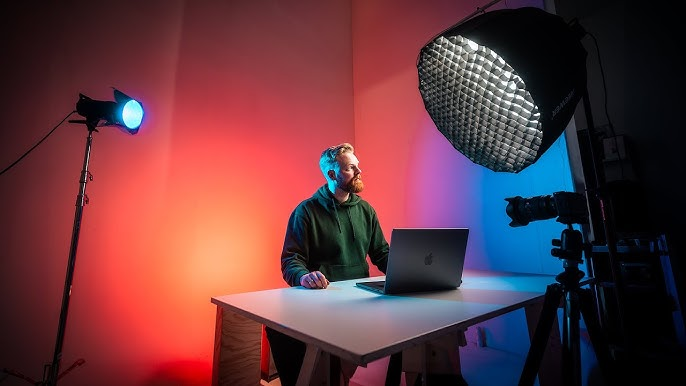
Key Light: Place your main light source in a position that highlights the subject. Use a softbox or LED light for a smooth, even light, or go for a more dramatic look with harsh, direct light. For a moody, cinematic effect, use a single key light and position it off to the side to create sharp shadows on the subject.
-
Back Light: Adding a back light or rim light will create a separation between the subject and the background, enhancing depth and dimension. This light can also serve to highlight hair, clothing details, or the contours of the subject's face, providing a more striking silhouette effect.
-
Fill Light: A fill light can help reduce harsh shadows without overexposing the subject. Adjust its intensity based on the effect you want. For instance, if you're aiming for a high-contrast, dramatic effect, you might opt for minimal fill light. Alternatively, if you're aiming for something softer and more romantic, a gentle fill light can balance out the harsh shadows from the key light.
-
Practical Lights: Consider using practical lights, such as lamps or LED strips, to add dynamic effects to your scene and enhance the ambiance. These can be placed within the set and used as part of the scene's overall design. Practical lights contribute not just to lighting the subject, but to adding layers to the shot itself.
3. Set Up the Camera
-
Use a High-Quality Camera: For YouTube videos, cameras that shoot in at least 1080p are a must. To make the most of your blackout set, consider using a camera with good low-light performance and the ability to shoot in 4K for crisp, clear visuals. The clarity of your footage is key when filming under dark conditions, as graininess or noise can detract from the overall quality.
-
Adjust Camera Settings: Set your camera to manual mode to have full control over exposure, ISO, and shutter speed. A lower ISO will help you avoid noise in low light, but you may need to adjust it depending on your light setup. Be careful not to raise the ISO too high, as this can introduce unwanted digital noise into your video.
-
Position the Camera Creatively: Blackout sets allow for creative camera angles. Experiment with different angles to add visual interest, such as low or high shots, close-ups, and wide shots. Dynamic movement can add energy to your scenes, especially if you're working on a fast-paced music video or action sequence.
4. Shoot the Video
-
Plan Your Shots: Work out the blocking, or movement of the subject within the scene, and the camera movements in advance. Storyboarding your shots can be helpful. Mapping out the sequence of shots before you start filming will ensure that you get the coverage you need and reduce any potential issues with continuity.
-
Capture the Action: Ensure that the subject is well-lit and properly framed in the shot. Adjust the light intensity and positioning as you shoot to create the desired effect. You may need to adjust your lighting throughout the shoot as you change camera angles or move the subject.
-
Check Your Focus: Low light can sometimes make it challenging to keep your subject in focus. Be sure to manually focus the camera, especially in scenes with a lot of movement. Auto-focus can struggle in low-light conditions, so keeping your lens focused manually can give you much better results.
Step-by-Step Guide to Editing a Blackout Set Video
1. Import Your Footage
Once you have your footage, import it into your video editing software. Popular choices for YouTube video editing include Adobe Premiere Pro, Final Cut Pro, and DaVinci Resolve. Choose the program that best fits your workflow, but all of these offer advanced color grading tools that are essential for working with blackout set videos.
2. Correct Exposure and Lighting
-
Adjust the Brightness: Since you're working with low-light footage, you may need to adjust the exposure to ensure your subject is visible. Use the Lumetri Color panel in Premiere Pro or the Color Grading section in DaVinci Resolve to fine-tune the exposure. It's often best to begin by adjusting exposure on the overall image, then fine-tune details like highlights and shadows.
-
Enhance Shadows and Highlights: Play with the shadows and highlight sliders to create more depth and contrast. A dark environment can sometimes look flat, but with proper adjustments, you can make the lights and darks pop. Adding contrast is particularly important in blackout set videos to make the lighting effects stand out and provide more drama to the scene.
3. Color Grading
Color grading is essential for setting the mood of your blackout video. Whether you want a moody, cinematic look or a vibrant, stylized effect, color grading can enhance the impact of your video.
-
Adjust the Tones: Use a LUT (Look-Up Table) to apply a cinematic color style or adjust the color balance manually. You may want to tweak the color temperature to warm or cool the shot, depending on the mood you're aiming for.
-
Increase Contrast: Blackout sets benefit from high contrast, so increase the contrast to make the lighting stand out more dramatically. Use the contrast slider to emphasize the difference between light and dark areas. This will help add a more cinematic feel to your video and make the lighting setup even more dramatic.
4. Add Music and Sound Effects
Music plays an important role in setting the tone of your video, especially in a blackout set where the atmosphere is key. Choose a track that complements the mood you're trying to evoke.
-
Sound Effects: Use sound effects to enhance the impact of your lighting changes. For example, a spotlight effect can be intensified by adding a slight "whoosh" or "swoosh" sound. Adding subtle ambient sounds can also help bring the video to life, giving it more depth and realism.
5. Final Touches and Export
-
Stabilize the Footage: If you've moved the camera during your shots, you might want to stabilize the footage to ensure smooth playback. Camera shakes can detract from the polished look of your video, especially when filming in low light.
-
Cut to the Beat: If you’re working with music, cut your video to match the rhythm of the track. This will make your video feel more cohesive and dynamic. Syncing the visuals with the beat of the music will create a more immersive viewing experience for your audience.
Finally, export the video in the highest quality possible for YouTube. Make sure to choose a resolution of at least 1080p (4K for best results) and a suitable codec like H.264 for optimal playback.
Additional Tips for Shooting and Editing a Blackout Set Video
-
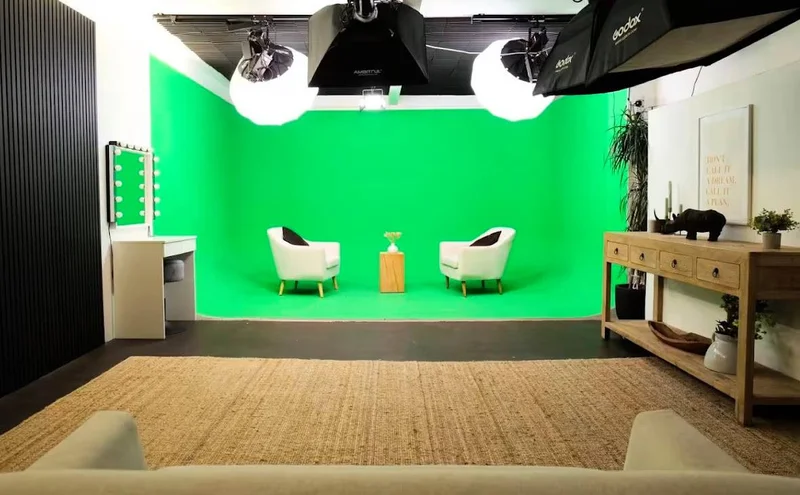
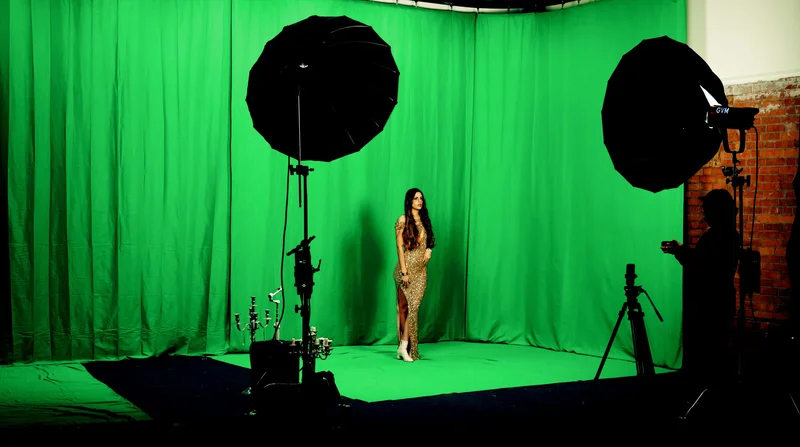
Use a Green Screen: If you're aiming for a more complex background, incorporating a green screen into your blackout set can open up endless possibilities for post-production. This gives you the flexibility to place your subject in any environment during the editing process.
-
Don’t Overdo the Lights: When using a blackout set, subtlety can be key. Avoid over-lighting the set, as this can ruin the desired atmosphere. Instead, focus on creating a balanced look with highlights and shadows that enhance the subject's features.
-
Plan Your Time Wisely: Blackout sets require a lot of setup and testing to get everything just right. Make sure you allocate enough time to experiment with different lighting setups and camera angles. The more time you spend experimenting, the more creative your final result will be.
FAQs
What is the purpose of a blackout set in filmmaking? A blackout set is used to control and manipulate the lighting for dramatic, cinematic effects. It allows filmmakers to shape the visual aesthetic of the video, especially in scenes requiring high contrast and controlled lighting.
Do I need a high-end camera for a blackout set video? While high-end cameras provide better low-light performance and image quality, you can still create a high-quality blackout set video with a decent camera. The key is proper lighting and camera settings.
Can I shoot a blackout set video with a smartphone? Yes, many smartphones today have impressive camera capabilities and can shoot in low light. Just make sure to invest in good lighting equipment to compensate for the limited lighting in the room.
How do I make my blackout set video stand out on YouTube? Focus on creative lighting, camera angles, and high-quality editing. A well-planned blackout set, coupled with strong storytelling, will grab the attention of your YouTube audience.
By following these steps and tips, you’ll be able to create stunning blackout set videos for YouTube that stand out with their cinematic appeal and professional-quality editing. Happy shooting!
Source: https://www.youtube.com/watch?v=rVYL_iGQslQ