Achieving a professional-grade vocal recording is a process that blends technical skill with human performance. It begins long before the "record" button is pressed and continues well into the mixing stage.
Here is a detailed guide, with tips from audio professionals, on how to capture that perfect vocal take in a studio.

1. 🎤 The Foundation: Pre-Production & Preparation
A great vocal take is 90% preparation. A recording studio is not the place to be learning the song or taxing a tired voice.
Know the Material Inside-Out: The vocalist should have the lyrics, melody, and breathing points memorized. This frees them to focus on emotion and delivery rather than remembering the words.
-
Vocal Health is Paramount:
Rest: Get a full night's sleep before the session. A tired voice is weak and difficult to control.
Hydrate: Drink plenty of room-temperature water throughout the day and in the session. Avoid dairy, caffeine, alcohol, and sugary drinks, which can dehydrate vocal cords or create phlegm.
Warm Up: Never sing "cold." The singer should perform a full set of vocal warm-ups before the session even begins.
Set the Vibe: The "vibe" is a critical, often-overlooked tool. Ensure the studio room is at a comfortable temperature, dim the lighting to match the song's mood, and maintain a positive, encouraging atmosphere. A nervous or uncomfortable singer will deliver a tense performance.
2. 🎧 The "Comfort" Mix: Creating the Headphone Mix
What the singer hears in their headphones directly controls their performance, pitch, and timing. If the headphone mix is bad, the performance will be bad.
Low Latency is Non-Negotiable: The singer must hear their own voice in their headphones in real-time. Any perceptible delay (latency) will make it impossible to sing in time and on pitch. This is managed through your audio interface's "direct monitoring" feature or by using a low buffer size in your DAW.
-
What to Include (The "Big 3"):
The Vocal: The singer's own voice should be loud, clear, and front-and-center.
Pitch Reference: A solid, in-tune instrument like a piano, bass guitar, or simple acoustic guitar.
Rhythm Reference: The "pocket" of the song, which is usually the kick drum and snare. A click track (metronome) is essential, but it should be blended just loud enough to be a guide, not a distraction.
Add "Comfort" Effects: A dry vocal in a headphone mix can sound harsh and exposed, making the singer feel "naked" and insecure. As detailed by engineers at Pro Audio Files, add a "comfort reverb" or a simple delay only to the headphone mix. This helps the vocal "sit" in the track and gives the singer confidence, leading to a better performance.
-
Troubleshooting Pitch:
If the singer is flat: Their voice might be too loud in the mix, causing them to sing softer and drop in pitch. Try turning their vocal down slightly.
If the singer is sharp: Their voice might be too quiet, causing them to "push" or strain to hear themselves, which raises their pitch. Try turning their vocal up in the headphone mix.
3. 🎙️ The Capture: Microphone Choice & Placement
The microphone is your primary tool. Choosing the right one and placing it correctly solves problems before they're recorded.
Microphone Selection
For studio vocals, the primary choice is a Large-Diaphragm Condenser (LDC) microphone. These mics are sensitive and capture rich detail, which is ideal for vocals.
Common Pro Choices: Neumann U 87, AKG C414, Rode NT1
The Exception: Dynamic Mics: For aggressive rock, metal, or screamo vocals, a dynamic mic like the Shure SM7B is often preferred. It's less sensitive, handles high sound pressure levels (SPL), and captures a "tighter," more focused sound.
Microphone Placement
How you position the mic is more important than which mic you use.
-
Distance: Start with the singer 6-10 inches away from the mic.
Too Close: Creates the "proximity effect," a boomy, muddy bass-heavy sound.
Too Far: The vocal will sound thin and capture too much room echo.
The Pop Filter: Always use a pop filter. Place it 2-3 inches from the microphone. Its job is to diffuse the bursts of air from "P" and "B" sounds (plosives).
At-the-Source Technique: Solving Problems Before the Mix
Pro Tip: The best mix is one that requires the least "fixing." Use these recording techniques to get a clean signal from the start.
-
How to Manage Plosives ("P" and "B" sounds):
Use the Pop Filter: This is your first line of defense.
Go Off-Axis: Never have the singer aim directly at the center of the microphone. Instead, position the mic so it's pointing at the singer's mouth, but the singer's mouth is pointing just past the side of the mic. This way, the air blast from the plosive shoots past the capsule, while the vocal sound is still captured.
The Singer's Technique: Have the singer practice turning their head slightly away from the mic for words beginning with "P" or "B."
-
How to Manage Sibilance (Harsh "S" and "T" sounds):
Angle the Mic: This is the most effective trick. Position the microphone slightly above the singer's mouth, angled down. Harsh "S" sounds shoot straight forward, so this placement captures the body of the vocal while avoiding the direct, harsh "S" blast.
The Pencil Trick: As recommended by engineers at Sound On Sound, you can tape a pencil vertically down the center of the microphone (right in front of the capsule). This physically breaks up the sibilant air blast before it hits the diaphragm.
Change the Mic: If a singer is naturally very sibilant, a bright condenser mic will only make it worse. Switch to a "darker" sounding microphone, like a ribbon mic or a dynamic mic (like the SM7B).
4. 🎛️ The Polish: Post-Production & Mixing
Once you have a great recording, these mixing steps will make it shine.
1. Editing & Comping: It's standard practice to record 3-5 full takes of the song. "Comping" (compiling) is the process of listening to all the takes and selecting the best word or phrase from each one, stitching them together into one, perfect "composite" take. Tools like iZotope's RX can help clean up any clicks, pops, or mouth noises in the final comp.
-
2. Pitch Correction (Tuning): Nearly every professional vocal is tuned. The goal is transparency, not a "robot" sound (unless that's the creative choice).
Surgical Tuning: Tools like Celemony Melodyne allow you to manually adjust the pitch of every single note, which is the most natural-sounding method.
"Auto-Tune" Effect: Tools like Antares Auto-Tune are used for real-time correction or as a stylistic "T-Pain" effect.
-
3. Subtractive EQ (Cleaning): First, you must clean up the vocal.
High-Pass Filter (HPF): Cut everything below 80-120Hz. This removes low-end rumble, air conditioner noise, and floor vibrations, all of which muddy the mix.
Notch "Boxy" Frequencies: Sweep a narrow EQ band between 250Hz and 600Hz. You will likely find a "boxy" or "cardboard" sound. Gently cut this frequency to improve clarity.
4. De-Essing: Even if you managed sibilance at the source, you will likely need a De-Esser plugin. This tool is a special compressor that only turns down the harsh "S" and "T" frequencies (typically 5kHz-8kHz) when they pass a certain threshold.
5. Compression (Dynamics & Presence): Compression makes the vocal consistent. It turns down the loudest parts and turns up the quietest parts. This is the key to making a vocal sit "in front" of a mix. Use a compressor with a medium-fast attack and a ratio of around 3:1 or 4:1, aiming for 3-6dB of gain reduction on the loudest peaks.
6. Additive EQ (Shaping): Now you can add character. A gentle, wide boost around 2-4kHz can add presence and intelligibility. A high-shelf boost above 10kHz can add "air" and "sparkle."
-
7. Effects (Space & Depth):
Reverb: Use a "plate" or "hall" reverb on an effects bus (a separate track) to give the vocal a sense of space and make it sit in the mix.
Delay: Use a subtle "slapback" delay (a very short echo) or a longer delay timed to the song's tempo to add depth and "glue" the vocal to the track.
How to Get Professional Vocals in a Recording Studio: Tips from the Pros
You’ve heard it before: that crisp, "in-your-ear" vocal sound that separates a top-tier podcast or a hit song from an amateur recording. It sounds effortless, but it's a carefully crafted product of technique, technology, and environment.
Getting professional vocals isn't just about having a great voice; it's about knowing how to use that voice in a studio setting. Whether you're a podcaster, a voice-over artist, or a singer, these tips from the pros will help you get a flawless take every time.
1. It Starts with the Room
Before you even think about the microphone, the room itself is doing most of the work. You can't get a "dry," "present" vocal in a "live," "echoey" room. Professional studios like Finchley Studio are heavily invested in acoustic treatment—the wall panels, bass traps, and diffusers that absorb reflections. This is the #1 secret: the mic only records your voice, not the "sound of the room."
2. Master Your Mic Technique
A microphone is a precision tool. How you address it fundamentally changes the sound.
Mind Your Distance: The "proximity effect" is a real phenomenon. The closer you get to a broadcast mic (like a Shure SM7B), the more "bassy" and boomy your voice will sound. A good starting point is 6-10 inches away. The key isn't finding a "perfect" spot, but being consistent.
Pop Your 'P's (The Right Way): "Plosives" are the bursts of air from 'P' and 'B' sounds that cause that awful "pop." A pop filter is your first line of defence. You can also help by aiming your mouth slightly off-axis (just to the side of the mic) instead of directly into it.
Don't Weave: The most common amateur mistake is moving your head while you talk. Weaving in and out, even by a few inches, will make your audio levels jump all over the place, creating a nightmare for the editing process. Plant your feet, get comfortable, and stay consistent.
3. Trust Your Engineer
The on-site engineer or studio manager is your best friend. During the "mic check," they are not judging your voice; they are "setting your gain" (the mic's sensitivity). Your job is not to shout to be heard; your job is to speak at a natural, consistent, conversational volume. Let the engineer handle the technology. If you plan to get excited or quiet, do it in the mic check so they can set the levels appropriately.
4. Your Headphone Mix is Crucial
You will be wearing closed-back headphones to hear yourself. If you can't hear yourself properly in the headphones, you will instinctively speak louder or in an unnatural way. If the mix isn't right—if you're too quiet or the music is too loud—tell your engineer. Ask them to turn your voice up in your "cans" (headphones) so you can relax and speak naturally.
5. Warm Up Your Instrument
Your voice is a muscle. Don't roll out of bed and into a session. Hydrate well with room-temperature water (cold water can constrict vocal cords). Avoid dairy, excessive caffeine, or sugary drinks right before, as they can create "mouth noise." Do a few simple vocal warm-ups, like lip trills or humming, to get your voice ready.
6. Relax. You're in a Pro Studio for a Reason.
The red "recording" light can be intimidating. But the best vocal takes are relaxed, confident, and natural. You've booked a professional space like Finchley Studio for a reason: so you don't have to worry about the technology. At Finchley Studio, our team handles the technical side, freeing you to focus 100% on your performance. Trust the process, trust your engineer, and just be yourself. The technology at Finchley Studio is there to capture you.
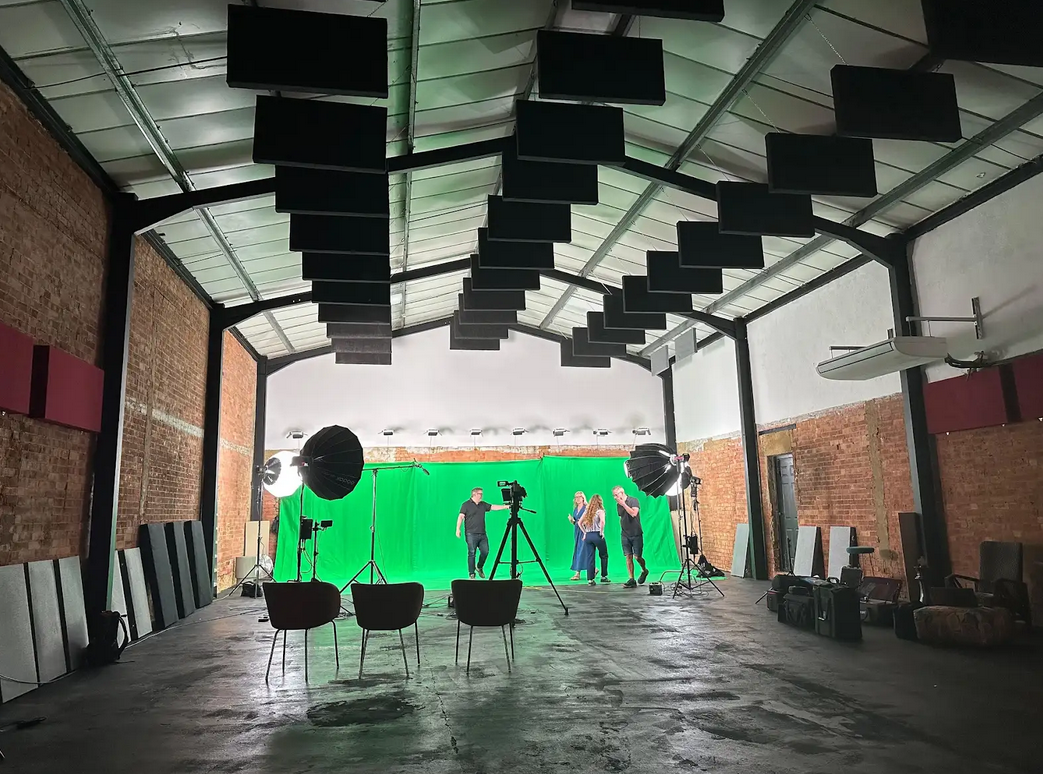
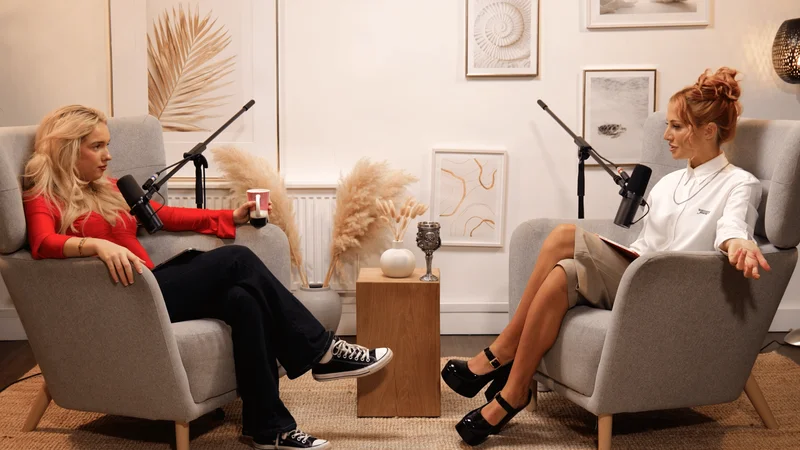
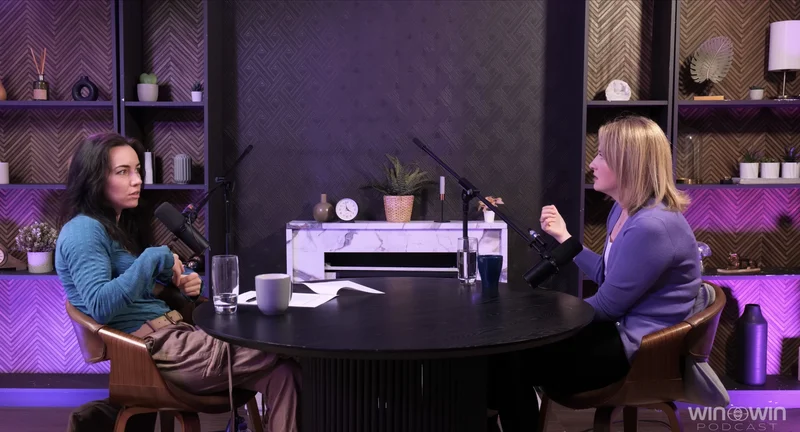
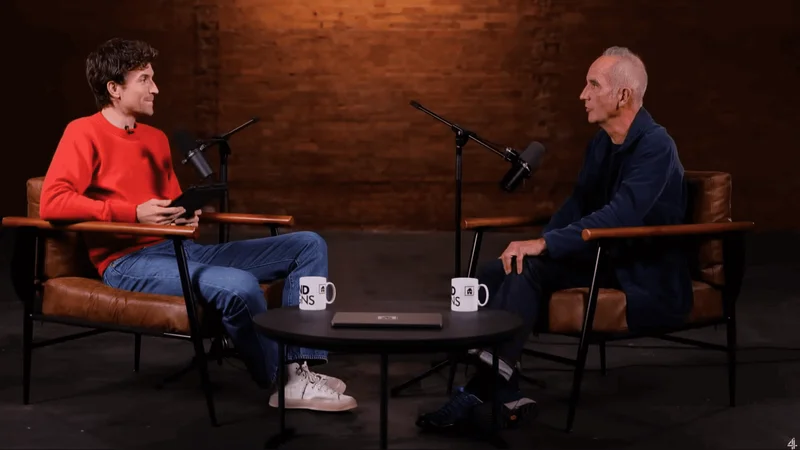
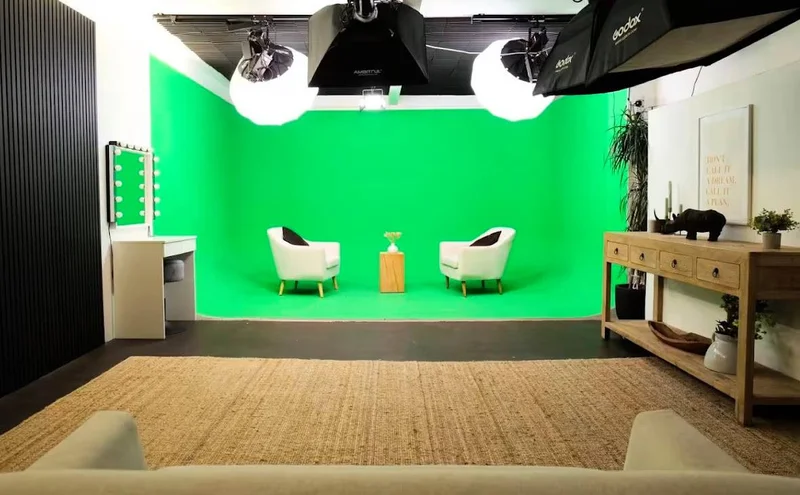
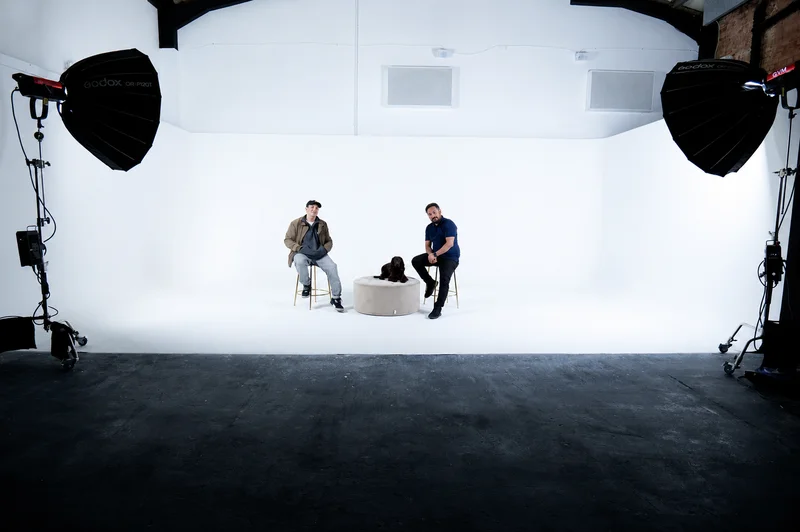
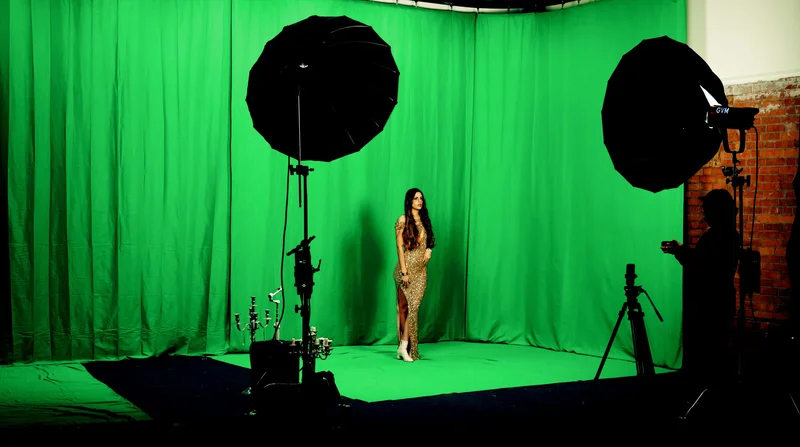
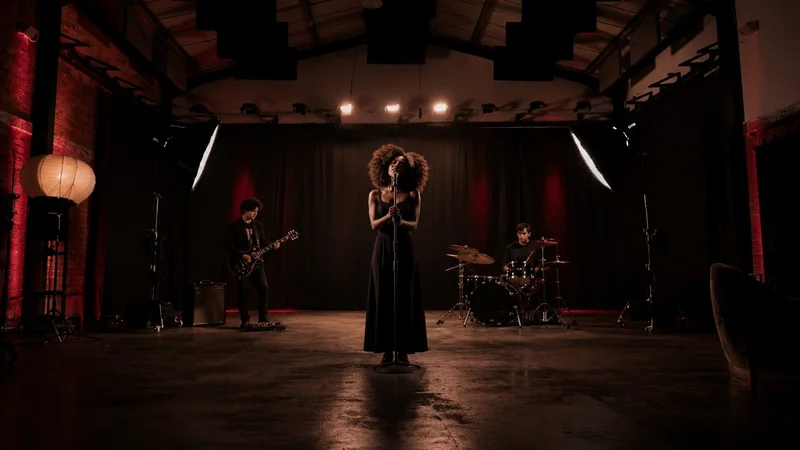
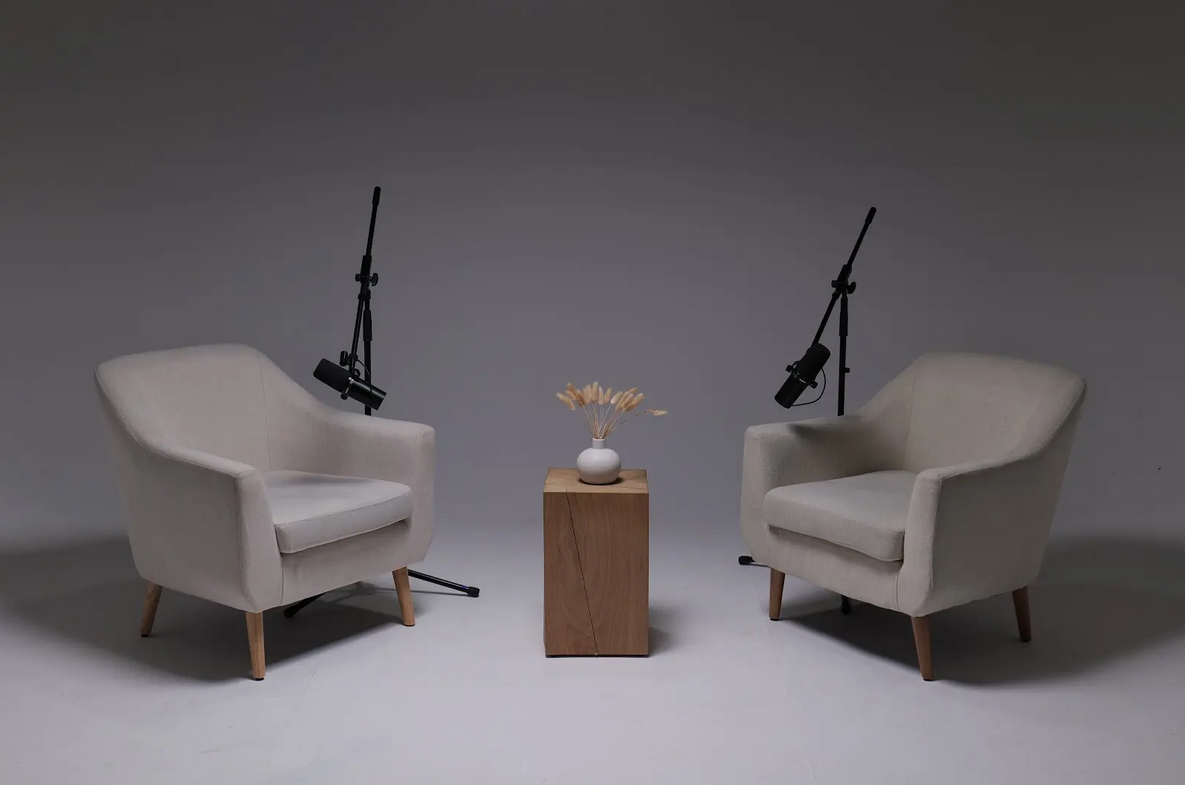
A professional vocal performance is a partnership between you, the engineer, and the environment. We provide the expert team and the acoustically-perfected environment to make you sound your best. We encourage you to see our different sets, each designed for a specific creative vision. Explore our intimate Dialogue Room for focused conversations, the relaxed LOUNGE STUDIO for group chats, or the premium CEO SET for executive content. For more dynamic productions, we have a fully-equipped Green Screen Cove, the sleek Blackwood Studio, and the textured THE BRICK STUDIO. We also feature a flawless White Infinity Cove, a fully controlled BLACKOUT SET, the spacious GATHERING STUDIO for roundtables, and one of London's largest GIANT GREEN SCREEN warehouses.
And your production doesn’t have to end when you leave the studio. Let our experts handle the post-production with our professional Video Editing Service, ensuring your content is polished and ready for your audience. We're trusted by industry leaders and creators alike, with regular clients including the BBC and Lloyds bank, so you know you're in good company. But don't just take our word for it; see what other creators have to say about their experience on Google review and Trust Pilot.
Finding us is simple. We are conveniently located just two minutes from Finchley Central, adjacent to the Travelodge London Finchley, and offer one free parking space per booking. You can find us easily on Google map, Apple maps, [suspicious link removed], or using What 3 words.
Stay connected and see what's happening at the studio by following us on Instagram, YouTube, TikTok, LinkedIn, and X (Twitter).
Have questions? Check our FAQ or get in touch with us directly via WhatsApp, phone at +447587827200, or Email.
Ready to be heard? Book now and let us capture your voice.