Maximizing your time and money in a recording studio comes down to one non-negotiable principle: preparation. The studio clock is always ticking, and every minute you spend tuning a guitar, figuring out a song part, or debating a tempo is money wasted.
Here is a detailed guide on how to walk into a studio, be ruthlessly efficient, and walk out with a product that exceeds your expectations.
Phase 1: Pre-Production (The 90%)
This is where you save all your money. The work you do before you book the time is more important than the session itself.
1. Finish Your Songs. Completely. A recording studio is a place to capture a great performance, not a place to write. Do not show up with half-finished lyrics, a "solo TBD," or an undecided song structure.
Finalize Arrangements: Know every verse, chorus, bridge, and transition.
Lock in Tempos: Decide on the exact BPM for every song.
Write Out Parts: Every musician should know exactly what they are playing. If you are writing harmonies or complex layers, have them written and rehearsed.
2. Rehearse to a Click Track This is the single most important technical preparation you can do. Recording to a click track (metronome) is standard practice. It makes editing, overdubbing, and mixing exponentially easier (and cheaper). If your drummer or band isn't comfortable playing to a click, they are not ready for the studio.
Resource: How To Prepare For A Recording Studio Session (Covers the importance of click tracks)
3. Create a Pre-Production Demo Record a simple, clear demo of your songs, even if it's just on a phone. This "scratch track" serves two purposes:
For the Band: It solidifies the final structure and tempo.
For the Engineer: You can send this to the engineer before the session. They will understand your song's structure and vibe, allowing them to prepare microphones and session files in advance.
4. Prepare Your Gear Meticulously Do not waste paid studio time on basic maintenance.
Guitarists/Bassists: Put on new strings 1-2 days before the session (so they have time to settle). Get your guitar professionally set up and ensure the intonation is perfect. Bring spare strings, picks, and cables.
Drummers: Put on new drum heads. Bring your own cymbals, snare, and kick pedal (if you are attached to their sound). Bring new, spare sticks.
Vocalists: Don't party the night before. Bring room-temperature water and any specific tea or lozenges you prefer.
Resource: Recording Prep Checklist (A solid checklist for getting ready)
5. Organize Your Digital Files Create a single folder for the project and send it to the engineer ahead of time. This should include:
The pre-production demos.
A text file with the final BPM (tempo) and key for every song.
Any "stems" (isolated tracks) or loops you are using.
A list of reference tracks.
6. Compile Reference Tracks Find 2-3 professionally released songs that you want your project to sound like. Be specific. Do you like the drum sound from one song? The vocal reverb from another? This "sound vision" gives the engineer a clear target and avoids time-consuming guesswork.
Resource: What to Prepare for a Professional Recording Studio Session (Good tips on having a "sound vision")
Phase 2: During the Session (Execution)
If you've done Phase 1, this part is simple: performing.
1. Arrive Early and Be Professional Arrive 15 minutes early to load in, get a drink, and settle. Be sober, well-rested, and ready to work. Bring your own food and drinks to avoid wasting time on long breaks.
2. Appoint a "Producer" In-band democracy is expensive. Decide in advance who has the final say. This one person (or the engineer, if you've hired them as a producer) should be the primary communicator. This prevents the engineer from getting five different opinions on a snare sound.
3. Trust Your Engineer You hired this person for their expertise. Let them handle the technical side. Your job is to deliver a great performance. Don't hover over their shoulder or question every microphone choice.
Exception: If you hear something wrong (e.g., a wrong note, a buzz in your headphones), speak up immediately.
4. Focus and Minimize Distractions The studio is not a party. Leave friends, significant others, or family at home. They are a distraction. Put your phone on silent and leave it in the control room.
5. "Get It Right at the Source" Don't rely on the phrase "we'll fix it in the mix." A mediocre performance with digital correction will always sound worse than a great performance. Focus on getting the best possible take.
6. Know When to Move On Don't spend an hour trying to nail a tiny, insignificant part. If you've tried it five times and it's not working, move on. You can come back to it later. A good engineer will help you manage this and "comp" (composite) the best parts of several takes.
Phase 3: Choosing the Right Studio and Team
You can be perfectly prepared, but if you're in the wrong environment, you'll still waste money.
1. Pick the Right Room for the Job Don't book a massive, world-class studio with a vintage Neve console just to record a demo or a podcast. Likewise, don't try to record a live orchestra in a tiny project studio. Match the studio's strengths (and price tag) to your project's needs.
2. The Engineer Is More Important Than the Gear A great engineer can make a masterpiece in a modest studio. A bad engineer will deliver a terrible product in a multi-million-dollar facility. Listen to their portfolio. Do their other projects sound good? Do they have experience in your genre? A fast, experienced engineer who understands your vision will save you thousands.
3. Understand the Pricing
Dry Hire: You just rent the room, no engineer. (Only for experts).
With Engineer: The standard rate.
All-in (with Producer): The engineer also acts as a producer, helping with creative decisions. This costs more but can be invaluable.
Ask about block rates: Booking a full day or week is almost always cheaper per-hour than booking a few hours at a time.
Resource: How to save money in the recording studio (Discusses the "bear traps" that cost you money)
How to Maximize Your Time and Money in a Recording Studio
In a professional recording studio, the clock is always ticking. Every minute you spend fumbling with notes, troubleshooting tech, or deciding what to say is a minute you're paying for.
The key to maximizing your studio investment isn't haggling over the hourly rate; it's being ruthlessly efficient with the time you've booked. A 2-hour, well-prepared session is infinitely more valuable than a 4-hour, unfocused one. Here’s how to make every second count.
1. Pre-Production is Everything (Do it at Home)
The studio is for recording, not planning. Your script should be 100% final before you walk through the door.
Finalise Your Script/Outline: Know your intro, your key talking points, your segments, and your outro. Don't try to "wing it."
Share with Guests: Send the final outline and all research to your guests at least 48 hours in advance. They should arrive just as prepared as you are.
Do a Timed Rehearsal: This is the most-skipped step. Read through your script out loud at home. Does your "30-minute" episode actually take 50 minutes to get through? Knowing your timing prevents you from running over (and paying for) extra, unbudgeted studio time.
2. Choose "Full-Service," Not "Dry Hire"
This is the single biggest money-saving tip for podcasters. A "Dry Hire" (room only) rate looks cheaper, but it's a false economy. You will waste the first 30-45 minutes of your paid time setting up mics, checking camera angles, and getting levels—if you even know how.
Booking a full-service session "with an engineer," like the standard offering at Finchley Studio, means you walk into a room that is already 100% ready. The mics are hot, the cameras are set, the lighting is perfect. You can be recording within 5 minutes of arrival.
3. Arrive Early, Not On Time
Arrive 10-15 minutes before your session starts. This gives you time to use the restroom, meet the engineer, get your water, and settle your nerves. If your booking starts at 2 PM, you should be ready to hit "record" at 2 PM, not walking through the door.
4. Trust Your Engineer
The engineer is a technical expert, and they are on your side.
During the mic check: Speak at your normal, natural performance volume.
During the session: Let them handle the technology. Don't stop a great conversation to ask, "How did that sound?" Trust them to monitor the levels. Your only job is to be the talent.
5. Silence Your (and Your Guests') Phones
This is a costly amateur mistake. A phone set to "vibrate" on a studio table can be picked up by sensitive mics and ruin a take. A notification "ding" is a nightmare to edit out. The time spent re-recording that segment is wasted money. Insist that all devices are switched completely off.
Your studio time is a financial investment. By treating it with this level of preparation, you ensure you walk away from Finchley Studio with a high-quality product, on time and on budget. A session at Finchley Studio is about efficiency, and with these steps, you are guaranteed to get the most value possible from your booking at Finchley Studio.
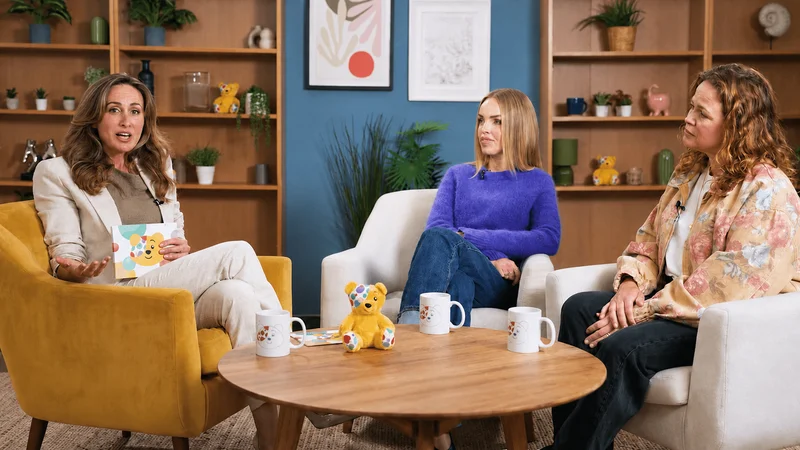
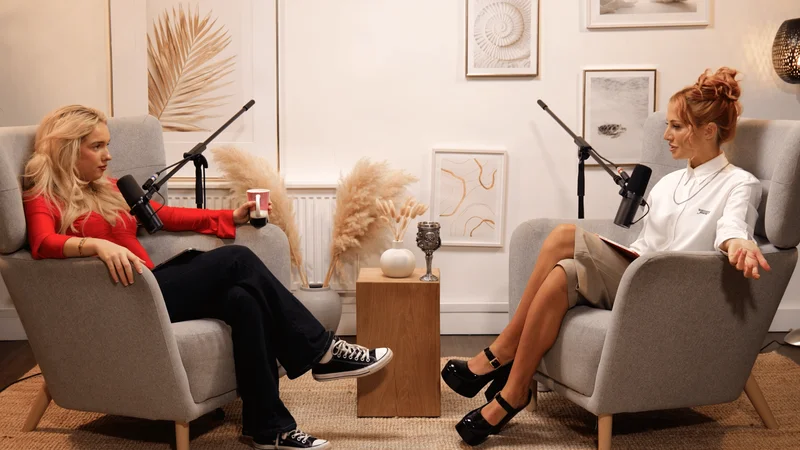
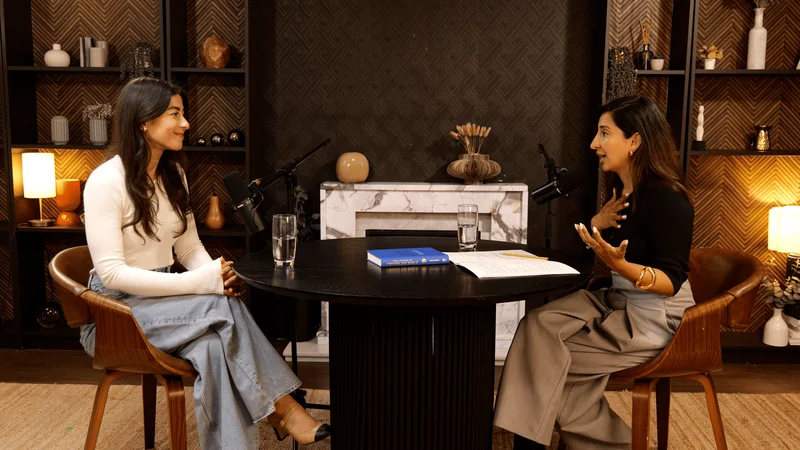
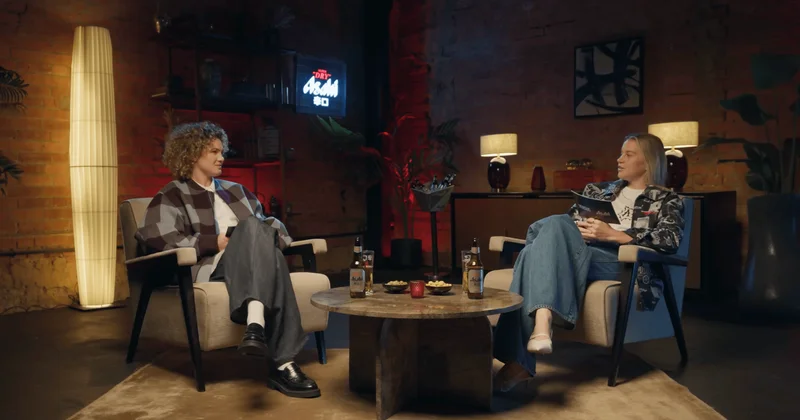
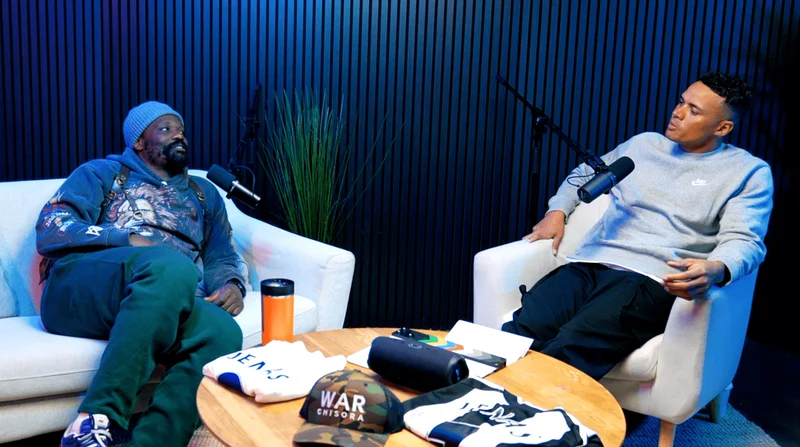
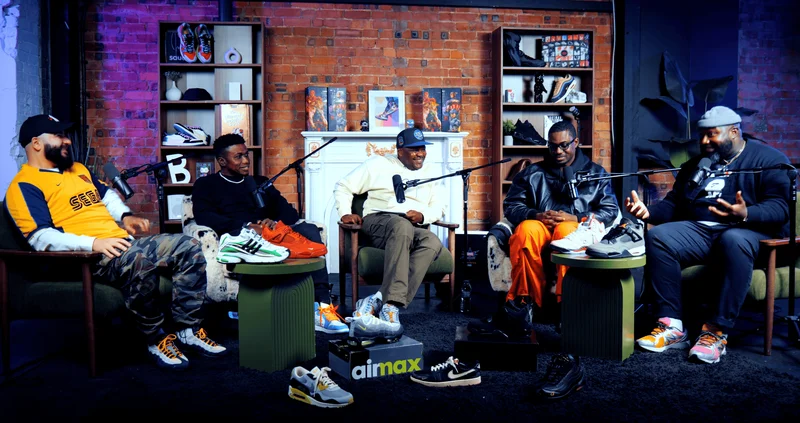
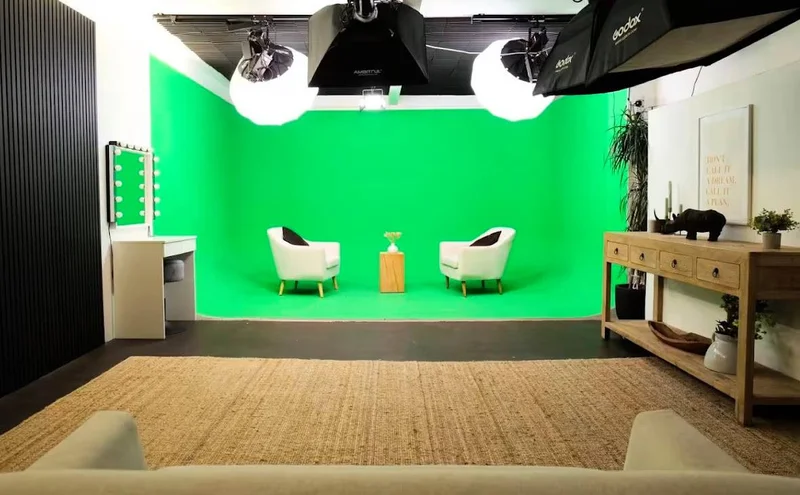
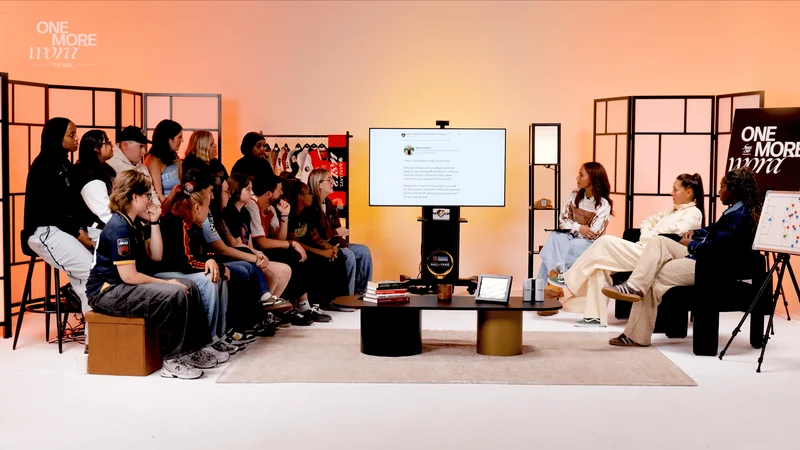
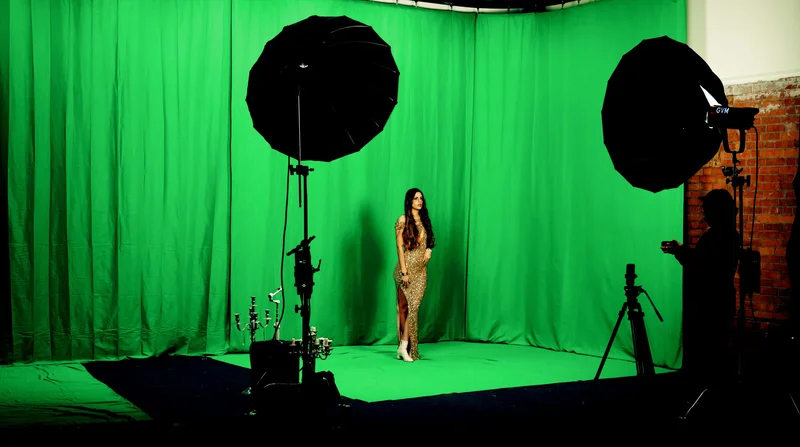
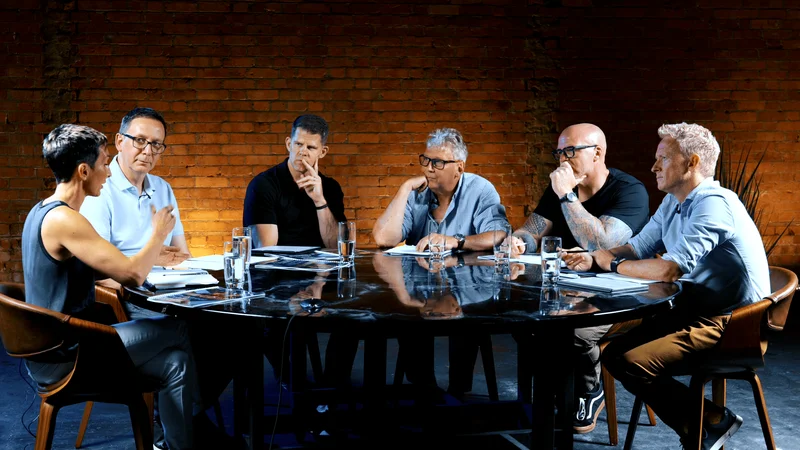
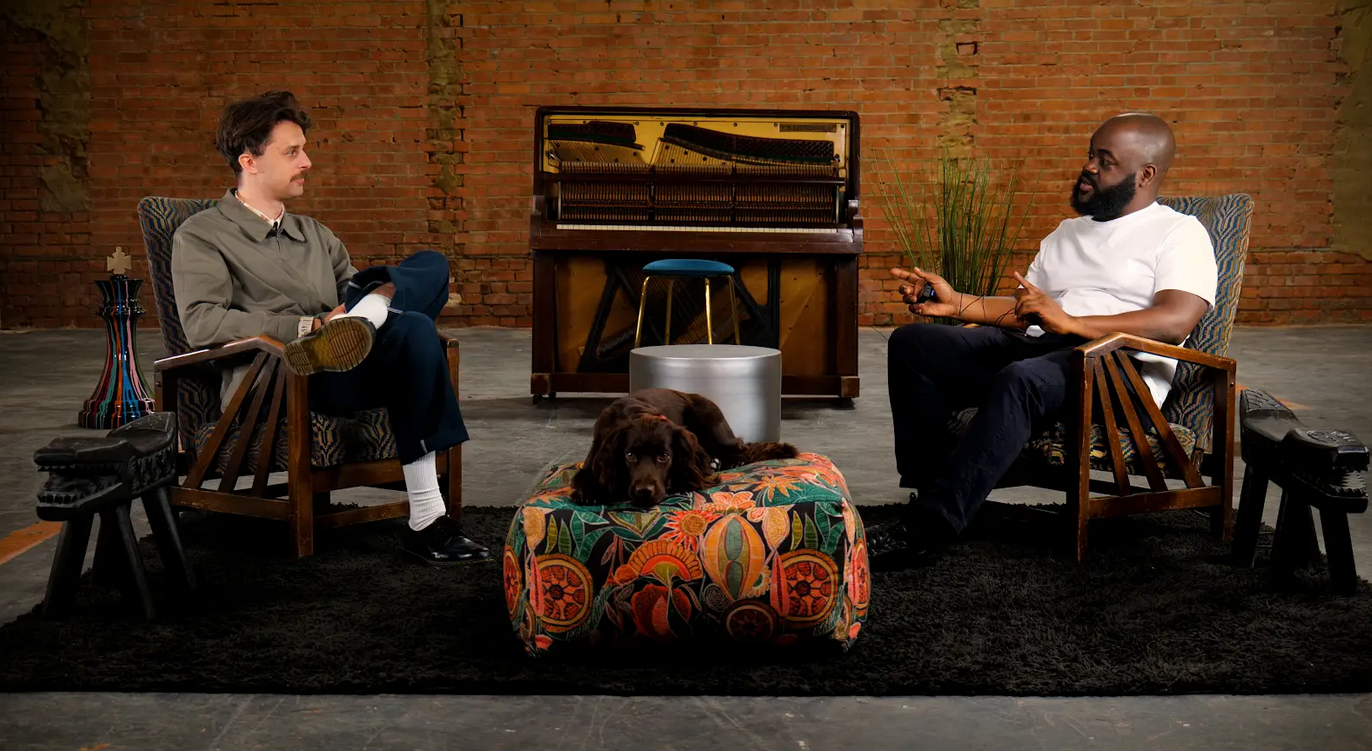
Maximizing your time is our specialty. Our full-service model means you walk in and start creating, and our diverse range of purpose-built sets means you get the exact look you want without a minute of setup. We encourage you to see our different sets to find your perfect fit: the intimate Dialogue Room for focused conversations, the relaxed LOUNGE STUDIO for group chats, or the premium CEO SET for executive content. For more dynamic productions, we have a fully-equipped Green Screen Cove, the sleek Blackwood Studio, and the textured THE BRICK STUDIO. We also feature a flawless White Infinity Cove, a fully controlled BLACKOUT SET, the spacious GATHERING STUDIO for roundtables, and one of London's largest GIANT GREEN SCREEN warehouses.
To save you even more time after your session, you can order our professional Video Editing Service to handle all your post-production, turning your raw footage into polished, audience-ready content. We are trusted by industry leaders and creators, with regular clients including the BBC and Lloyds bank recording with us. Our commitment to value and quality is why creators rate us so highly; we encourage you to see our reviews on Google review and Trust Pilot.
Finding us is simple. We are conveniently located just two minutes from Finchley Central, adjacent to the Travelodge London Finchley, and offer one free parking space per booking. You can find us easily on Google map, Apple maps, [suspicious link removed], or using What 3 words.
Stay connected and see what's happening at the studio by following us on Instagram, YouTube, TikTok, LinkedIn, and X (Twitter).
Have questions? Check our FAQ or get in touch with us directly via WhatsApp, phone at +447587827200, or Email.
Stop wasting time and start creating your best content. Book now to secure your session.