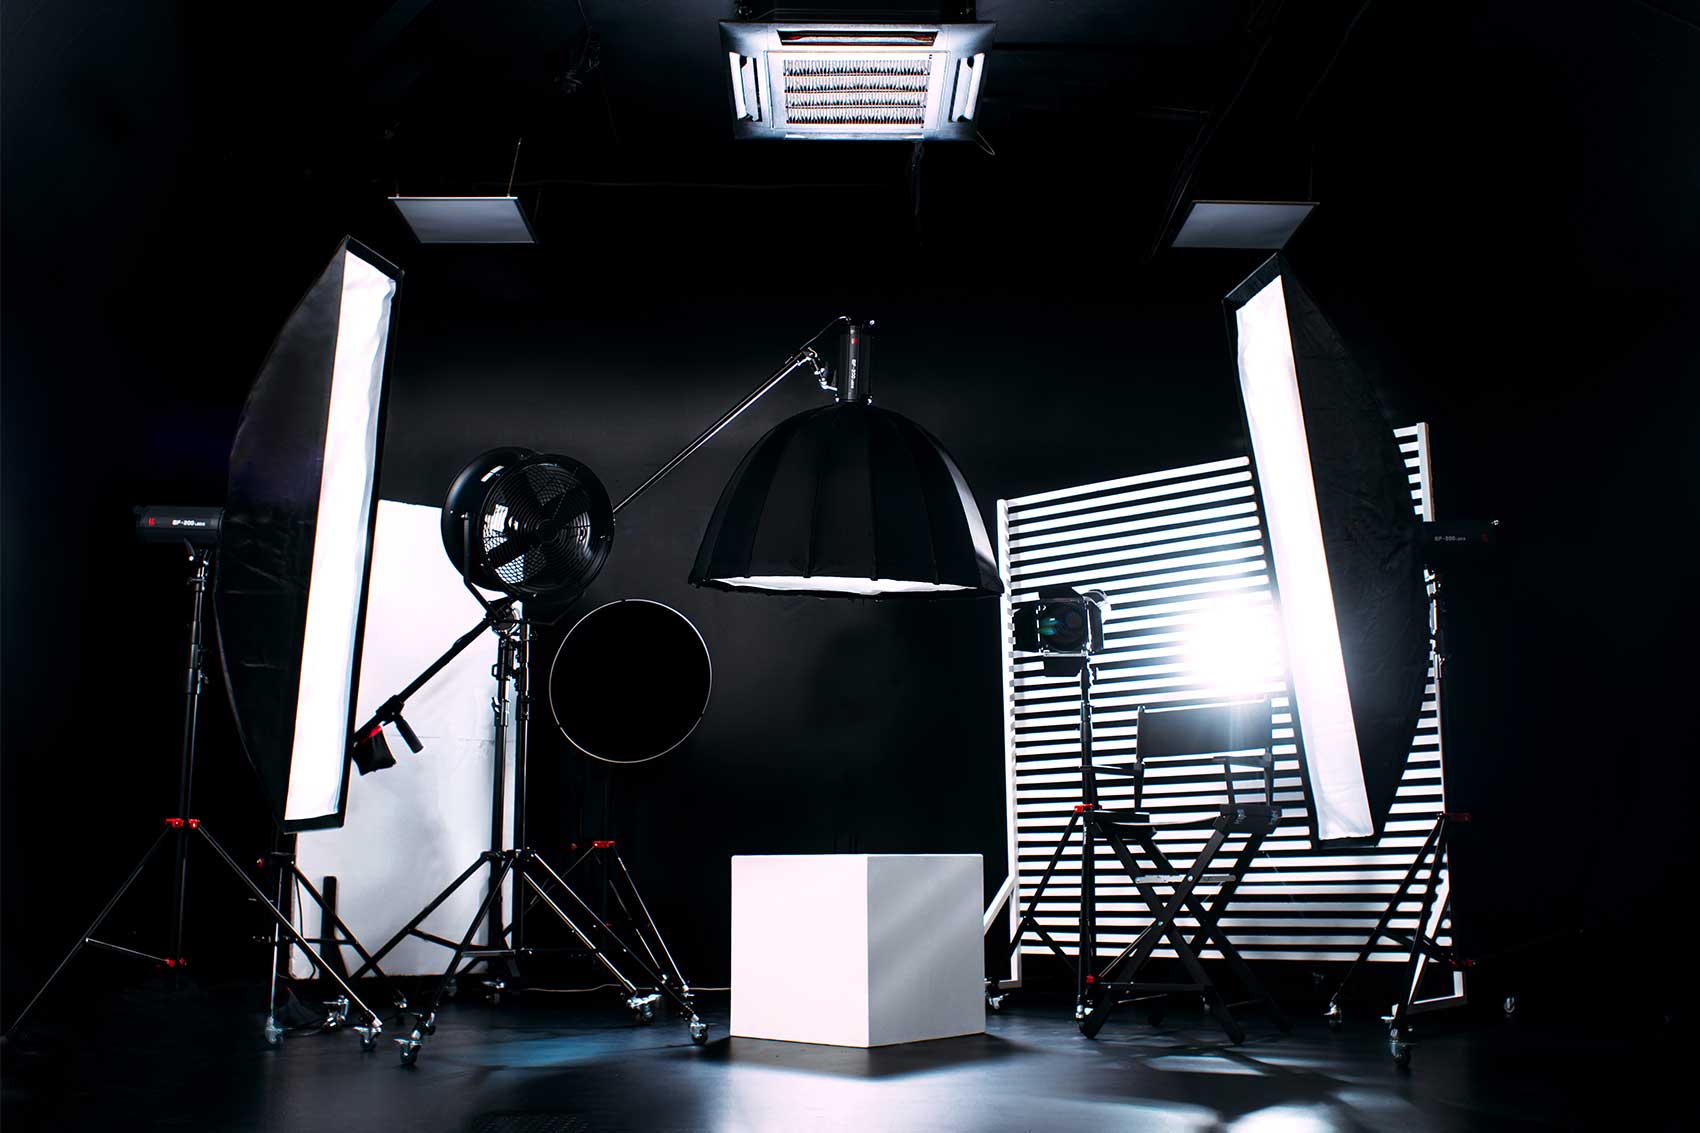
Studio lighting is the foundation of professional standard videography. It creates an evenly-lit presentation, clean exposure, accurate colour, and consistent visuals before editing begins. There are different types of lighting used in shooting videos, such as LED panels, softboxes, ring lights, and COB LEDs, Fresnels, tube lights, light bars, overhead lights, flex mats, and rim lights.
Lights in videography ensure accurate colour, controlled exposure, and consistent representation of the subject. Professional lighting setup and strategic placement minimise post-production workload and cost, improve HDR or SDR grading, and create high-quality videos that fulfil the brand's promotional objectives.
What Is Studio Lighting in Videography?
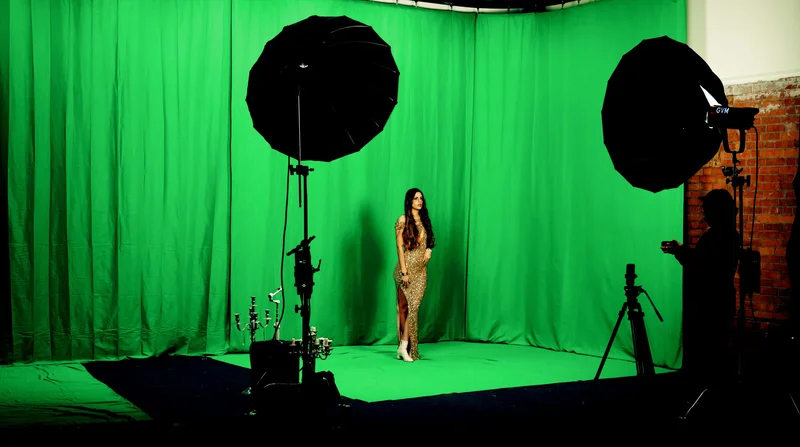
Studio lighting in videography is professional-quality, controlled lighting used to evenly and creatively illuminate settings and shape the appearance of a scene within the camera frame, for example, YouTube sets, product commercials, etc. Studio lights mostly consist of artificial lights such as softboxes, LED panels, and spotlights, both in video shooting and photo shooting.
Videography lighting in studios is usable both in indoor and outdoor settings, as it provides professional-quality illumination. They ensure clarity, consistent exposure and high production value. As a result, you get your footage with highlighted subjects, improved skin tones, less noise, and enhanced depth and storytelling.
What Type of Lighting is Used in Product Videography?
Continuous, controllable, professional-quality illumination, high-CRI types of lighting are used primarily in product videography. Those characteristics of light shape the illumination level so that the subjects in videos appear clear, with accurate texture and depth, resulting in colour accuracy and shadow control. 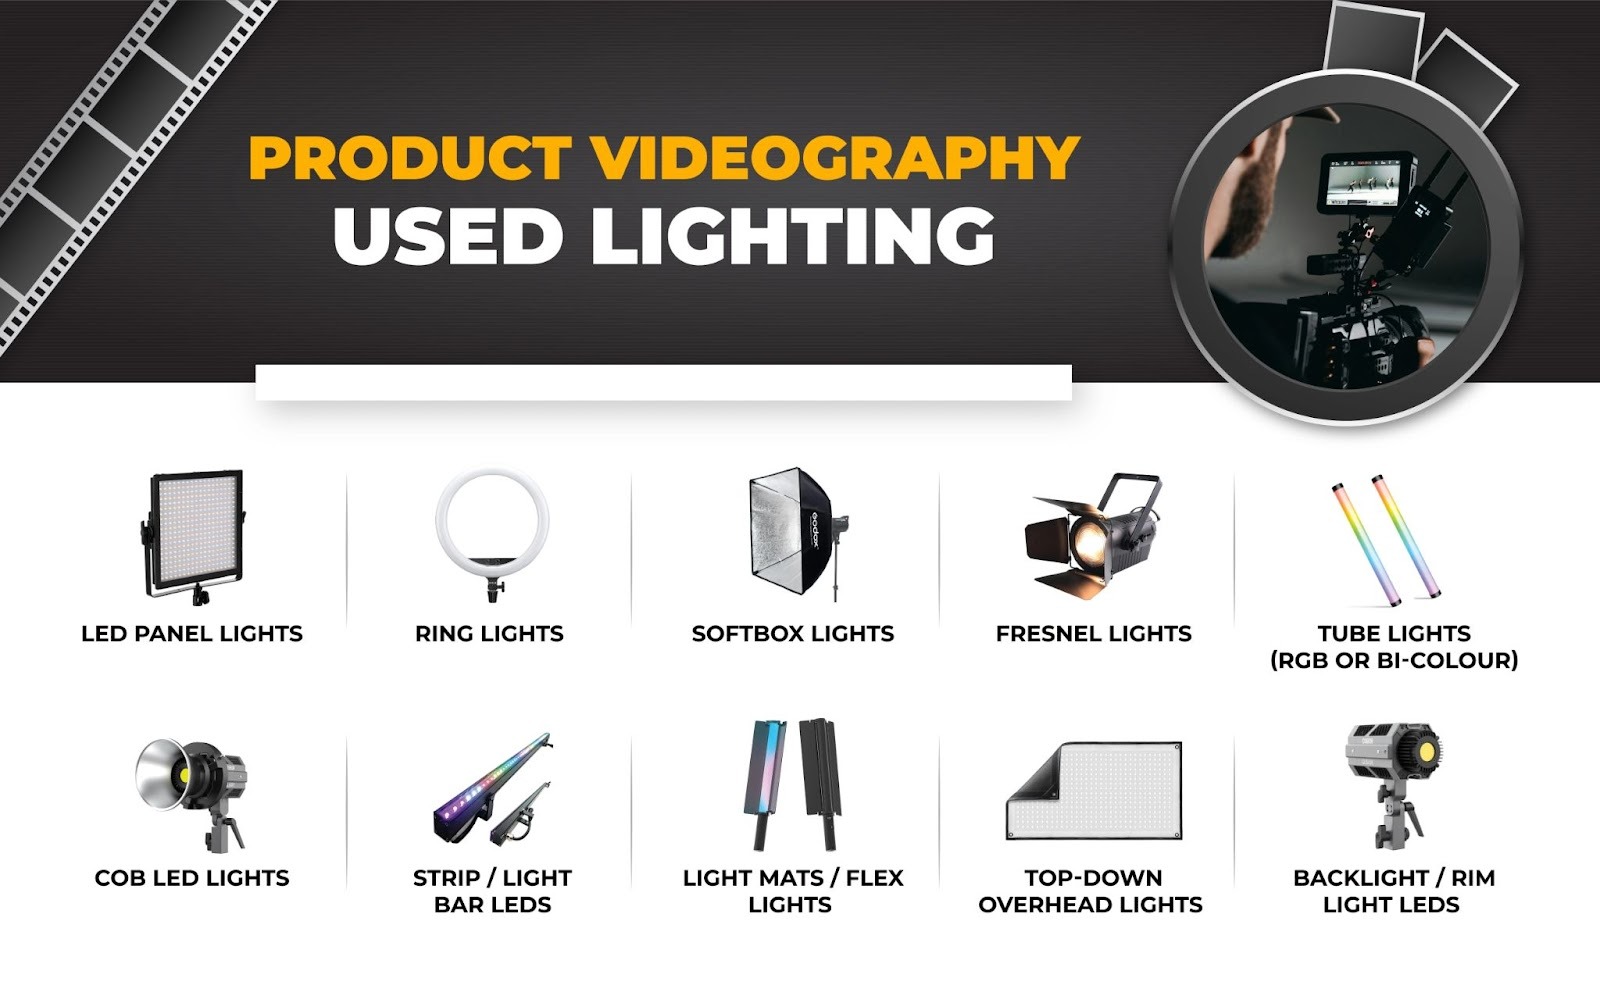
There are 10 types of light mostly used in shooting product videos, which are as follows.
LED Panel Lights
Ring Lights
Softbox Lights
Fresnel Lights
Tube Lights (RGB or Bi-Colour)
COB LED Lights
Strip/Light Bar LEDs
Light Mats / Flex Lights
Top-Down Overhead Lights
Backlight / Rim Light LEDs
1. LED Panel Lights
Lighting type: Continuous LED
Illumination level: 1,500–12,000+ lux at 1m
LED panel lights provide bright, continuous, even illumination during professional shooting, both for video and photo. You can adjust colour temperature as needed, and the high CRI ensures accurate product colours. LEDs lower shadows, making them perfect for tabletop setups, ecommerce videos, and commercial shoots. Because of their reliability, energy efficiency, and effectiveness in working, you can place them for both key and fill lighting.
Use Cases: Shooting demo products, tabletop videos, and ecommerce ads in a clean, shadow-controlled situation.
2. Ring Lights
Lighting type: Circular continuous LED
Illumination level: 800–3,000 lux
Ring lights are a circular light that creates shadow-free illumination with a signature catchlight effect. Even illumination reduces texture flaws and reflections. You can use a ringlight to shoot beauty products, jewellery, and glossy items. The flattering front-facing light maintains clarity during close-up shots, micro-demos, and high-detail product video work.
Use Cases: Shooting creative lighting for jewellery, cosmetics, reflective items, adding catchlights and reducing shadows.
3. Softbox Lights
Lighting type: Modifier paired with LED/CFL
Illumination level: Depends on light source (typically 1,000–10,000 lux at 1m)
Softboxes create soft, diffused lighting that evenly wraps around the subject. It reduces harsh shadows and reflections in videography. Softboxes are globally used for shooting cosmetics, apparel, food, and lifestyle product videos. If you use LEDs or strobes with them, you get a natural, studio-quality look and are perfect for clean, professional commercial scenes.
Use Cases: Taking shots of beauty products, fashion accessories with soft, diffused, flattering illumination.
4. Fresnel Lights
Lighting type: Focusable LED/tungsten spotlight
Illumination level: 3,000–20,000 lux, depending on beam focus
Fresnel lights provide strong directional control. As they feature a focusable beam that shifts from wide flood to tight spotlight, they highlight textures, contours, and product details. Using Fresnel lights creates a dramatic, dynamic, high-contrast setup with visual impact and depth.
Use Cases: Producing highlight shots, dramatic lighting, and detailed product enhancement.
5. Tube Lights (RGB or Bi-Colour)
Lighting type: LED RGB tubes
Illumination level: 400–2,500 lux
Tube lights provide soft, linear illumination. As they have a slim design, they are perfect for edge lighting, background accents, and shaping light for tech, gadgets, and fashion items. Allowing creative colour options for videography, these lights are easy to position and manage and allow users to add depth without overwhelming the subject.
Use Cases: Creating images of tech gadgets, modern product ads, edge lighting, accent lighting, and background colour design.
6. COB LED Lights
Lighting type: High-output Chip-on-Board LED
Illumination level: 5,000–30,000+ lux
COB LEDs have high CRI and consistent colour temperature that deliver extremely bright, stable output ideal for professional product videography. If you use them with modifiers, you get an accurate representation of the subject from soft fills to powerful key lights.
Use Cases: Shooting commercial product videos, slow-motion shots, studio-grade setups.
7. Strip/Light Bar LEDs
Lighting type: Thin continuous LED bars
Illumination level: 500–3,000 lux
Strip LEDs generate narrow, controlled highlights to enhance edges, curves, and reflective surfaces. Their slim build allows precise placement and creates clean product contours and polished visuals. If you shoot videos for premium branding, glossy commercials, and professional tabletop setups, stripes or light bar LEDs are the best.
Use Cases: Using edge lighting for bottles, glassware, and electronics for sleek highlight lines.
8. Light Mats / Flexible Lights
Lighting type: Flexible LED mats
Illumination level: 1,000–6,000 lux
Flexible LED mats produce soft, wrap-around lighting, which is ideal for bottles, pack shots, and reflective surfaces. With the advantage of allowing bent or shaped light products to form difficult angles, they offer shadow-free lighting in compact setups. Due to their lightweight, you can move them to shoot outside and create precise, low-profile lighting for your videos.
Use Cases: Shooting in tight spaces, wrap-around lighting for bottles, pack shots, and irregular product angles.
9. Top-Down Overhead Lights
Lighting type: Large soft LED mats, panels, or diffusion domes
Illumination level: 1,000–8,000 lux
Top-down lighting provides broad and even illumination from above. It is best to shoot overhead or flat lay videography. Those types of light remove complex shadows and highlight surface details. You get clean, professional-looking visuals that focus, ensure consistency, and help showcase textures and minimal distraction videos.
Use Cases: Best for capturing dynamic footage such as food videography, unboxing shots, and tabletop product videos.
10. Backlight / Rim Light LEDs
Lighting type: Narrow-beam LED for edge separation
Illumination level: 600–3,000 lux
Rim lights are used for illuminating a product’s edges to separate it from the background. It results in adding depth and a polished, dimensional look. Using rimlight or backlights is especially effective for shooting dark, glossy, or tech items as they enhance shape and contour.
Use Cases: Creating depth, separating products from the background, and glossy items.
Why is Studio Lighting Important for Professional Videography?
Studio lighting is important for professional videography because it ensures consistent exposure across scenes, enhances the subject's clarity in details and controls how subjects appear on camera to make them market-ready. Video lighting in the studio forms a specific mood, reduces visual noise and keeps footage accurate.
Other reasons why studio lights are necessary for professional video shoots are as follows.
Offers colour accuracy and true-to-life representation: Proper studio lighting produces stable illumination and accurate colour temperatures, preventing unwanted colour casts. It results in making products, skin tones, and branded elements appear natural and reducing editing. So that the final videos align with commercial standards.
Supports creative control and visual storytelling: Studio lights guide viewers' attention, build depth and set emotional tone. Videographers can develop the scene as they intend to drive maximum viewer engagement and elevate cinematic effect.
Keeps consistency across multiple video footages: Using studio lighting makes the scenario evenly lit, giving the videographer repeatable brightness and angle positions. So, the exposure shift doesn't appear in between takes. This consistent output makes scenes appear seamless without much colour imbalance during post-production.
Eliminates shadows and distracting reflections: Professionally set studio lights reduce glare, shadows or reflections on the subject or products during video shooting. As a result, you get clear and uniform video clips ideal for use on e-commerce or commercial productions with clarity.
Why Proper Studio Lighting Reduces Work in Video Post Production?
Proper studio lighting reduces work in video post-production as it makes the scenario well-lit, which produces footage requiring less exposure correction, colour fixing, and noise removal. Adjusted lights don't blow highlights or crush shadows, making editors avoid time-intensive rescue work, letting them focus on creative grading instead of technical repair—speeding up delivery while preserving quality. As a result, it effectively cut down post-production times and costs.
How Do You Set Up Studio Lighting for Videography?
To set up studio lighting for videography, consider subjects and their purposes. Then, develop a controlled lighting environment, starting with the popular lighting setups, including key light, fill light to control shadow and additional. Use modifiers such as softboxes, flags, and reflectors to even out the illumination on the entire set. You will create a clear, even colour and a controllable mood that matches the creative direction.
Where to Put Lights in a Videography Setup?
Here is a list of different lights used in videography and their placement in the setup.
How Freelance Video Editors Handle Light-Heavy Footage?
To handle light-heavy footage, freelance video editors apply industry-standard video editing methods, colour-grading workflow, making corrections, recovery, and QC process. It is faster if the freelance video editing is an agency or a team, because they follow the same pipeline while distributing the tasks among the experts, ensuring consistent and faster turnaround.
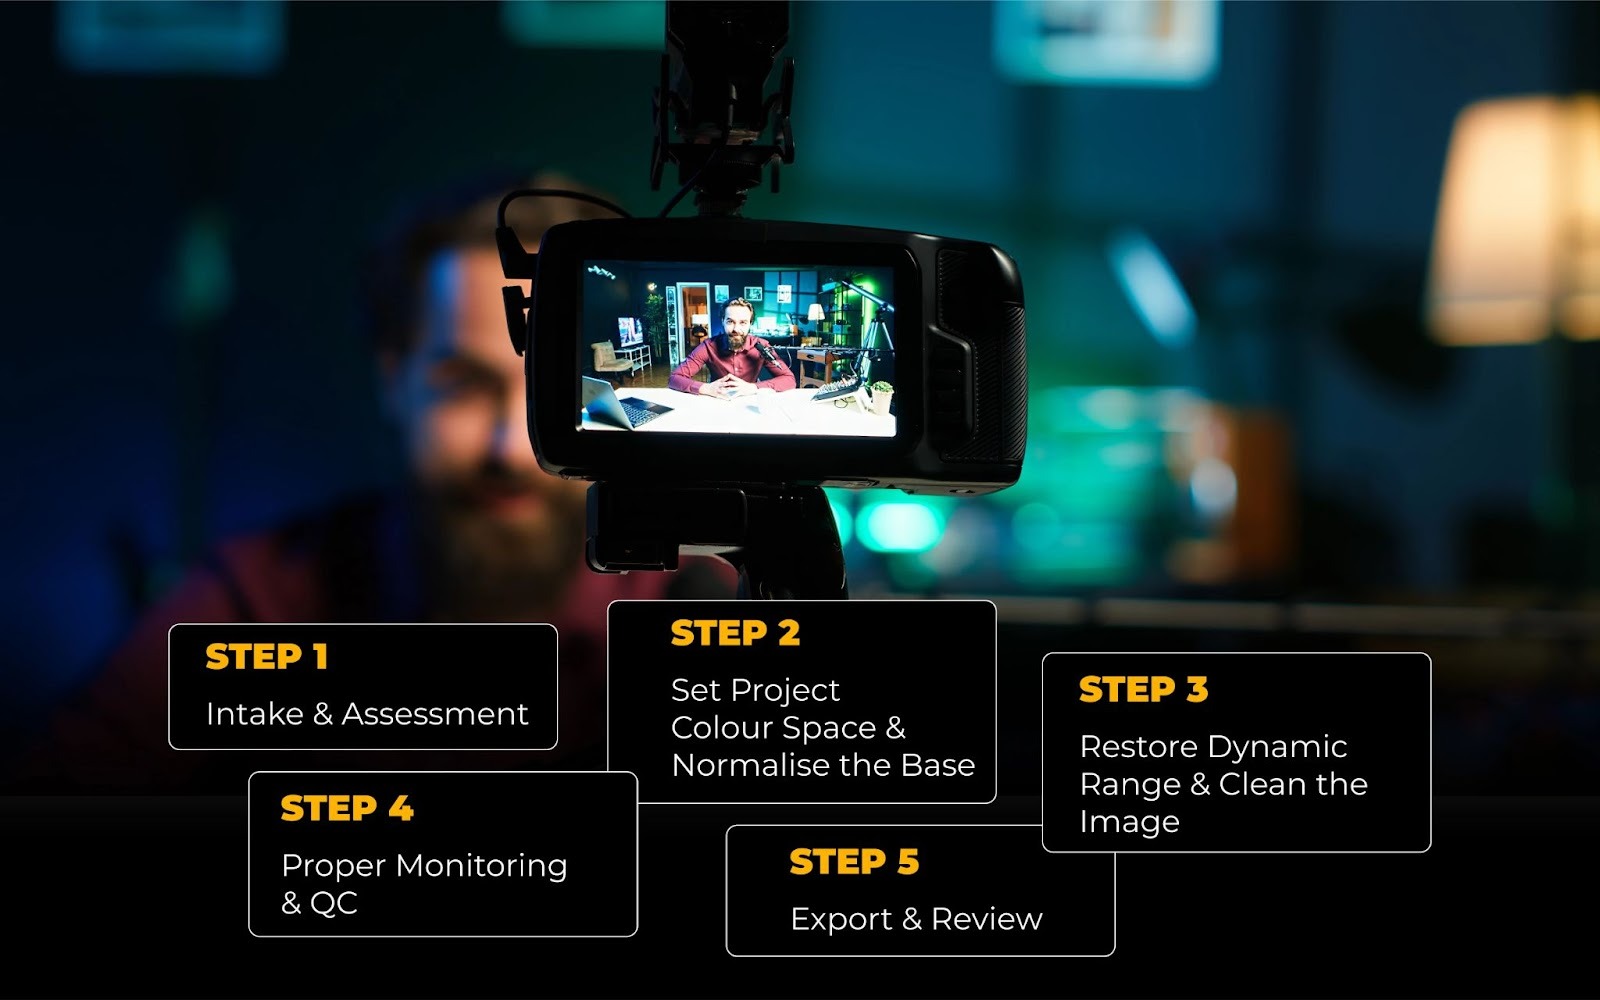
Here are the common steps that freelance video editors follow to manage light to heavy footage.
Step 1: Intake & Assessment
They import the raw footage and flag clips with harsh highlights, deep contrast, or log/HDR profiles. This is the early tagging process that allows video editors to cull shots which to be edited and what type of editing they require.
Step 2: Set Project Colour Space & Normalise the Base
Freelance editors set the correct colour-managed timeline (Rec. 709, HLG, PQ, or log-to-HDR), load LUTs or transforms, and perform primary correction. This step includes several tasks, such as balancing exposure, contrast, and white balance, using curves or a base LUT to bring the footage into a clean, non-clipped starting point.
Step 3: Restore Dynamic Range & Clean the Image
Video clips which have blown highlights get edited at this stage. Editors recover those by using selective curves, masks, or log-profile latitude. It gradually makes the base appear stable. Then, they apply temporal or spatial noise reduction to clean shadow noise, soften banding, and prep the image for deeper refinement.
Step 4: Refine Colour & Prep Final Delivery
After the base becomes stable, video editors carry out secondary colour work—isolating hues, refining mid-tones, correcting colour shifts, and adjusting product surfaces, reflections, or skies with masks/qualifiers. They also lock in delivery intent (SDR or HDR) and ensure proper transforms for HDR10, HLG, or Dolby Vision.
Step 4: Proper Monitoring & QC
By this stage, most of the essential editing is completed, and freelance editors review everything on the calibrated monitors to verify highlight roll-off, contrast behaviour, and colour accuracy across scenes. They also match warmth, brightness, saturation, contrasts, etc, between shots to make them appear smooth and natural.
Step 5: Export & Review
Once the review is complete and they have approved the video requirements, they export it using the required codec and colour space, and deliver the file for client feedback before making final tweaks.
FAQs
What is the best light for a video studio?
The best light for a video studio is an LED light, especially a COB LED paired with a softbox. This combination creates bright, high CRI, soft, and flattering light without flicker. LEDs offer power, control, and flexibility, making them perfect lighting equipment to shoot professional videos such as product, talking-head content, professional commercials, etc.
What is the 3 lighting rule?
The 3 lighting rule is the 3-point lighting setup, which illuminates the subject from 3 distinctive positions: front (key light), angle (fill light) and back (back light). The 3-light rule is the professional setup, and it creates depth, clarity, and balanced illumination.
Key light, which is the main source of light placed in front of the subject to illuminate the scene.
Fill light is the adjacent light, stationed at a 45-degree angle to soften shadows created by the key light.
Back/rim light is used at the back of the subject to separate it from the background.
What kind of lights are best for a recording studio?
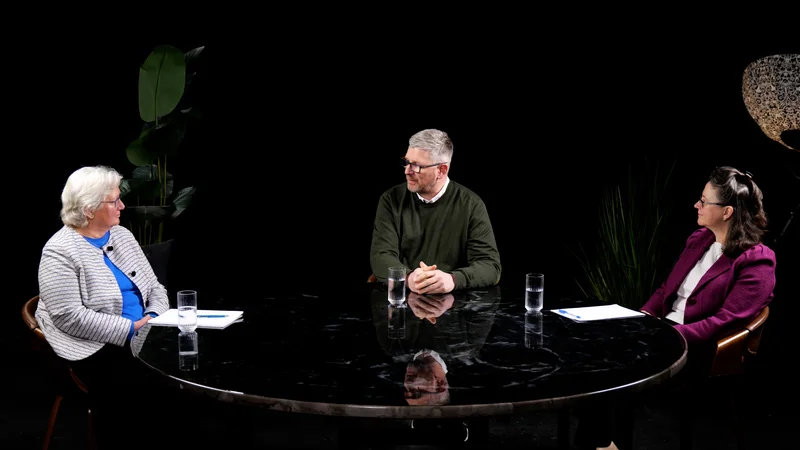
Continuous, even, and soft LED lights, such as LED panels, tube lights, and softboxes, are the best for a recording studio. They provide even illumination, low heat, show accurate colour, and operate quietly. Also, they reduce shadows and reflections, which is ideal for shooting continuous videos such as podcasts or interviews, long-form YouTube videos, tutorial-style videos, etc.
What is the 5–7 lighting rule?
The 5-7 lighting rule is the lighting setup where this many lights are used for illuminating the subject from almost all angles. Those 5 to 7 lights include a key light, a fill light, a back light, side/edge lights, a top light, and accents. While shooting high-end product videography and commercial tabletop setups, these lighting rules are applied.
What are the 4 C’s of lighting?
The 4 C’s of lighting are colour, contrast, clarity and control. These are lighting principles that guide professional lighting design in videography. Colour refers to accurate colour temperature and CRI, contrast is the balance between light and shadow, clarity is the highest visibility and detail in the subject, and control is to shape, soften, direct, and adjust light precisely.