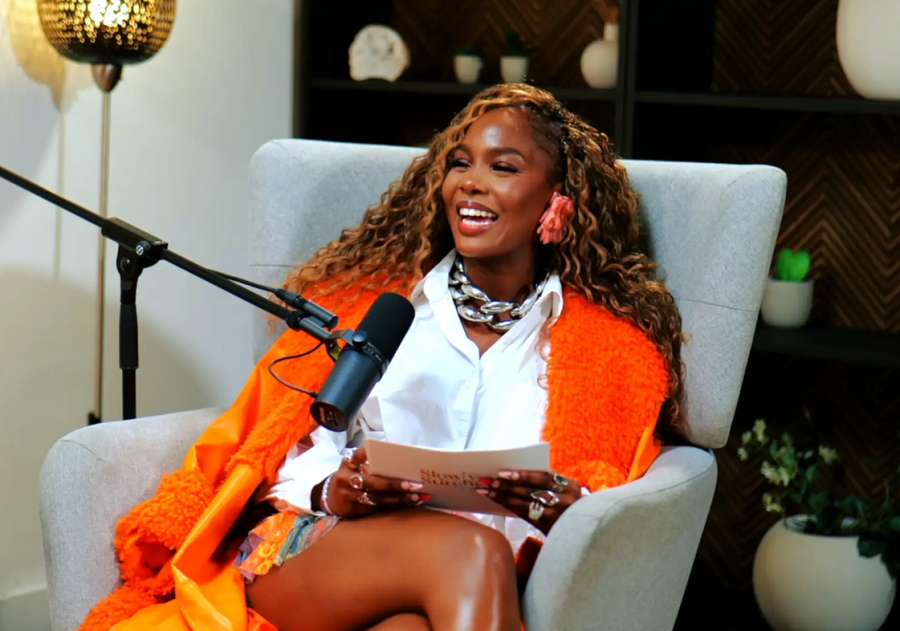
Here are the 10 essential pieces of recording studio equipment for beginners, with details and links to resources.
1. The Computer
This is the brain of your studio. Almost any modern Mac or PC will work, but you should prioritize at least 16GB of RAM and a Solid State Drive (SSD) for speed. This will be the hub for your recording software, plugins, and project files.
Resource: Avid's Guide to Home Studio Setup (covers computer requirements):
https://www.avid.com/resource-center/home-recording-studio-setup
2. Digital Audio Workstation (DAW)
The DAW is the software you use to record, edit, mix, and master your music. Many beginners can start for free. If you have a Mac, GarageBand is a fantastic free starting point. For PC users, Cakewalk by BandLab is a powerful and completely free option. Other popular free/low-cost DAWs include Pro Tools Intro and Reaper.
Resource: LANDR's Guide to the Best Free DAWs:
https://blog.landr.com/best-free-daw/
3. Audio Interface
This is the most critical piece of hardware. It's the bridge that converts your analog signal (from your microphone or guitar) into a digital signal your computer can understand. For beginners, a simple 2-input/2-output interface like the Focusrite Scarlett 2i2 or PreSonus AudioBox is a standard. Look for one with "phantom power" (for condenser mics) and at least one "combo jack" (which accepts both XLR and 1/4" cables).
Resource: MusicRadar's Best Budget Audio Interfaces Guide:
https://www.musicradar.com/news/the-best-audio-interfaces
4. A Versatile Microphone
Your first microphone should be an all-rounder. The best choice is a large-diaphragm condenser microphone. This type of mic is excellent at capturing the detail in vocals and acoustic instruments. Popular beginner models include the Audio-Technica AT2020 or the Rode NT1. (Note: Condenser mics require the "phantom power" from your audio interface to work).
Resource: The Greatest Song's 10 Best Condenser Mics for All Budgets:
https://thegreatestsong.com/best-condenser-microphone/
5. Studio Headphones
You will need a reliable pair of headphones for two jobs: tracking (recording) and mixing. For a first pair, get closed-back studio headphones. The closed-back design prevents sound from leaking out of the headphones and into your microphone, which is essential when recording vocals. The Sennheiser HD 280 Pro or Audio-Technica M-Series (M40x/M50x) are industry standards.
Resource: Sweetwater's Headphone Buying Guide:
https://www.sweetwater.com/insync/headphone-buying-guide/
6. Studio Monitors
While you can mix on headphones, your mixes will be much more accurate if you use studio monitors (speakers). Unlike consumer speakers that color the sound (e.g., "extra bass"), studio monitors provide a "flat" frequency response. This allows you to hear your music accurately, so your mix will sound good on any system. Look for a pair of "near-field" monitors like the PreSonus Eris E3.5 or KRK Classic 5.
Resource: Sweetwater's Studio Monitor Buying Guide:
https://www.sweetwater.com/insync/studio-monitor-buying-guide/
7. Cables
You can't connect anything without them. To start, you will need:
One (1) XLR Cable: This connects your microphone to your audio interface.
Two (2) TRS Cables (1/4"): These connect your audio interface's outputs to your studio monitors.
Resource: Audio Mentor's Guide to Studio Essentials (details cable types):
https://www.audiomentor.com/audioproduction/10-home-recording-studio-essentials-for-beginners/
8. Microphone Stand
This is a non-negotiable item that beginners often forget. You must have a stand to hold your microphone steady and position it correctly. A tripod boom stand is the most versatile option, allowing you to position the mic for vocals (standing/sitting) or instruments.
Resource: RecordingStudio101's Beginner Essentials List (includes stands):
https://recordingstudio101.com/home-recording-studio-essentials/
9. Pop Filter
A pop filter is the small screen (usually nylon or metal mesh) that you place between your mouth and your condenser microphone. Its one job is to stop "plosives"—the burst of air from "P" and "B" sounds—from hitting the mic diaphragm and creating a loud, distorted "thump" in your recording. It's a cheap and essential tool for clean vocals.
Resource: Riverside.fm's Home Studio Equipment Guide (explains filters):
https://riverside.com/blog/home-recording-studio-equipment
10. Basic Acoustic Treatment
This is the most overlooked item, but it's one of the most important. You can have the best gear in the world, but if your room sounds bad (lots of echo and reverb), your recordings will sound unprofessional. You don't need to spend thousands. Start with a few acoustic panels or bass traps (you can even make them yourself) and place them at the first reflection points in your room. This will instantly make your recordings and mixes clearer.
Resource: Sound on Sound's Guide to Equipping a Home Studio (discusses room setup): https://www.soundonsound.com/techniques/equipping-home-studio-part-1
Starting your podcasting journey is exciting, but stepping into the world of audio equipment can feel like learning a new language. What's a "condenser"? What's an "interface"? Do you really need all those knobs and cables?
While you can build a setup worth tens of thousands, beginners can achieve broadcast-quality sound by focusing on just a few key essentials. This guide breaks down the top 10 pieces of equipment every new podcaster should understand, even if you plan on using a professional studio.
1. A Quality Microphone
This is the heart of your studio. Don't rely on your laptop mic.
Dynamic Mic (e.g., Shure MV7, RØDE PodMic): Great for beginners. They are durable, affordable, and excellent at rejecting background noise, making them ideal for untreated home environments.
Condenser Mic (e.g., RØDE NT1-A, Audio-Technica AT2020): These mics are more sensitive and pick up a clearer, more detailed sound. They are standard in professional studios but require a very quiet room (and phantom power, see below).
2. An Audio Interface
This is the bridge between your microphone and your computer. A professional mic (with an "XLR" cable) can't plug directly into your computer's USB port. The interface converts the analog signal from the mic into a digital signal your computer understands. It also provides "phantom power," which is the 48V boost that condenser mics need to work.
3. A Computer or Laptop
This is your command centre. It's where you'll run your recording software, edit your episodes, and upload your final files. Most modern laptops (Mac or PC) are more than powerful enough for podcasting.
4. Digital Audio Workstation (DAW)
This is the software you use to record, edit, and mix your audio.
Free Options: Audacity and GarageBand (for Mac) are powerful, popular, and completely free. They are perfect for beginners.
Paid Options: Adobe Audition and Hindenburg are designed specifically for spoken word and offer more advanced features.
5. Headphones (Closed-Back)
You cannot rely on your speakers while recording. "Closed-back" headphones (like the Audio-Technica M50x or Sony MDR-7506) are essential for two reasons:
They let you hear exactly what the microphone is picking up, so you can catch issues like "plosives" (popping 'P' sounds) or background noise live.
They prevent sound from "bleeding" out of your headphones and back into the microphone, which causes an echo.
6. A Pop Filter
This is a simple screen (mesh or metal) that sits between you and the microphone. It's designed to break up the gusts of air from 'P' and 'B' sounds (plosives) that cause that awful "pop" in your recording. It's a cheap item that makes your audio sound infinitely more professional.
7. A Mic Stand or Boom Arm
Holding your microphone is not an option. It creates handling noise and inconsistent audio levels as you move. A simple desk stand works, but a "boom arm" is better. It clamps to your desk and allows you to position the mic perfectly, keeping it off the desk surface where it could pick up vibrations from typing or tapping.
8. XLR Cables
These are the standard, three-pin cables that connect your microphone to your audio interface. You don't need gold-plated ones, but a reliable, well-shielded cable is a must-have to avoid static and interference.
9. Acoustic Treatment
This is what separates a home setup from a professional one. You don't need to soundproof your room, but you do need to "treat" it. Hard, flat surfaces (walls, desks, wood floors) cause echo and reverb. Adding soft things to the room—like acoustic foam panels, a thick rug, curtains, or even blankets—will absorb those reflections and give you a much cleaner, more direct sound. This is a major reason why creators end up booking time at a place like Finchley Studio, which is professionally treated for perfect sound.
10. A Professional Studio (When You're Ready)
This might sound strange, but knowing when not to use your home gear is the most essential part. Your home setup is for learning and practice. When you have a high-profile guest, want to film a high-quality video version, or simply cannot waste time on technical issues, you go to a professional studio.
A full-service studio like Finchley Studio provides all this equipment (and more) in a perfectly sound-treated room, with an engineer to run it all for you. The cost of a session is often far less than the cost of buying, learning, and setting up all this gear yourself. Many podcasters find a hybrid model works best: they test ideas at home and record their main episodes at Finchley Studio for maximum quality. It's the best way to access gear worth thousands without the hassle, ensuring your content always sounds and looks its best. The team at Finchley Studio can handle all the tech, so you can just focus on creating.
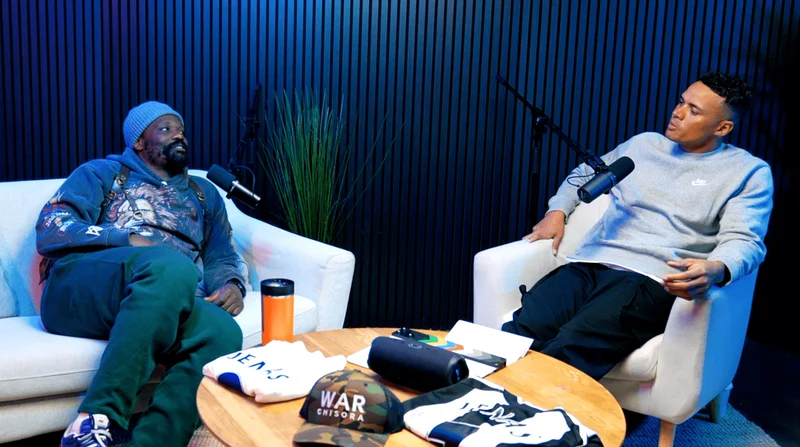
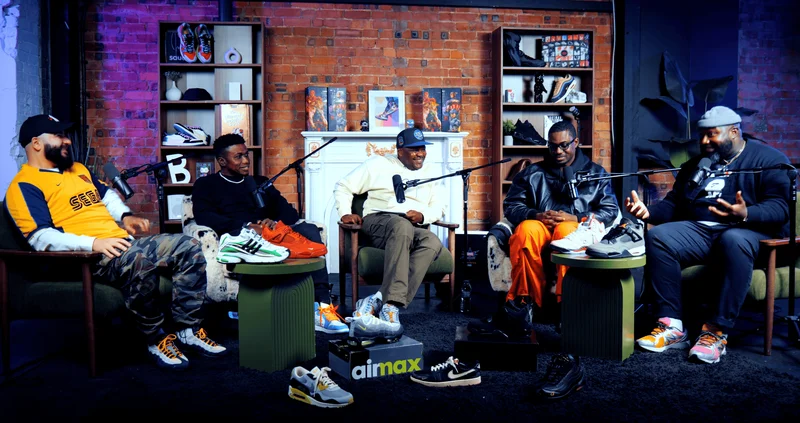
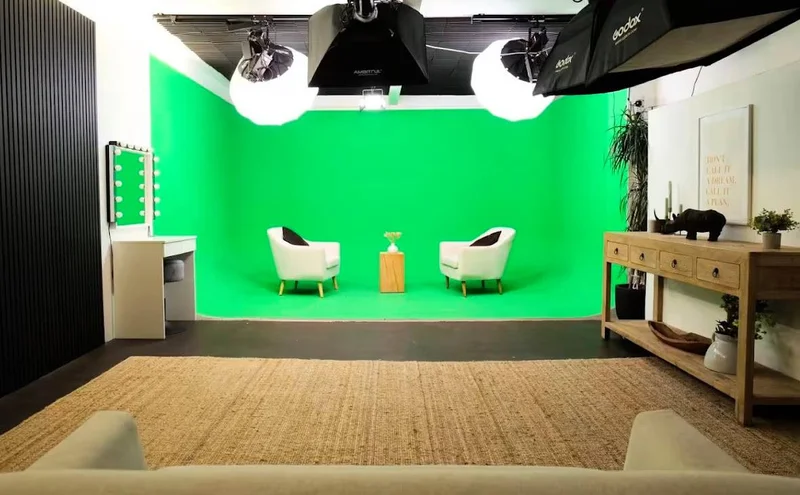
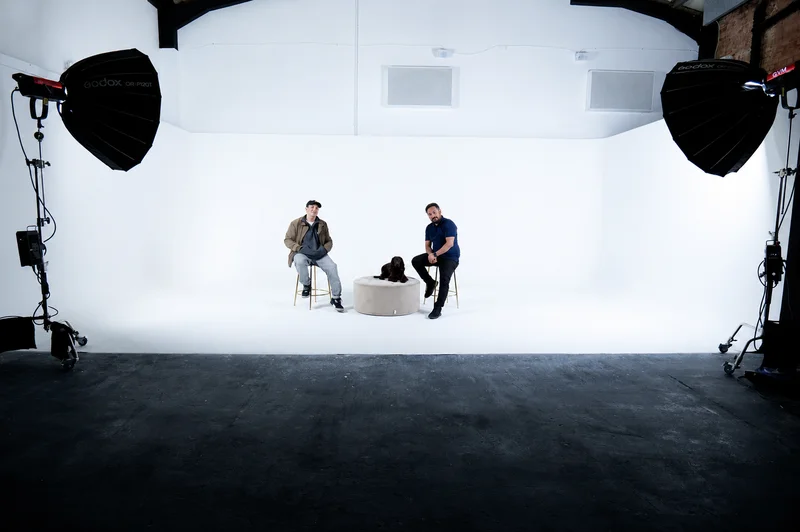
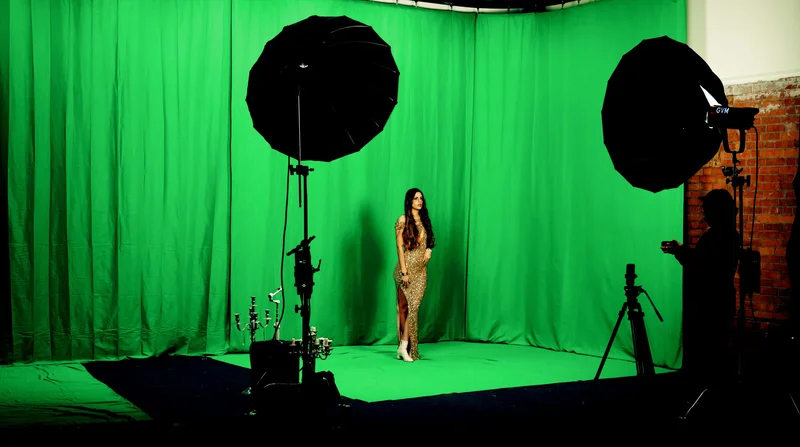
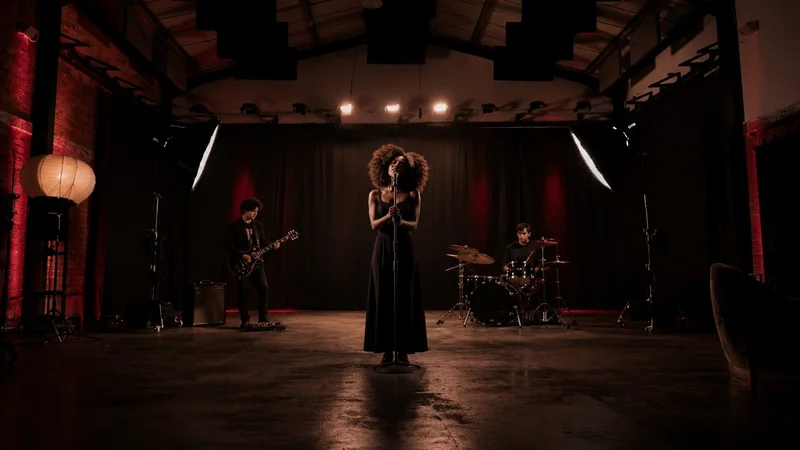
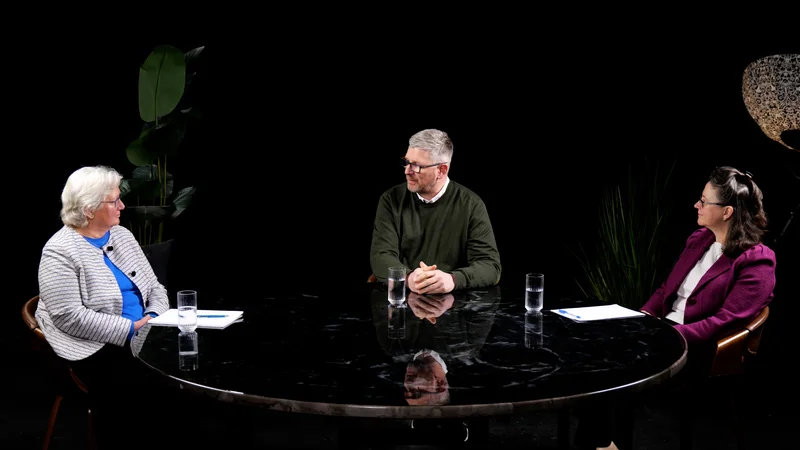
Understanding this equipment is the first step, but applying it is the next. When you're ready to bypass the setup and get straight to creating, our professional sets are at your disposal. We encourage you to see our different sets, each built for a unique purpose: from the intimate Dialogue Room and relaxed LOUNGE STUDIO to the premium CEO SET. We also offer a Green Screen Cove, the sleek Blackwood Studio, the industrial THE BRICK STUDIO, a flawless White Infinity Cove, the fully-controlled BLACKOUT SET, the spacious GATHERING STUDIO, and one of London's largest GIANT GREEN SCREEN warehouse studios.
After your recording, let our team polish your content to perfection. You can order our dedicated Video Editing Service to create polished, audience-ready episodes and clips. We are trusted by industry leaders and creators, with regular clients including the BBC and Lloyds bank. Our reputation for quality is backed by our creators; we encourage you to see what they have to say on our Google review and Trust Pilot pages.
Finding us is simple. We are conveniently located just two minutes from Finchley Central, right next to the Travelodge London Finchley, and offer one free parking space per booking. You can find our exact location on Google map, Apple maps, [suspicious link removed], or using What 3 words.
Stay inspired and connected by following our journey and seeing behind-the-scenes content on Instagram, YouTube, TikTok, LinkedIn, and X (Twitter).
If you have any questions before booking, please check our comprehensive FAQ. You can also reach our team directly via WhatsApp, phone at +447587827200, or Email.
Stop worrying about the gear and start focusing on your message. Book now to secure your session.