The Ultimate Guide to Building a Home Recording Studio on a Budget
Building a home recording studio can feel overwhelming, with endless options and dizzying price tags. The secret? Your skill and creativity will always be more important than your gear. The goal isn't to build a million-dollar studio overnight; it's to create a functional space that allows you to capture your ideas clearly.
This guide focuses on smart, high-value choices to get you recording high-quality audio without breaking the bank. We'll build your studio in logical phases.
Phase 1: The Foundation (The Room & Acoustic Treatment)
This is the most overlooked—and most important—part of your studio. A $2,000 microphone will sound terrible in a bad room. Before you buy any gear, you must control your environment.
Key Concept: You are not soundproofing (stopping sound from entering or leaving), you are acoustically treating (controlling sound reflections inside the room). Your goal is to tame echoes (reverb) and prevent "standing waves" (boomy bass frequencies).
Avoid: Square rooms and low ceilings if possible.
Budget Priority: Do not buy thin, cheap foam squares. They only absorb high frequencies, making your room sound dull and "boxy," but do nothing for the problematic low-end.
-
The DIY Solution (The Best Value): Build your own acoustic panels. You can create professional-grade panels for a fraction of the cost using lumber (like 1x4s), rigid fiberglass or mineral wool (like Rockwool), and simple fabric.
Placement: Place them at the "first reflection points"—the spots on the side walls and ceiling where the sound from your speakers would bounce directly to your ears. (You can find these using the mirror trick).
Bass Traps: Build thicker panels (4-6 inches) and stack them in the corners of your room. This is the single best thing you can do to clean up your sound.
Resources:
How-To Guide: How to Build Your Own DIY Acoustic Panels
Expert Advice: Sound on Sound's Guide to Acoustic Treatment
Phase 2: The Brain (Computer & DAW)
This is the "command center" of your studio.
The Computer: The best budget computer is the one you already have. Most modern laptops or desktops (made in the last 5-7 years) are powerful enough for audio recording. Prioritize RAM (16GB is a great target, but 8GB will work) and an SSD for faster-loading projects.
-
The DAW (Digital Audio Workstation): This is the software you use to record, edit, and mix. You do not need to spend money here to get started.
For Mac: GarageBand (Free, included with every Mac). It's incredibly powerful and a perfect starting point.
For Windows: Cakewalk by BandLab (Free). This is a fully professional, unlimited DAW that is completely free. It is arguably the best value in all of music production.
Cross-Platform (Honorable Mention): Reaper.fm ($60 for a personal license, but has a famously unlimited 60-day free trial). It's lightweight, professional, and beloved by its users.
Simple Audio Editing: Audacity (Free). Not ideal for multi-track music production, but excellent for simple recording and editing (like podcasts).
Phase 3: The Gateway (The Audio Interface)
This is the most crucial piece of hardware. An audio interface is a small box that translates analog sound (from your microphone or guitar) into digital data your computer understands, and then translates it back out to your headphones or speakers.
What to look for:
2-in / 2-out: This lets you record two sources at once (e.g., vocals and guitar).
Combo Jacks: These inputs accept both XLR (mic) and 1/4" (guitar/line) cables.
48V Phantom Power: This is a button that sends power to condenser microphones (see Phase 4). This is non-negotiable.
Budget Picks (The Industry Standards):
Focusrite Scarlett Series (Solo or 2i2): The most popular beginner interface for a reason. Great preamps, easy to use, and built to last.
PreSonus AudioBox Series: Another rock-solid competitor with a clean sound.
Audient iD4 MKII: Often cited as having the best preamps in this price range.
Resources:
Comparison Guide: MusicRadar's Best Budget Audio Interfaces 2025
Phase 4: The Capture (The Microphone)
Your first mic should be a versatile workhorse. The best choice for a budget "do-it-all" mic is a Large-Diaphragm Condenser (LDC) microphone. It's sensitive enough for detailed vocals and acoustic instruments.
Note: Condenser mics require 48V Phantom Power, which your interface will provide.
Budget Picks:
Audio-Technica AT2020: The undisputed king of budget condenser mics. It delivers a clear, professional sound for vocals and acoustic guitar that competes with mics triple its price.
Rode NT1-A: A bit more expensive, but famous for its incredibly low self-noise. A great "first serious mic."
Alternative (The Dynamic Mic): Shure SM57 or SM58. These are dynamic mics (don't need phantom power) and are virtually indestructible. They are the sound of countless rock vocals and guitar amps. While less "detailed" than a condenser, they are great for loud sources and untreated rooms.
Resources:

Phase 5: The Playback (Monitoring)
You can't mix what you can't hear. You have two options: studio monitors or studio headphones.
The Budget Reality: Studio monitors (speakers) are great, but they are useless in an untreated room (see Phase 1). Their sound will be completely colored by your room's bad acoustics.
The Budget Solution: Start with a good pair of studio headphones. They bypass the room entirely and give you a detailed, accurate sound. Look for "studio" or "reference" headphones, not "gaming" or "bass-boosted" consumer headphones.
Key Types:
Closed-Back: These isolate sound, preventing "bleed" from the headphones into your microphone during recording. This is the best type to start with.
Open-Back: These "leak" sound but offer a more natural, open soundstage, which is excellent for mixing.
Budget Picks (Closed-Back):
Sony MDR-7506: A studio standard for decades. Bright, detailed, and unforgiving (which is a good thing for mixing).
Audio-Technica ATH-M40x (or M50x): Incredibly popular. A solid, balanced sound with a slightly more modern feel.
AKG K240 Studio (Semi-Open): A classic "best of both worlds" option.
Resources:
Headphone Guide: The Best Budget Studio Headphones for Mixing
Phase 6: The Essentials (The "Boring" Stuff)
Don't get tripped up at the finish line. You absolutely need these accessories to connect everything.
A Pop Filter: This stands between you and the microphone to stop the "plosives" (harsh 'P' and 'B' sounds) from ruining your vocal takes.
A Mic Stand: A simple boom stand is the most versatile option.
-
Cables:
One XLR Cable (to connect your microphone to your interface).
One 1/4" Instrument Cable (to connect your guitar or bass to your interface).
Resource:
All-in-One: Sweetwater's Home Studio Accessories Page
Conclusion: Your Path Forward
Your initial budget studio is complete. You have a treated space, a computer with free software, an interface, a microphone, and headphones. This setup is all you need to produce professional-quality music.
The order of priority for your money should always be:
Acoustic Treatment (The biggest impact on sound quality)
Interface & Microphone (The core of your capture)
Headphones (Your reference for mixing)
Software & Plugins (Learn your free DAW first; upgrade only when you hit a wall)
Start recording. Experiment. Learn your gear inside and out. A well-mixed song recorded on a $400 setup will always beat a bad mix from a $40,000 studio.
For many podcast producers, the dream is a home recording studio—a dedicated space you can use anytime inspiration strikes. Building one on a budget is entirely possible, but it's a game of smart choices. It's not about having the most expensive gear, but the right gear for the job.
This guide will walk you through where to invest your money and where to save, helping you build a functional home studio without breaking the bank.
Level 1: The Audio-Only Starter Pack (The Non-Negotiables)
If you're on a tight budget, 100% of your initial investment should go into audio. You can't fix bad audio, but you can always add video later.
1. The "Room" (Acoustic Treatment)
Cost: Almost free.
This is your most important investment. A $1,000 microphone will sound terrible in a bad room. A $100 mic can sound great in a good one. You don't need "soundproofing" (which blocks outside noise); you need "acoustic treatment" (which stops echo inside the room).
-
How to Do It: Your enemy is hard, flat surfaces (walls, desks, hardwood floors). Your friend is soft, absorbent material.
Record in a room with a rug, curtains, a sofa, and bookshelves.
For the ultimate budget studio, record in a walk-in closet. The hanging clothes are perfect acoustic absorbers.
This is the biggest hassle of home recording, unlike a purpose-built, acoustically-treated space like Finchley Studio, where the environment is flawless from the start.
2. The Microphone (Dynamic, Not Condenser)
Cost: $100 - $200
Don't buy a "condenser" mic first. They are very sensitive and will pick up your air conditioning, your computer fan, and the car driving by.
-
Start with a Dynamic Mic. They are designed to reject background noise, making them perfect for imperfect home setups.
Good: Shure SM58 or RØDE PodMic (both around $100).
Better: Shure MV7 (a hybrid USB/XLR mic with great results).
3. The Interface & Accessories
Audio Interface: If you get an XLR mic (like the SM58), you need an interface to connect it to your computer. The Focusrite Scarlett Solo or 2i2 is the industry standard for a reason. (Cost: ~$100)
Headphones: You need "closed-back" headphones to monitor your audio without the sound bleeding into your mic. The Audio-Technica ATH-M20x is a great budget pick. (Cost: ~$50)
Mic Stand & Pop Filter: A boom arm (to clamp to your desk) is better than a desk stand, as it prevents desk bumps from being picked up. A pop filter is non-negotiable for stopping harsh "P" and "B" sounds. (Cost: ~$40)
Level 2: The Video Upgrade (Where Budgets Break)
This is where the "budget" part of a home studio gets difficult. Good video requires good lighting and good cameras, which are expensive and complicated.
1. Lighting (More Important Than the Camera)
Cost: $100 - $200
A dark, grainy webcam video looks unprofessional. The cheapest way to fix this is with a simple "3-point lighting" setup. You can get a pair of affordable LED softbox lights online. You need a "key light" (main), "fill light" (side), and "backlight" (to separate you from the background).
2. The Camera
Good: Your smartphone. A modern iPhone or Google Pixel in a tripod shoots in 4K and looks better than most webcams.
Better: A mirrorless "vlogging" camera like the Sony ZV-E10. This is a significant jump in quality but also in price (Cost: $700+). This is where the budget breaks, and booking a pre-lit, 4K camera setup at Finchley Studio becomes far more economical.
3. The Set / Backdrop
Cost: Free - $100
A plain, clean wall is better than a messy, distracting room. A well-placed bookshelf or a plant can add professionalism.
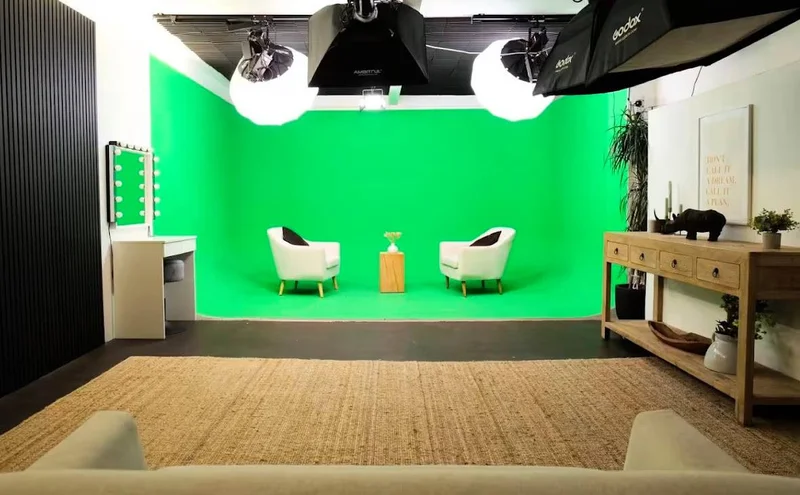
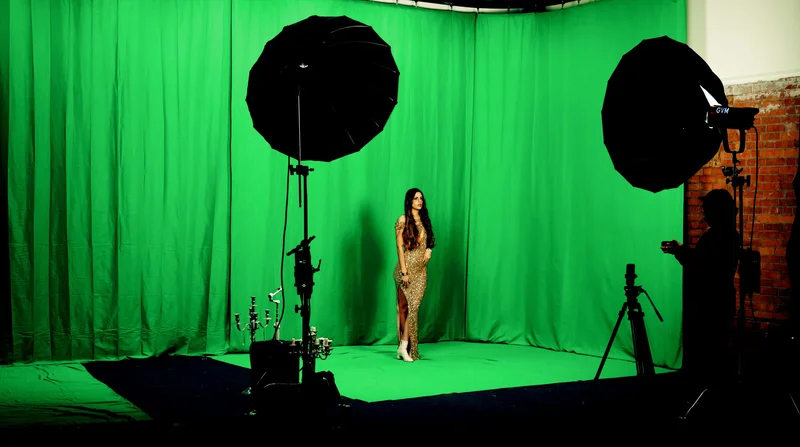
A cheap, collapsable green screen can work, but lighting it properly is a separate, advanced skill. A badly lit green screen often looks worse than a natural background. This is why studios like Finchley Studio offer multiple purpose-built sets—it’s just easier.
Level 3: The Software (The Free Part)
Audio: Audacity is free, powerful, and all you need for editing and mixing.
Video: DaVinci Resolve has a free version that is more powerful than most paid professional editing suites.
A home studio is a fantastic asset for recording solo episodes, testing ideas, and building consistency. The setup and teardown, the technical troubleshooting, the storage of all the gear—it's a lot of work.
This is why many producers adopt a hybrid model: they use their home setup for "practice" and book a professional studio for the "main event." When you have a high-profile guest, need flawless multi-camera video, or simply cannot afford to waste time on technical problems, nothing beats a professional environment. A studio like Finchley Studio has all the gear, the perfect acoustics, and the expert staff ready to go, allowing you to focus on the one thing that matters: creating.
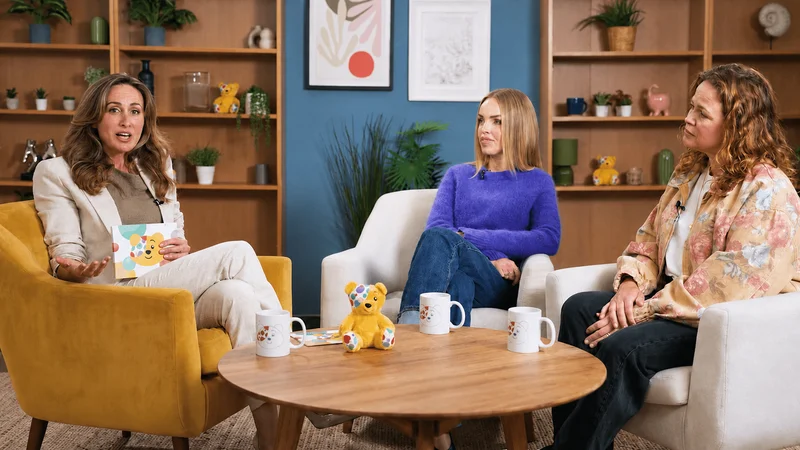
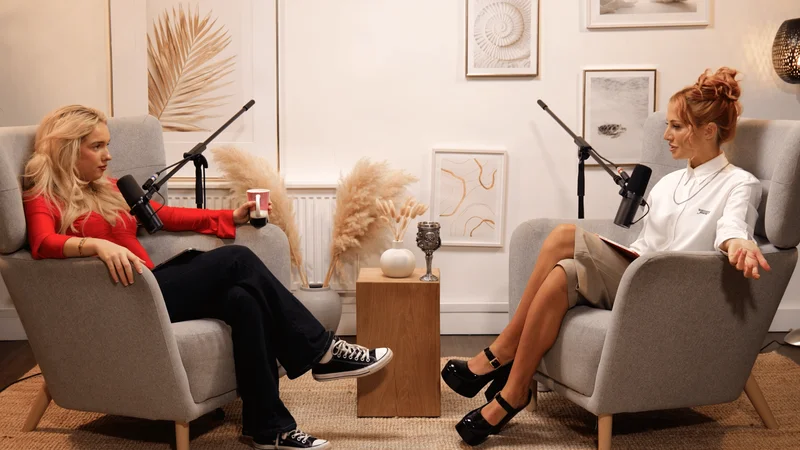
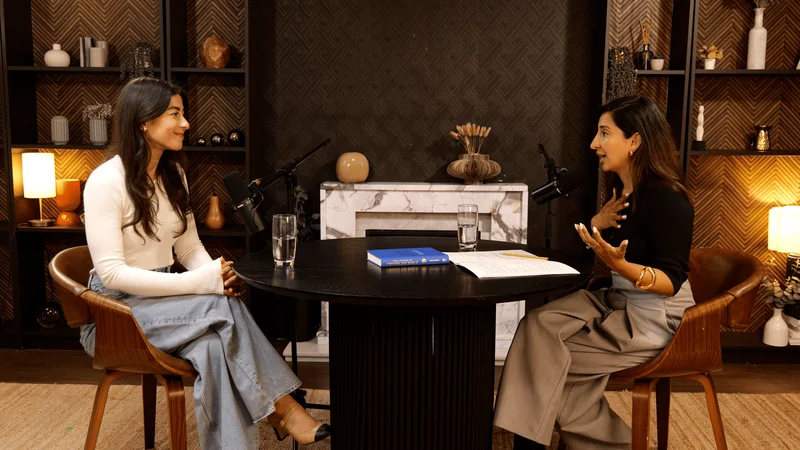
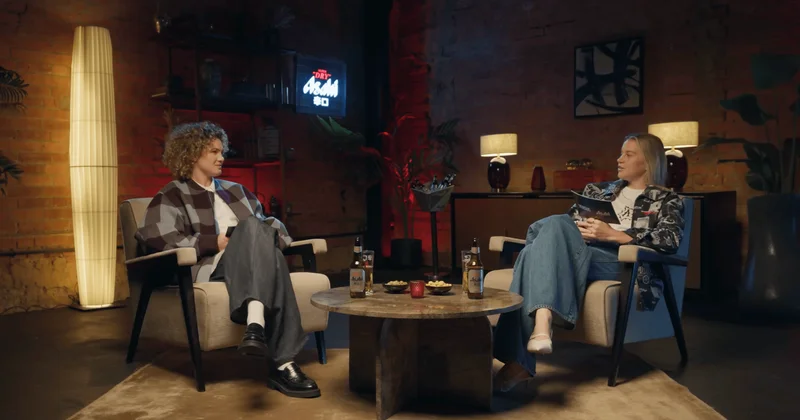
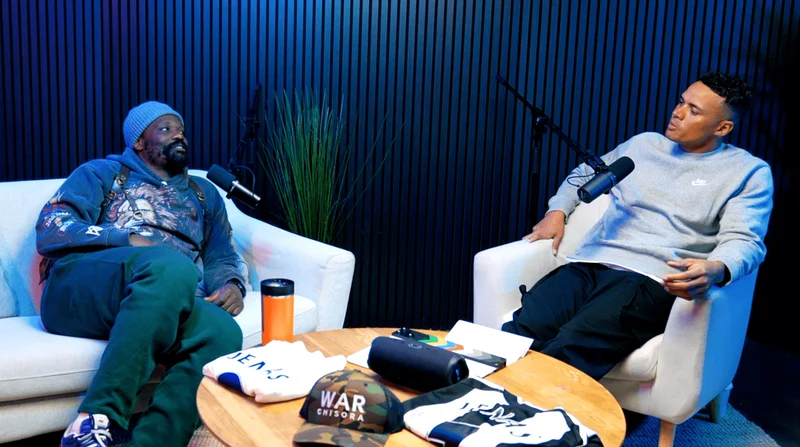
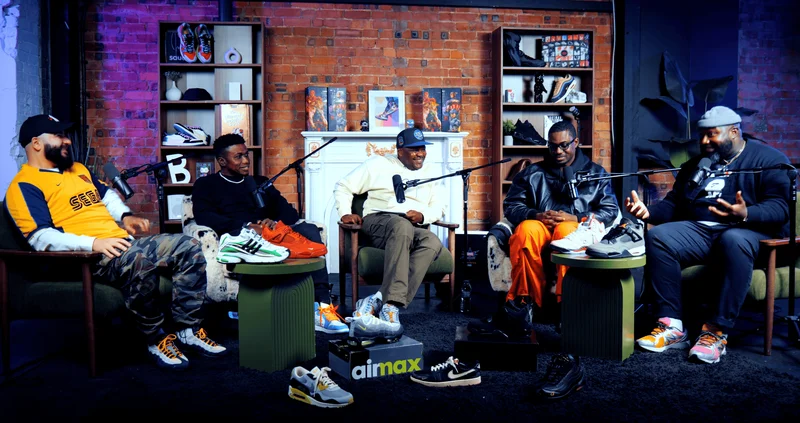
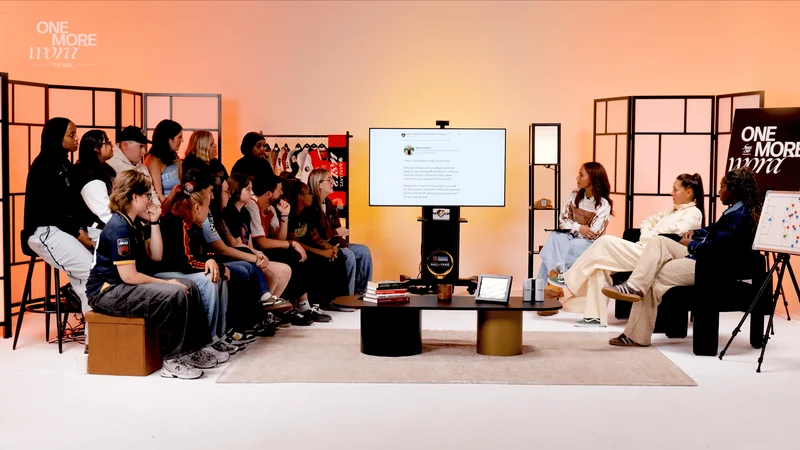
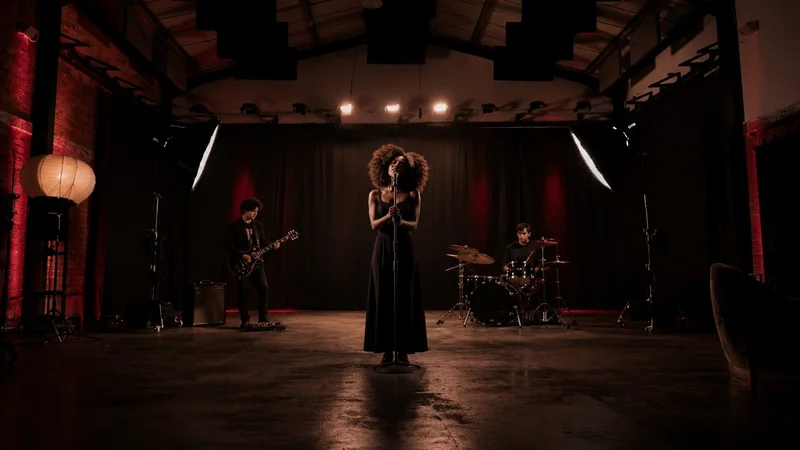
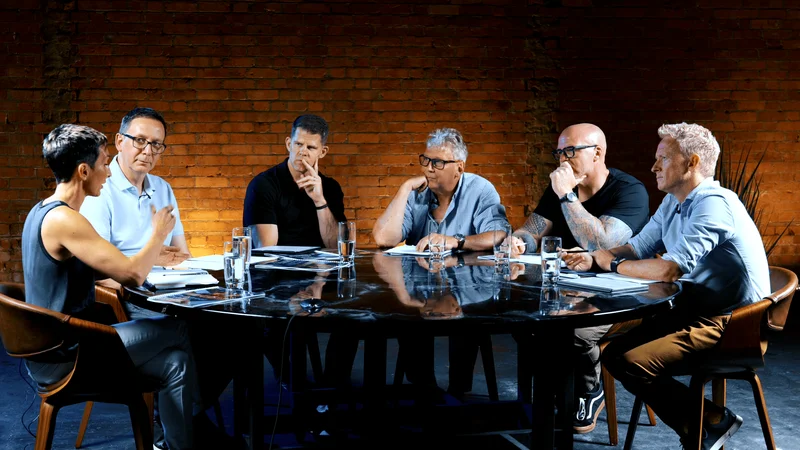
When your content is too important to leave to chance, our professional sets are ready for you. We encourage you to see our different sets, each designed for a specific creative vision. You can explore our intimate Dialogue Room for focused conversations, the relaxed LOUNGE STUDIO for group chats, or the premium CEO SET for executive content. For more dynamic productions, we have a fully-equipped Green Screen Cove, the sleek Blackwood Studio, and the textured THE BRICK STUDIO. We also feature a flawless White Infinity Cove, a fully controlled BLACKOUT SET, the spacious GATHERING STUDIO for roundtables, and one of London's largest GIANT GREEN SCREEN warehouses.
And your production doesn’t have to end when you leave the studio. Let our experts handle the post-production with our professional Video Editing Service, ensuring your content is polished and ready for your audience. We're trusted by industry leaders and creators alike, with regular clients including the BBC and Lloyds bank, so you know you're in good company. But don't just take our word for it; see what other creators have to say about their experience on Google review and Trust Pilot.
Finding us is simple. We are conveniently located just two minutes from Finchley Central, adjacent to the Travelodge London Finchley, and offer one free parking space per booking. You can find us easily on Google map, Apple maps, [suspicious link removed], or using What 3 words.
Stay connected and see what's happening at the studio by following us on Instagram, YouTube, TikTok, LinkedIn, and X (Twitter).
Have questions? Check our FAQ or get in touch with us directly via WhatsApp, phone at +447587827200, or Email.
Ready to create? Book now and let's make something amazing together.