The Ultimate Guide to Recording a Full Band in a Studio
Recording a full band is one of the most challenging and rewarding experiences in audio engineering. It's a careful dance of capturing individual performances while preserving the collective energy and "vibe" that makes a band unique. This guide will walk you through the essential stages, from planning to pressing record.
Phase 1: Pre-Production is Everything
The most important work happens before you ever set foot in the studio. Wasting expensive studio time on fixing song arrangements or changing guitar strings is a costly mistake.
Finalize Your Songs: Know your songs inside and out. The arrangements, song structures, and tempos (BPM) should be locked in. If you plan to record to a metronome, you must rehearse to a click track for weeks in advance.
Gear Preparation: Your gear should be in perfect condition. This means new strings on all guitars and basses (put them on a day or two before the session so they can settle), and new heads on the drum kit. Bring spare strings, picks, cables, and drumsticks.
Create a Plan: Have a clear plan for what you will record and when. Which songs are the priority? Will you record everyone live, or will you layer instruments starting with the drums?
For a comprehensive list of what to prepare, check out this detailed pre-studio checklist.
Phase 2: Setup and Tracking
This is where the magic happens. Your two main options are recording everyone at once ("live off the floor") or building the song track-by-track (overdubbing).
Live Tracking: This method is great for capturing the natural energy and interaction of a band. The challenge is "bleed," where one instrument's mic picks up the sound of another. This can be managed with good room setup, isolation booths, and strategic mic placement. Recording a band live requires careful planning with your engineer.
Layered Tracking: This is the more common approach for modern, polished productions. You start with a foundation (usually drums) and add (overdub) the other instruments one by one. This gives you maximum control and isolation for the mixing stage.
1. The Foundation: Drums
The drum recording is the backbone of your song.
Tuning: A well-tuned kit is the secret to a great drum sound. Spend time getting the drums to sound good in the room before a single mic is placed.
Miking: Drum miking is an art form. A typical setup involves close mics on each drum (kick, snare, toms) to capture punch and definition, combined with "overhead" and "room" mics to capture the cymbals and the overall stereo image of the kit.
Resource: Learn the fundamentals with this guide to miking a drum kit.
2. The Low End: Bass
The bass guitar needs to lock in perfectly with the kick drum.
DI (Direct Input): This is the most common technique. The bass plugs into a DI box, which goes straight into the recording interface. This captures a clean, full, and noise-free signal.
Miking an Amp: Miking a bass cabinet captures the "air" and character of the amp.
The Best of Both Worlds: Most engineers do both. They take a DI signal for low-end clarity and blend it with a miked amp signal for grit and character.
Resource: Explore the different techniques in this guide to recording bass guitar.
3. The Harmony & Rhythm: Guitars
How you record guitars depends heavily on the genre.
Electric Guitars: The standard practice is placing a dynamic microphone (like a Shure SM57) close to the speaker cone of the amplifier. Moving the mic even small amounts (closer to the center for brightness, off-axis for darkness) can dramatically change the tone.
Isolation: To prevent bleed, guitar amps are often placed in separate isolation booths or "iso cabs." This allows the guitarist to play in the control room while the amp is cranked to its sweet spot elsewhere.
Acoustic Guitars: These are typically recorded with condenser microphones to capture their high-end detail and resonance.
4. The Focus: Vocals
Vocals are usually recorded last (after the main instruments are tracked) so the singer can deliver their best performance without having to play an instrument.
Mic Choice: The right mic makes a huge difference. Large-diaphragm condenser mics are a common choice, but the best mic is always the one that best suits the singer's voice.
The Headphone Mix: A singer's performance is critically dependent on their headphone mix. They need to hear themselves clearly, along with the instruments, to sing in tune and with confidence.
Resource: Get the most out of your singer with these 10 tips for a successful vocal session.
Phase 3: Vibe and Communication
A studio session is a high-pressure environment. The single most important factor, beyond all the technology, is the performance.
Communicate: Talk to your engineer. If something doesn't feel right or you can't hear yourself in the headphones, speak up.
Manage Your Time: Stick to your plan. Don't spend three hours on one guitar solo. Capture the essential parts, and if you have extra time, you can experiment.
Trust Your Engineer: You hired a professional for a reason. Let them guide the technical aspects so you can focus on what you do best: playing music.
The Ultimate Guide to Recording a Full Band in a Studio
Recording a single voice for a podcast is a challenge. Recording a four-person roundtable is even harder. But recording a full band—with its thunderous drums, powerful amps, and dynamic vocals, all at once—is the ultimate test of a studio's design, its equipment, and its engineer.
It’s an orchestra of chaos that needs to be captured with perfect clarity. While you may be a podcast producer, understanding this complex process reveals why a professional studio environment is so critical for any high-quality production.
The Core Challenge: Isolation vs. "Live Energy"
The central problem of recording a band is bleed. A drum kit is incredibly loud. A vocalist is (usually) not. How do you capture a clean vocal without the crash cymbals bleeding into the vocal mic, making it impossible to edit or mix?
There are two main philosophies:
The "Isolation" Method: This involves recording each instrument one at a time, often starting with the drums. This is called "tracking" or "overdubbing." It gives you perfectly clean, isolated tracks for maximum control in the mix. The downside? It can feel sterile and lacks the "magic" and human interaction of a band playing together.
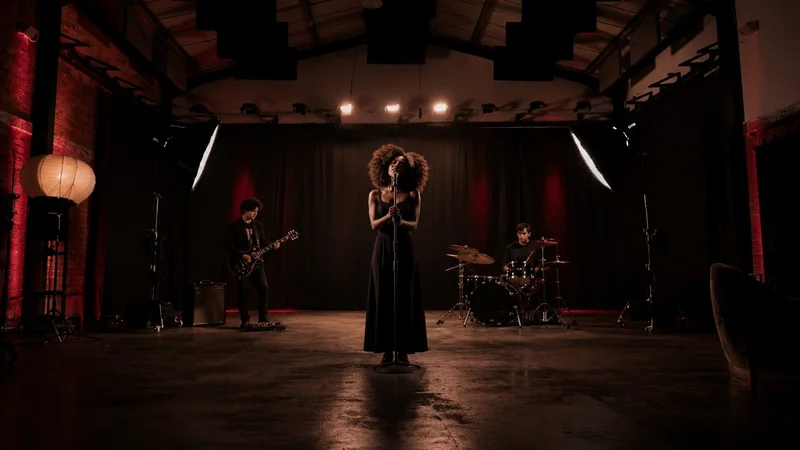
The "Live-Off-The-Floor" Method: This involves the entire band playing together in one room to capture that live, electric energy. This is how many of the greatest albums were recorded. The challenge? It requires a very large, well-designed studio and a highly-skilled engineer to manage the bleed.
The Professional Studio Solution
So how do you get the best of both worlds? You need three things.
1. A Great Room (That's Big Enough) You cannot record a drum kit in a small, boxy room. The sound has nowhere to go, and the reflections will turn it into a muddy, "phasey" mess. This is where a studio's architecture is key. You need a large, high-ceilinged space with excellent acoustic treatment.
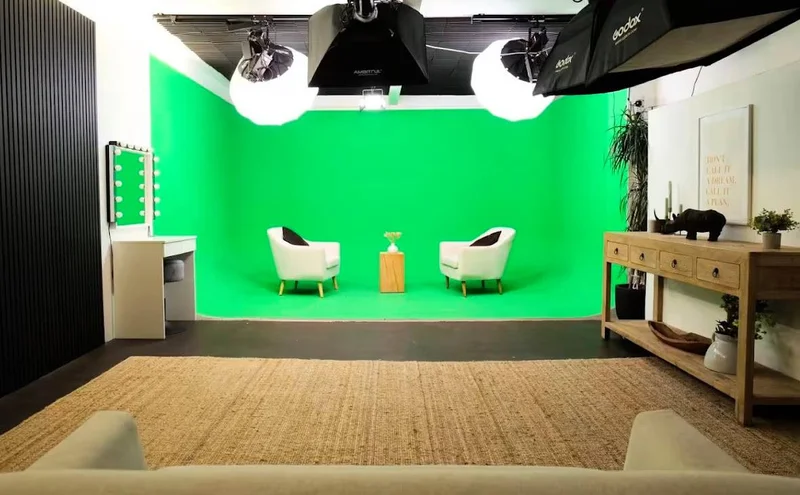
This is precisely why spaces like THE BRICK STUDIO at our Finchley Warehouse are so valuable. Its massive 180m² footprint and soaring ceilings allow a drum kit to "breathe" and sound huge, while still having room to isolate guitar amps and vocalists. For even more ambitious projects, a soundproof warehouse space like our GIANT GREEN SCREEN provides the ultimate canvas for a large-scale setup.
2. A Meticulous Mic Strategy A full band session isn't just "a mic for everyone." It's an intricate setup:
Drums: Can require 8-12+ microphones (kick, snare, hi-hat, toms, overheads).
Guitars/Bass: A specific mic (or two) on the amplifier's "sweet spot."
Vocals: A high-quality vocal mic, often with a portable "iso-booth" (a small acoustic shield) around it.
3. An Expert Engineer The engineer is the conductor. Their job is to select all these mics, place them perfectly (moving a mic one inch can completely change the sound), and ensure they are all "in phase" (so the multiple mics aren't cancelling each other out). They also manage the headphone mixes for each musician—a complex task, as the drummer needs to hear the bass, but the singer needs to hear their own voice clearly.
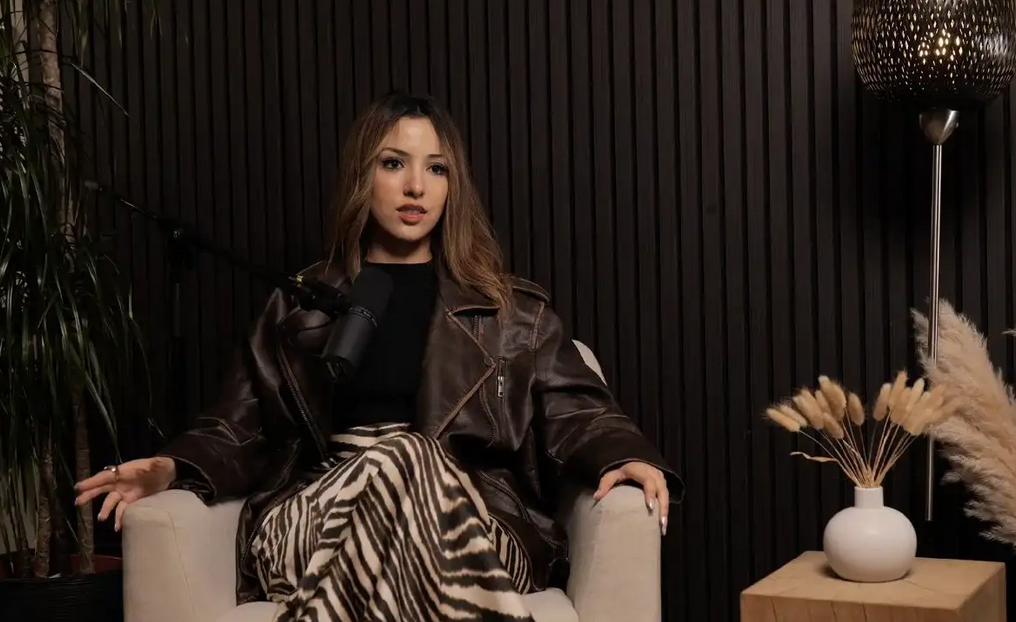
What Podcast Producers Can Learn
This level of complexity may seem worlds away from a 2-person podcast, but the principles are identical.
Recording a 4-person roundtable is a "live band" in miniature. You have four different "instruments" (voices) that need to be captured cleanly. If you use cheap mics in a bad room, you will get "bleed," where one person's voice is faintly heard in everyone else's mic, making editing a nightmare.
This is why booking a professional studio like Finchley Studio is so crucial. The skills our engineers use to manage a 12-mic drum setup are the exact same skills they use to ensure your 4-person podcast has zero bleed and crystal-clear audio. We've invested in the acoustic treatment, the high-end mics, and the expert staff at Finchley Studio to handle this complexity for you.
Whether you're recording a solo voiceover or a project that demands the scale of a full band, a studio like Finchley Studio is designed to deliver flawless, professional results every time. It’s why so many creators trust us with their most ambitious projects.
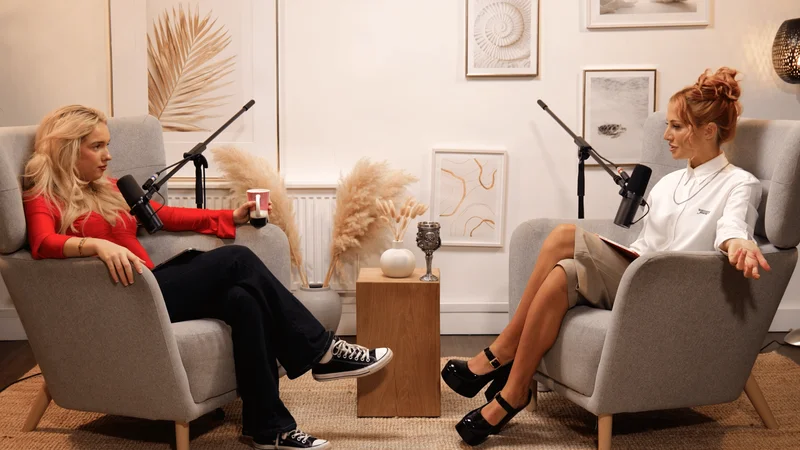
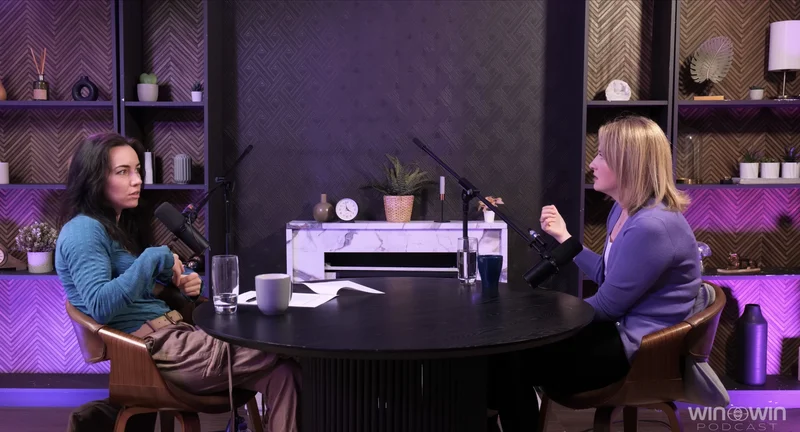
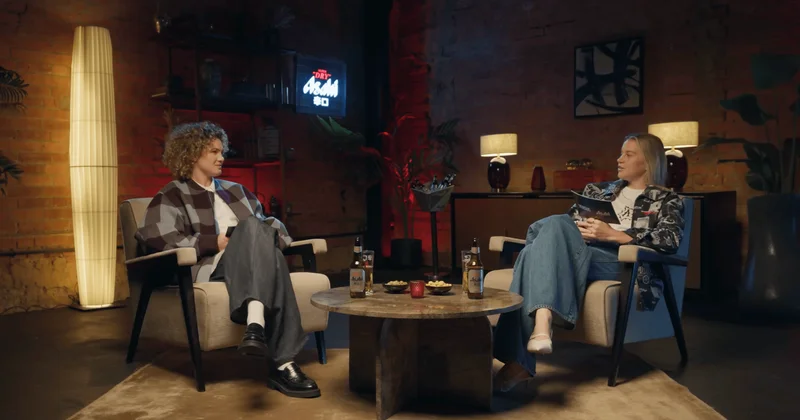
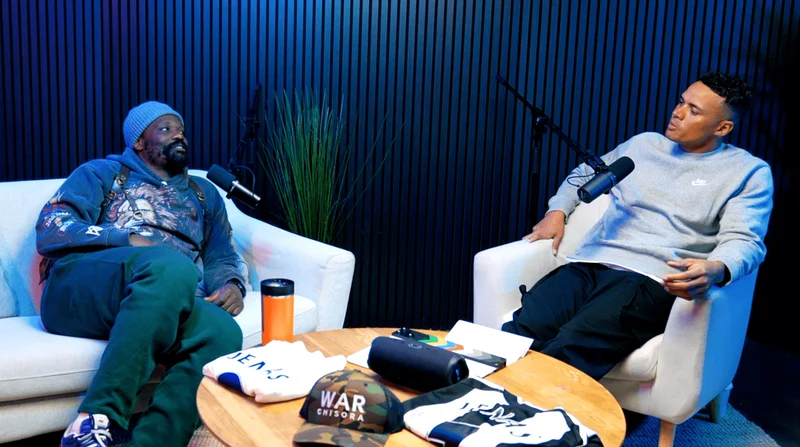
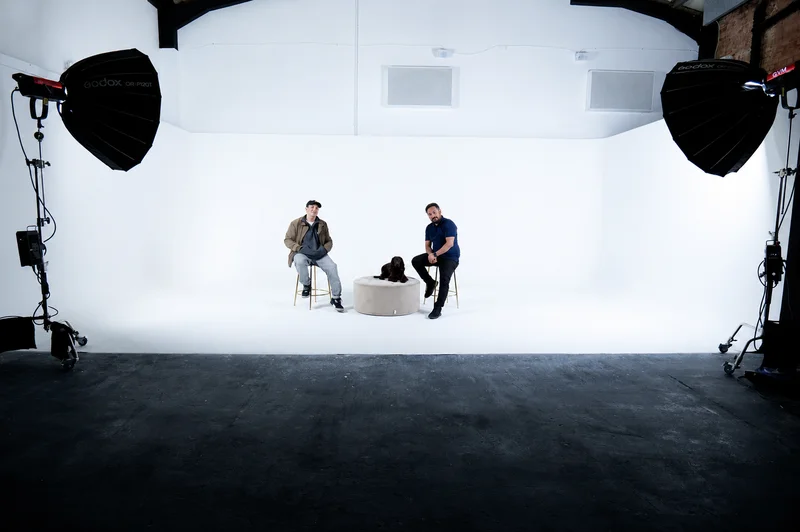
That professional quality is the standard at Finchley Studio, whether you're recording a solo track or a full-panel discussion. We provide the high-end gear and flawless workflow across all of our purpose-built sets. We encourage you to see our different sets: the intimate Dialogue Room for one-on-one interviews, the comfortable LOUNGE STUDIO for relaxed group chats, or the executive CEO SET for thought-leadership content. For more dynamic productions, we offer a versatile Green Screen Cove, the sleek Blackwood Studio, the industrial-chic THE BRICK STUDIO, a flawless White Infinity Cove, the fully controlled BLACKOUT SET, the spacious GATHERING STUDIO for panel discussions, and one of London's largest GIANT GREEN SCREEN warehouse studios.
Don't let post-production slow you down. Our in-house Video Editing Service can take your raw footage and transform it into polished, engaging content, allowing you to focus on creating. We're proud to be the chosen studio for industry leaders like the BBC and Lloyds bank, who trust us to deliver professionalism and quality. See what our clients are saying by checking our Google review and Trust Pilot pages.
Our studio is incredibly easy to reach. We are located just two minutes from Finchley Central on the Northern Line and are right next to the Travelodge London Finchley, perfect for guests coming from out of town. We also provide one free parking space per booking. Find us instantly on Google map, Apple maps, [suspicious link removed], or with our What 3 words address.
Stay inspired and see the content being created in our spaces by following us on Instagram, YouTube, TikTok, LinkedIn, and X (Twitter).
If you have any questions, visit our FAQ or contact our friendly team directly via WhatsApp, phone at +447587827200, or Email.
Your audience is waiting. Book now to secure your session and elevate your content.