Introduction: Beyond the Backdrop - The New Visual Imperative in Podcasting
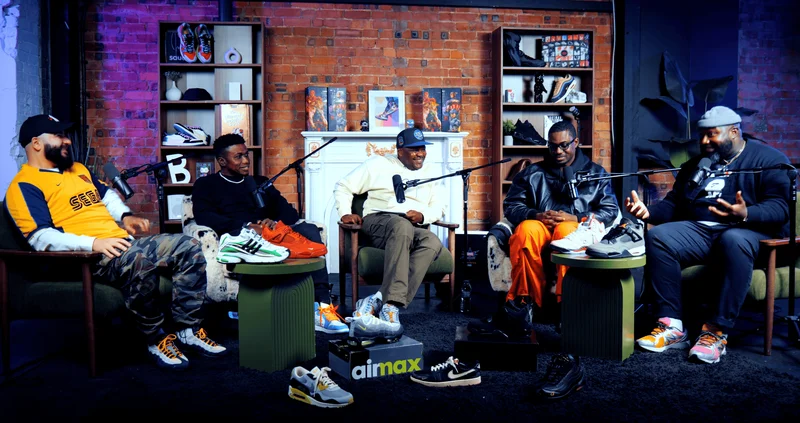
In the contemporary media landscape, the podcast has evolved far beyond its audio-only origins. The proliferation of video podcasting, driven by platforms like YouTube and the insatiable demand for shareable social media clips, has created a new visual imperative.1 This fundamental shift has transformed how audiences connect with creators and how brands construct their narratives. Video content is inherently more engaging, offering viewers the added value of visual cues, facial expressions, and a more direct human connection with hosts, ultimately broadening a podcast's audience and impact.1 Consequently, a podcast's visual presentation has become a critical factor in its success, where the environment is no longer a passive background but an active component of its identity and appeal.1
Within this visually-driven ecosystem, the green screen, or chroma key technology, stands as a uniquely powerful and versatile strategic asset. It offers creators an unparalleled level of control, allowing them to reimagine the creative potential of their space, reinforce a distinct brand identity, and dramatically elevate production value.1 The most immediate benefit of a properly executed green screen is the instant elevation of a recording's aesthetic from a home-based setup to a professional broadcast, signaling authority and credibility to the viewer.1 This technology, once the exclusive domain of high-budget film and television, is now accessible to creators of all sizes, democratizing the ability to produce high-end content.1
However, this very accessibility has created a significant challenge by raising the audience's baseline expectation for quality. The widespread availability of chroma key tools means that simply using a green screen is no longer impressive; the quality of the execution is what distinguishes a professional production from an amateurish one.1 A poorly lit or sloppily keyed virtual background can be more detrimental to a brand's credibility than a simple, well-dressed physical set. Warnings against "cheesy beach scenes" or drab, uninspired backdrops underscore this point.1 The democratization of the technology has thus created a "credibility gap." While the tools are widely available in free software like OBS Studio and affordable kits, the specialized knowledge required to use them professionally is not.5 Audiences can intuitively spot the hallmarks of poor execution—unnatural lighting, flickering edges, and color spill—which immediately undermines the creator's authority. Therefore, a studio or creator offering green screen services must provide not just the physical space but also the technical expertise to guarantee a flawless result. This report serves as a definitive guide to bridging that credibility gap, providing the comprehensive technical and creative expertise necessary to transform a potential brand liability into a powerful asset, unlocking the full capabilities of the green screen within a professional London podcast studio.
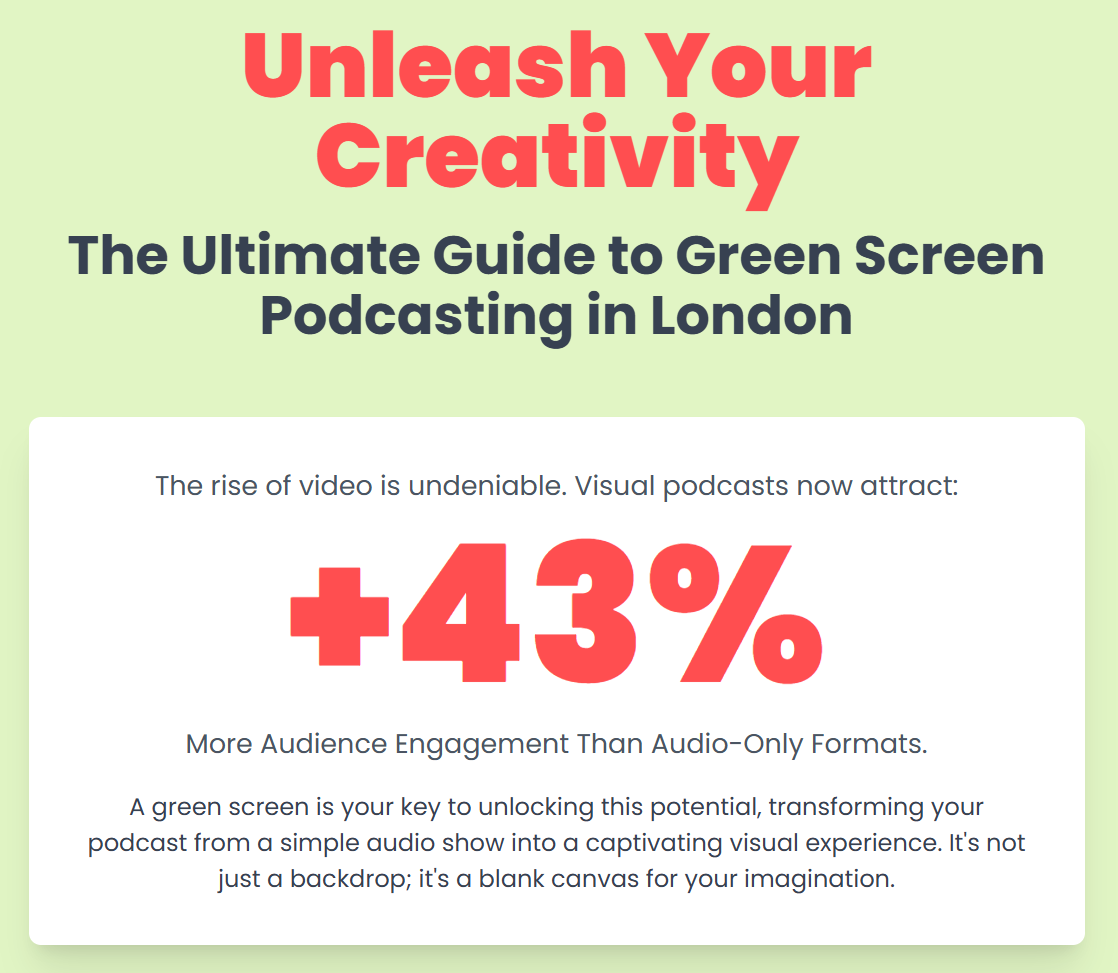
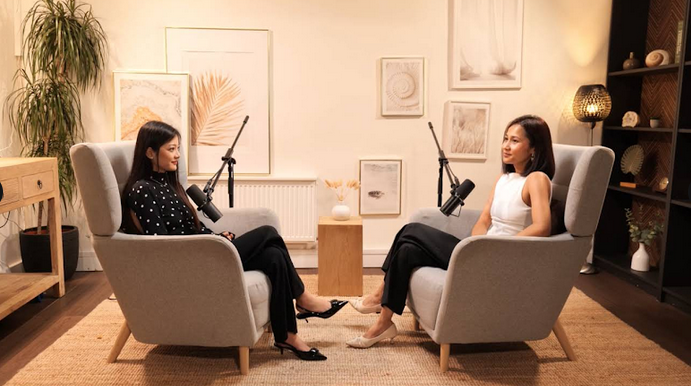
Image Credit: Finchley Studio
Section I: The Science of Chroma Keying: From Hollywood VFX to Your Studio
Core Principles of Chroma Keying
At its heart, chroma key compositing, or chroma keying, is a visual-effects technique for layering two or more images or video streams together based on a specific color hue, or "chroma".7 The process involves shooting a subject against a solid-color background, typically a vibrant green or blue. In post-production, software is used to identify and isolate this specific color range, effectively making it transparent.9 This allows a separately filmed background video or a static image to be inserted into the scene, creating the illusion that the subject was filmed in a completely different environment.7
In the digital era, this "transparency" is achieved by replacing the selected key color with what is known as an alpha channel.9 An alpha channel is an additional layer of information in a video file that defines the degree of transparency for each pixel. Where the green screen was, the alpha channel is set to fully transparent, allowing the background layer to show through, while the subject remains fully opaque. This fundamental process is commonly referred to as "keying" or "keying out" the background.8
Why Green? The Technical Rationale
The choice of green for chroma keying is not arbitrary; it is a deliberate technical decision rooted in the physics of light and the engineering of digital cameras. Several factors make it the superior choice for most applications.
Furthest from Skin Tones
The primary reason for selecting green or blue is their significant chromatic distance from human skin tones.8 Human skin contains a complex mixture of red, yellow, and brown tones, but very little pure green or blue. This stark color contrast allows keying software to more easily distinguish between the foreground subject and the background, minimizing the risk of accidentally keying out parts of a person's skin or hair.12

Camera Sensor Sensitivity (The Bayer Filter)
The most significant technical advantage of green lies in the design of digital camera sensors. Most digital sensors do not capture a full red, green, and blue color value for every single pixel. Instead, they use a color filter array, most commonly a Bayer filter, to capture light intensity for a single color at each photosite.14 This filter is arranged in a 2x2 grid that, in a nod to the physiology of human vision, dedicates 50% of its capacity to green, 25% to red, and 25% to blue.14 This is because the human eye is most sensitive to green wavelengths, which lie in the middle of the visible light spectrum.8
This design has a profound implication for chroma keying. Because the sensor dedicates more physical pixels to capturing green information, the green channel of the resulting video file has a higher resolution, carries more signal strength, and has a better signal-to-noise ratio compared to the red and blue channels.8 When the keying software analyzes the footage, it has more detailed and cleaner data to work with when separating the subject from the green background. This leads to a more accurate and precise key, with sharper edges and fewer artifacts, especially around challenging details like fine strands of hair.14 This reality reframes the production process: choosing green is a "data-first" decision. It is a strategy to optimize the raw footage at the point of capture, providing the post-production algorithm with the highest fidelity data possible. Every subsequent decision on set should be viewed through this lens: how does this choice improve the quality of the data being captured for the key?
Luminance and Lighting
Green reflects more light than blue, a property known as higher luminance. This means a green screen can be properly and evenly lit with less powerful lights compared to a blue screen, which can be an advantage in terms of energy consumption and heat management in a studio.8 To achieve a clean key, the background must be lit to a specific brightness level, which can be measured with a waveform monitor. For chroma green, the ideal level is a tight, horizontal line at approximately 40-45 IRE (a measure of video signal amplitude). In contrast, chroma blue is properly exposed at a lower level of 25-30 IRE.9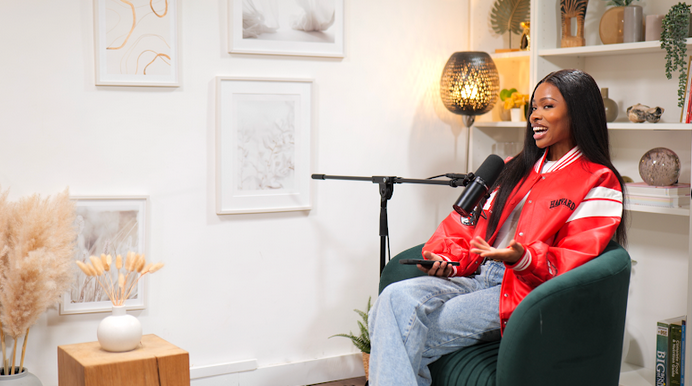
When to Use a Blue Screen
Despite the technical advantages of green, there are specific scenarios where a blue screen is the necessary choice. The cardinal rule is to choose the key color that is not present in the foreground subject.9 Therefore, if a presenter needs to wear green clothing, hold a green product, or stand next to green objects like plants, a blue screen must be used to avoid keying out parts of the subject.9
Historically, blue was the standard in the film industry. The television industry's shift to green was partly driven by practical considerations, such as the tendency for on-air talent like weather presenters to wear blue suits, which would disappear against a blue screen.8 Additionally, blue screens can be advantageous for replicating night scenes or for shoots in low-light conditions, as they reflect less ambient light than green screens.16
Section II: Building Your Canvas: The Technical Foundations of a Flawless Key
Achieving a professional, believable chroma key effect is less about post-production magic and more about meticulous pre-production and on-set execution. The quality of the final composite is almost entirely determined by the quality of the source footage. This section details the three pillars of a technically sound green screen setup: the screen material, the lighting, and the camera configuration.
2.1 The Screen Itself: A Comparative Analysis of Materials
The choice of green screen material depends on budget, portability needs, and whether the setup is permanent or temporary. Each material presents a unique set of advantages and disadvantages.
Fabric (Cotton Muslin, Polyester, Spandex)
Pros: Fabric backdrops are a popular choice due to their affordability and portability. They are available in large sizes, making them suitable for wide shots.18 Materials like polyester are known for their durability, wrinkle resistance, and even water-repellent properties, while spandex offers excellent stretchability to create a taut surface.20 Heavier cotton muslin fabrics tend to hang more smoothly, minimizing minor creases.18
Cons: The primary drawback of fabric is its susceptibility to wrinkles and creases. Even small folds can create shadows and variations in the green hue, which severely complicates the keying process.18 This necessitates careful storage and on-set preparation, often requiring a steamer or iron to ensure a perfectly smooth surface.15 Fabric screens also require a support system, such as a backdrop stand and crossbar, to be hung correctly.18
Paper Rolls
Pros: Paper backdrops provide a perfectly seamless and smooth, non-reflective finish straight off the roll, which can significantly reduce editing time.19 Their matte surface is ideal for limiting glare and reflection. They can be easily extended onto the floor for full-body shots, and if a section becomes dirty or damaged, it can simply be torn off and discarded.24
-
Cons: Paper is fragile and can be easily torn or stained. It is also less portable than fabric and requires a substantial amount of space for storage. Furthermore, paper rolls have width limitations, which can make them unsuitable for very large group shots.19
Pros: For a dedicated studio space, painting a wall or a cyclorama with specialized chroma key paint is the superior option. It creates a permanent, durable, and perfectly smooth, wrinkle-free surface that is always ready for use.21 A high-quality matte paint is also less reflective than many plastic-based flooring materials, which helps in achieving even lighting.25 Cons: This solution is entirely non-portable. The initial setup is labor-intensive, and maintenance is a key consideration. The painted surface is susceptible to scuffs and scratches, which will require patching and repainting to maintain a uniform surface.23 Over the long term, these maintenance costs can add up.25 Pros: These systems are designed for maximum portability and speed. Pull-up screens that retract into a base, pop-up screens with flexible frames, and small screens that attach to the back of a chair are extremely popular with live streamers and creators working in small or temporary spaces.17 They are typically made from wrinkle-resistant polyester and can be set up or stowed away in seconds.21 Cons: The primary limitation of these systems is their size. They are generally only suitable for single-person shots, often restricted to head-and-shoulders or half-body framing.17Paint (Chroma Key Paint)
Specialized Systems (Pull-up, Pop-up, Chair-mounted)
2.2 The Art of Illumination: A Masterclass in Lighting
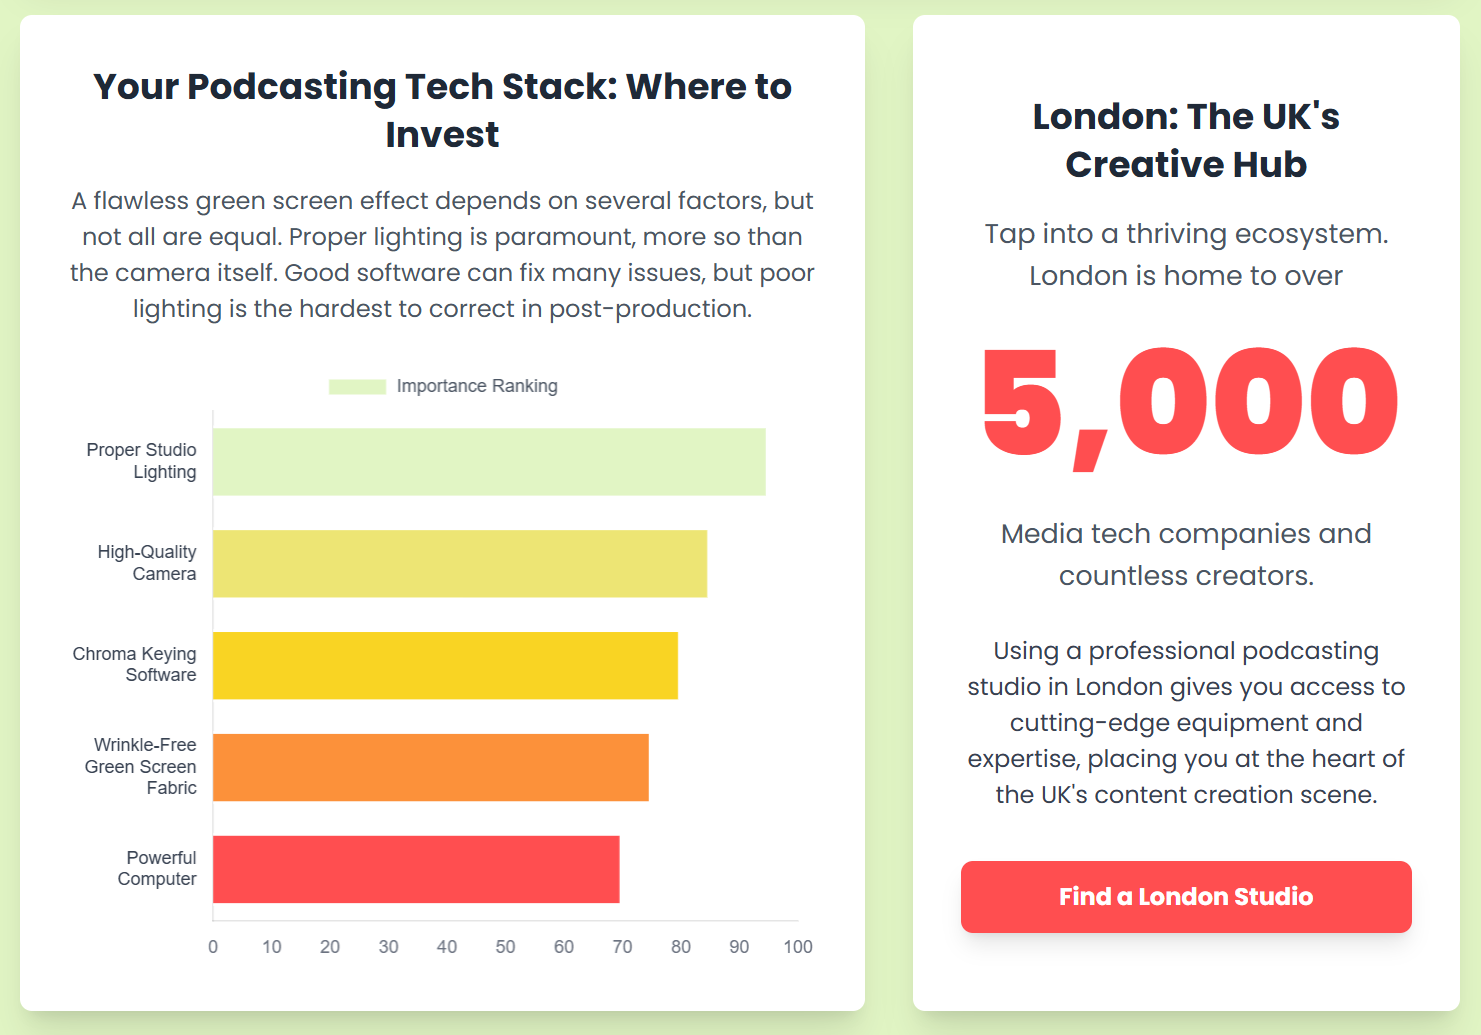
Proper lighting is the single most critical element for a successful chroma key. Poor lighting can lead to shadows, uneven color, and green spill, resulting in a flawed key that requires hours of frustrating post-production work to fix, if it can be fixed at all.26
The Cardinal Rule: Separate Lighting
The most fundamental principle of green screen lighting is that the background (the screen) and the foreground (the subject) must be lit independently.6 Attempting to light both with the same set of lights is a common mistake that inevitably creates an unevenly lit background with shadows cast by the subject, rendering the footage nearly impossible to key cleanly.6 A professional setup requires a minimum of five lights: two for the screen and three for the subject.26
Lighting the Green Screen
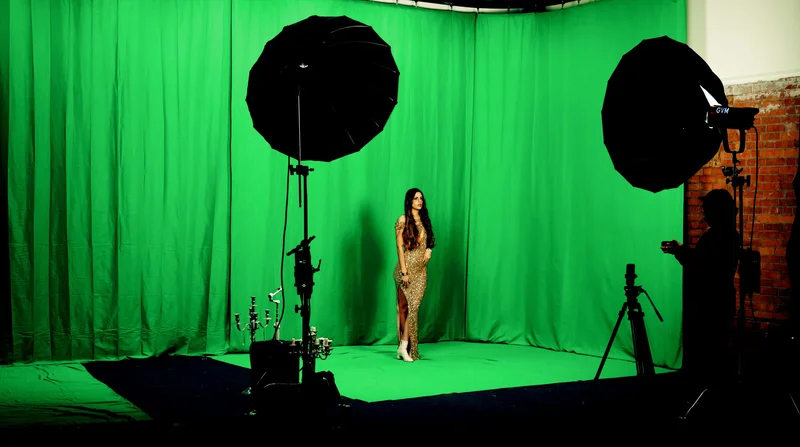
Goal: The objective is to create a perfectly flat, even field of light across the entire surface of the green screen that will be visible in the camera's frame. There should be no shadows, no bright "hot spots," and no darker areas.4
Technique: This is best achieved using at least two large, soft, diffused light sources, such as LED panels with softboxes or diffusion fabric.18 These lights should be placed on either side of the screen, angled at approximately 45 degrees, to create an overlapping, even wash of light.16 For larger screens, additional lights may be necessary to ensure complete, even coverage.23
Verification: The most accurate way to verify even lighting is with a waveform monitor. A perfectly lit green screen will register as a thin, straight, horizontal line on the waveform display, resting at an IRE value of about 40-45.9 If the line is diagonal, it means one side of the screen is brighter than the other. If the line is thick or wavy, it indicates the presence of hot spots and shadows.9
-
Color Temperature: It is crucial that all lights used to illuminate the screen have the exact same color temperature to ensure the green hue is consistent across the entire surface. The industry standard is daylight-balanced light at 5600K. Mixing lights with different color temperatures (e.g., tungsten and daylight) will create subtle color shifts that can confuse the keying software.18
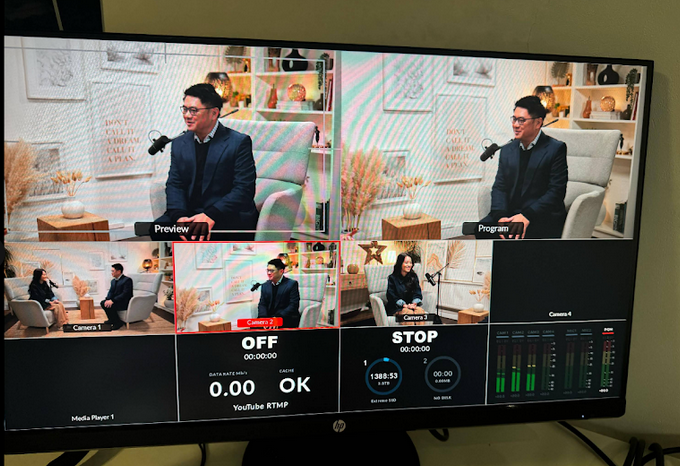
Technique: Once the screen is perfectly lit, the subject should be lit separately using a classic three-point lighting setup. This consists of: Key Light: The main, and brightest, light source, typically placed at a 45-degree angle to the subject.20 Fill Light: A softer light placed on the opposite side of the key light to fill in and soften shadows on the subject's face.20 Backlight (or Hair Light): A light placed behind and slightly above the subject.20 The Critical Role of the Backlight: The backlight is especially important in a green screen setup. It creates a subtle rim of light around the subject's hair and shoulders, which helps to create a crisp, defined edge. This clean separation between the subject and the background makes it much easier for the software to perform a clean key and is a primary defense against color spill.26Lighting the Subject
Image Credit: Finchley Studio
Definition: Color spill occurs when the intense green light illuminating the screen reflects off its surface and "spills" onto the subject, creating an undesirable green halo or outline, particularly on their hair, shoulders, and any reflective surfaces.4 Mitigation Strategy 1: Distance: The most effective way to minimize spill is to create as much physical distance as possible between the subject and the green screen. A minimum distance of 6 feet is recommended, with 8 to 15 feet being ideal.4 This separation reduces the amount of reflected green light that can reach the subject. Mitigation Strategy 2: Negative Fill & Gels: To further combat spill, a backlight can be modified with a magenta-colored lighting gel. This gel, often called "minus green," is specifically engineered to neutralize green light. A small amount of magenta backlighting can effectively cancel out the green spill on a subject's edges, leading to a much cleaner key in post-production.9 Mitigation Strategy 3: Lighting Ratio: The subject should be lit more brightly than the green screen. A common guideline is for the screen's illumination to be about half a stop to a full stop darker than the subject's key light.29 This contrast helps the camera distinguish between the two elements and reduces the intensity of the reflected green light.Controlling Green Spill
2.3 The Camera's Eye: Optimizing Your Capture
The final pillar of a strong technical foundation is the camera and its settings. Capturing the highest quality image possible provides the post-production software with the maximum amount of data to work with, resulting in a superior key.
Camera Selection
For professional results, it is best to use a camera that offers manual control and records high-quality video. Key features to look for include:
High Resolution: 4K resolution or higher provides sharper footage, making it easier to define clean edges.32
10-Bit Color Depth: A camera that records in 10-bit color (or higher) captures over a billion shades of color, compared to the 16.7 million shades in 8-bit video. This greater color information results in smoother gradients and significantly reduces color banding, which is critical for an accurate key.16
Flat/Log Color Profiles: Shooting in a logarithmic (Log) or flat color profile (e.g., S-Log, C-Log, V-Log) preserves the maximum amount of detail in the highlights and shadows, providing greater flexibility for color grading and matching the foreground to the background in post-production.32
High-Quality Lenses: Sharp, high-contrast lenses are preferable. Vintage or lower-quality lenses can introduce chromatic aberrations or softness that complicate the keying process.18
High-end cameras well-suited for green screen work include models like the Sony FX3, Canon EOS R5, and the Blackmagic Pocket Cinema Camera 6K Pro.32
Codecs and Color Subsampling
It is crucial to record in the highest quality, least compressed video format your camera allows. Formats like Apple ProRes 422 or Blackmagic RAW retain far more information than heavily compressed formats like H.264.9
Equally important is color subsampling, denoted by ratios like 4:4:4, 4:2:2, and 4:2:0. This refers to how much color information is recorded relative to brightness information. A 4:2:0 signal, common in consumer cameras and webcams, discards a significant amount of color information to save file space. For chroma keying, a minimum of 4:2:2 is strongly recommended, as it provides double the color resolution of 4:2:0, giving the keying software much more precise data to work with.9
Essential Camera Settings
To optimize the footage for keying, specific camera settings must be configured correctly. The following table provides a checklist for a professional green screen shoot.
Section III: The Creative Palette: Elevating Your Podcast with Green Screen
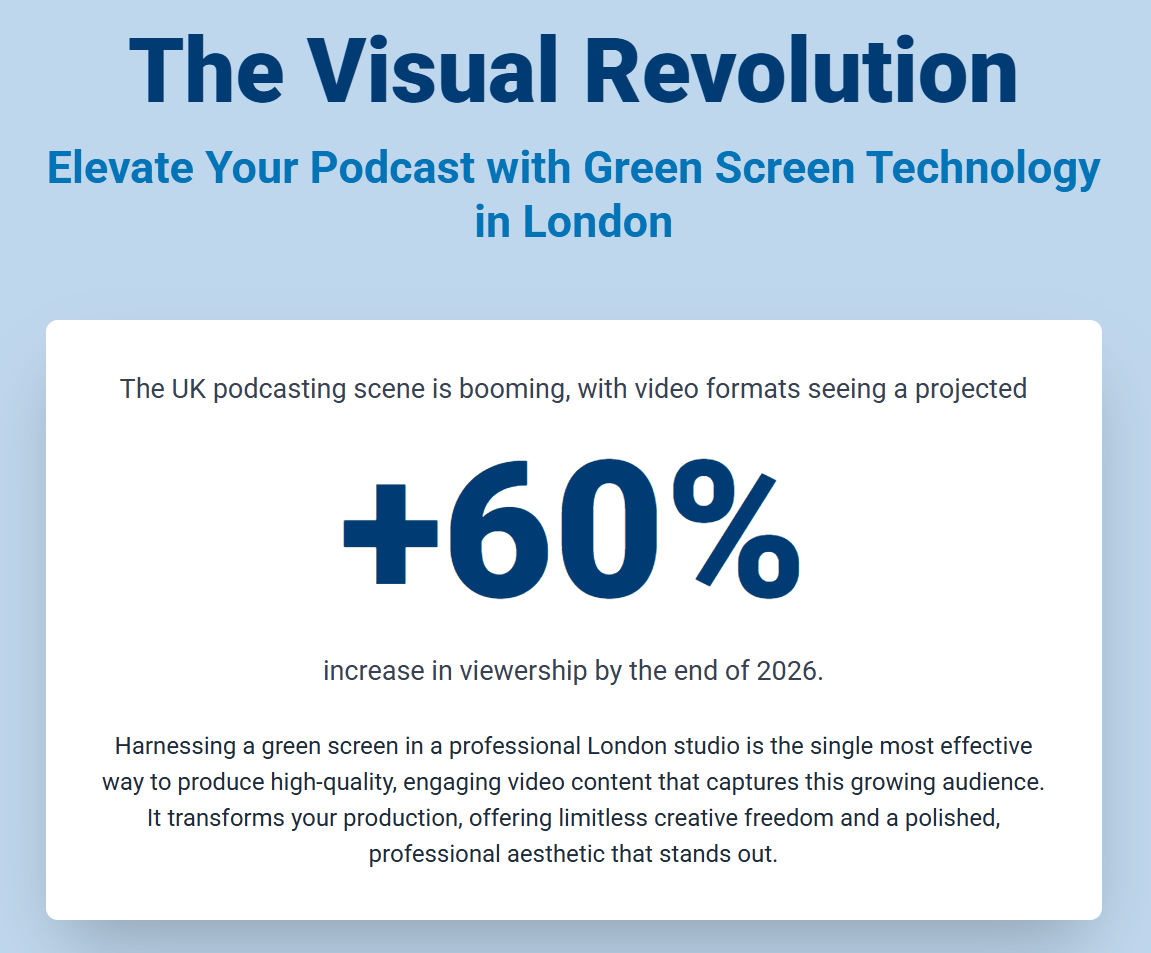
With a solid technical foundation in place, the green screen transforms from a complex challenge into a limitless creative canvas. For podcasters, this technology offers the opportunity to move far beyond simple background replacement and craft visually compelling narratives that captivate and engage audiences. The most advanced application of this technology treats the background not as a static backdrop, but as a dynamic narrative device—an active co-presenter that can change and interact with the host and the content.
Beyond Backgrounds: Creating Virtual Sets & Branded Environments
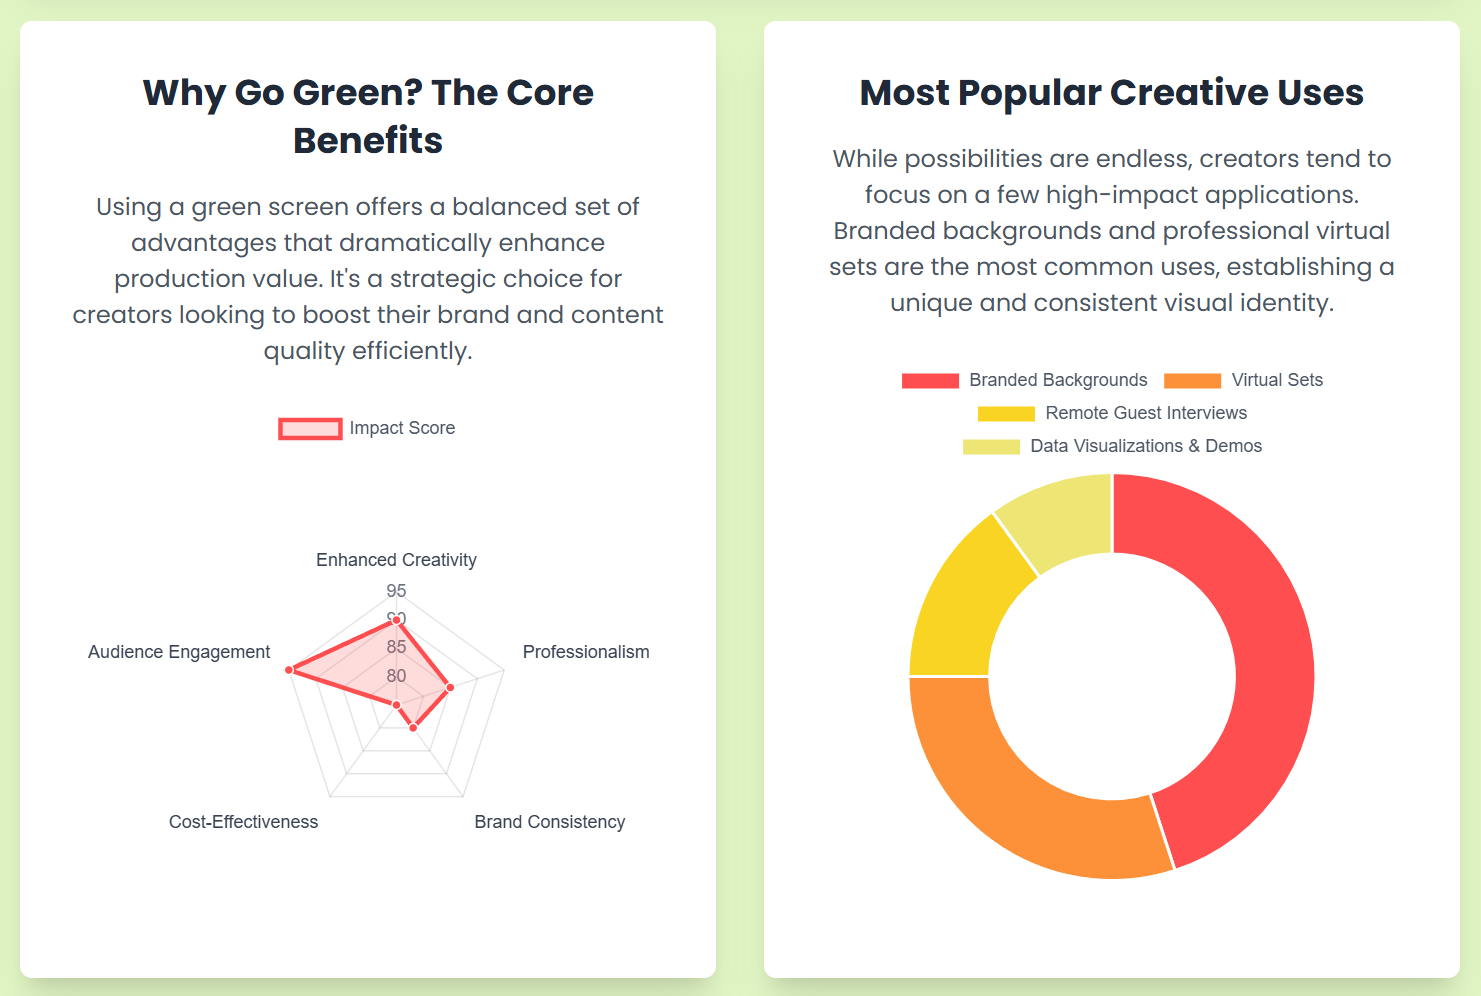
The most immediate creative application is the ability to design and inhabit a bespoke virtual set. Instead of being limited by a physical space, a podcaster can create a polished, professional environment that perfectly aligns with their brand's identity, incorporating specific logos, color schemes, and thematic elements.2 This instantly elevates the perceived production value, transforming what might be a recording from a spare room into a high-end broadcast.1 For example, a podcast focused on technology could feature a sleek, futuristic studio, while one centered on literature could be set within a cozy, virtual library filled with curated books.2 This creates a consistent and memorable visual signature for the show.
Dynamic Storytelling with Integrated Graphics
Green screen technology is exceptionally powerful for educational and informational content. It allows for the seamless integration of animated graphics, data visualizations, charts, and infographics that can appear alongside the host in the virtual space.4 This transforms the podcaster from a simple narrator into a dynamic presenter who can interact with their data. For instance, while discussing market trends, an animated graph can grow and change in real-time next to the speaker, making complex information more digestible, engaging, and memorable for the audience.34 This technique is invaluable for corporate presentations, training videos, and any content that relies on explaining complex topics visually.34
The Illusion of Co-location: Integrating Remote Guests
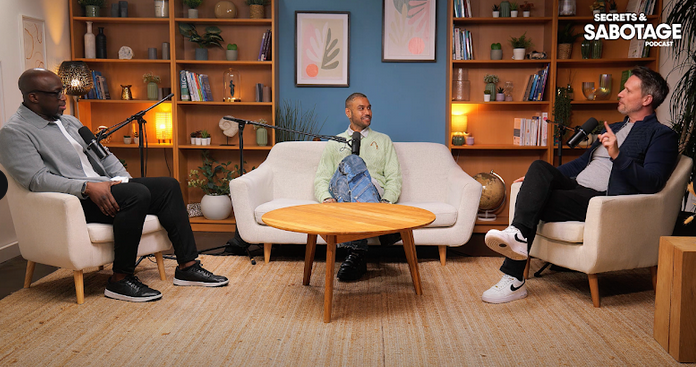
In an era of remote collaboration, green screen offers a sophisticated solution for video podcasts featuring guests. By having both the host and the remote guest use a green screen, a producer can place them within the same virtual set, creating the powerful illusion that they are sitting together in the same room.4 This is a significant step up from the standard split-screen or gallery view of a video call, fostering a greater sense of connection and conversation. Production software like vMix and recording platforms such as Riverside.fm are specifically designed to handle multiple remote participants, making this professional-grade execution accessible.27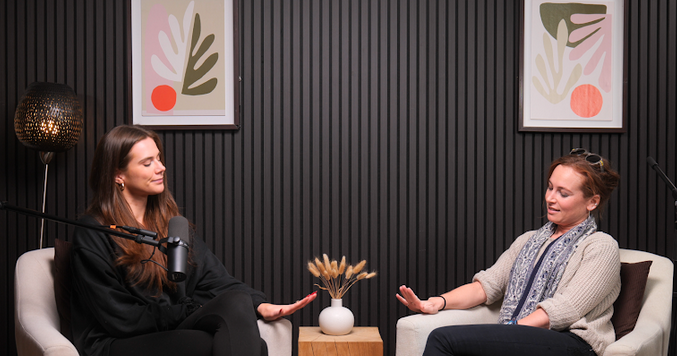
Immersive Narratives and Location Simulation
A green screen is a passport, allowing a podcaster to transport their audience to any location in the world—or beyond—without leaving the studio.27 A travel podcast can place the host in front of the landmarks they are discussing, while a film analysis podcast could composite the host directly into a scene from the movie being reviewed.4 The key to making these simulations believable is the meticulous matching of lighting. To maintain realism, the lighting on the subject in the studio must perfectly match the direction, color, and quality of the light in the background footage. If the background plate is a sunset, the subject must be lit with warm, directional light from the appropriate angle; failure to do so will instantly break the illusion.9
Unleashing Imagination: CGI and Abstract Concepts
For podcasts that delve into science fiction, fantasy, or theoretical concepts, green screen opens the door to combining live-action footage with computer-generated imagery (CGI).34 A host could appear to interact with a CGI creature, demonstrate a futuristic product that doesn't yet exist, or stand before an abstract visual representation of a scientific theory. This requires careful planning to ensure the scale, perspective, and lighting of the CGI elements match the live-action footage, but the result can be a visually stunning and deeply imaginative experience that captures the viewer's attention in a way that audio alone never could.34 This approach allows the podcaster to truly
show their audience what they are talking about, transforming abstract ideas into tangible visual experiences.
Section IV: The Digital Darkroom: Post-Production Workflow and Software
Capturing high-quality green screen footage is only half the battle; the other half takes place in post-production, where the raw material is transformed into a seamless final composite. The choice of software is critical and should be dictated by the podcaster's intended workflow. A live-streamer, who needs flawless real-time keying, has fundamentally different requirements than a creator producing a highly polished, pre-recorded episode who can afford to spend hours refining a single shot.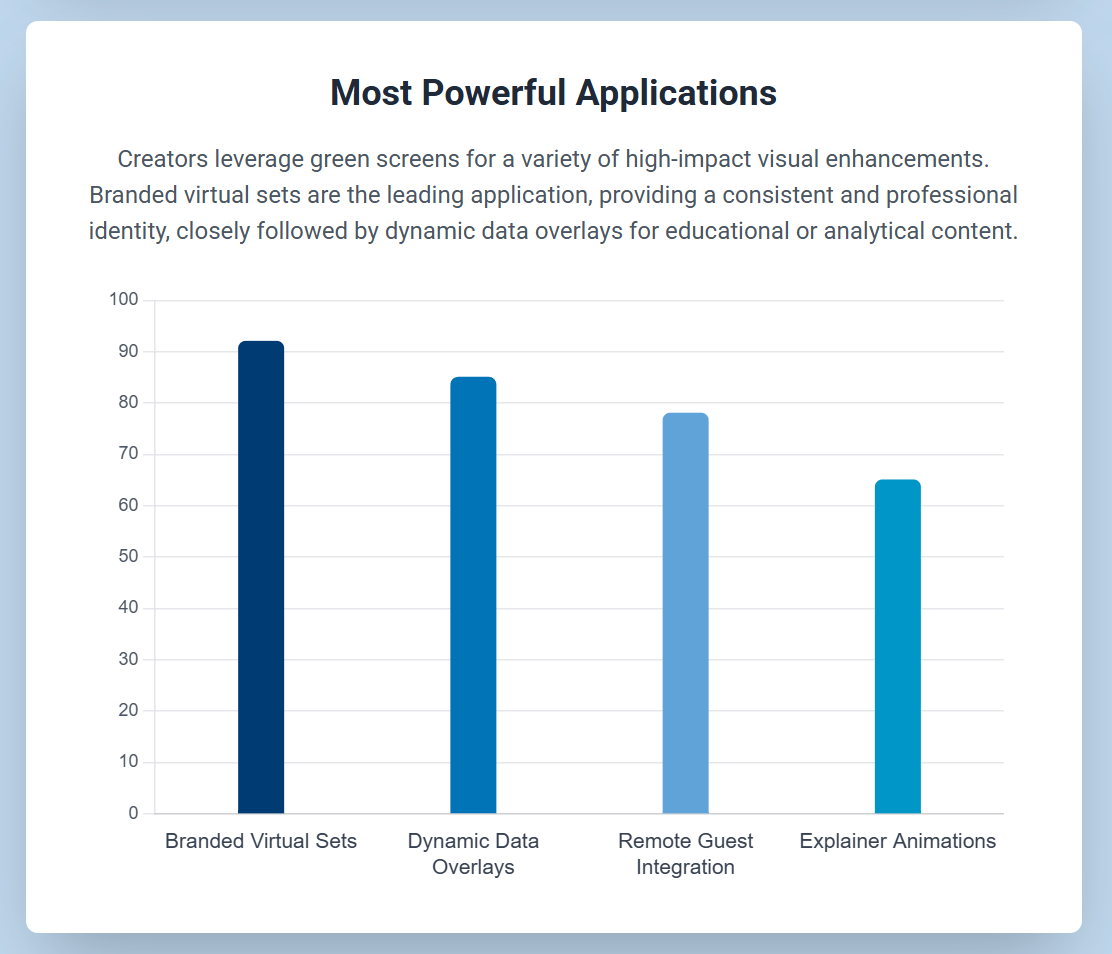
The Universal Keying Workflow
Regardless of the specific software used, the fundamental steps for achieving a clean chroma key in post-production are consistent.
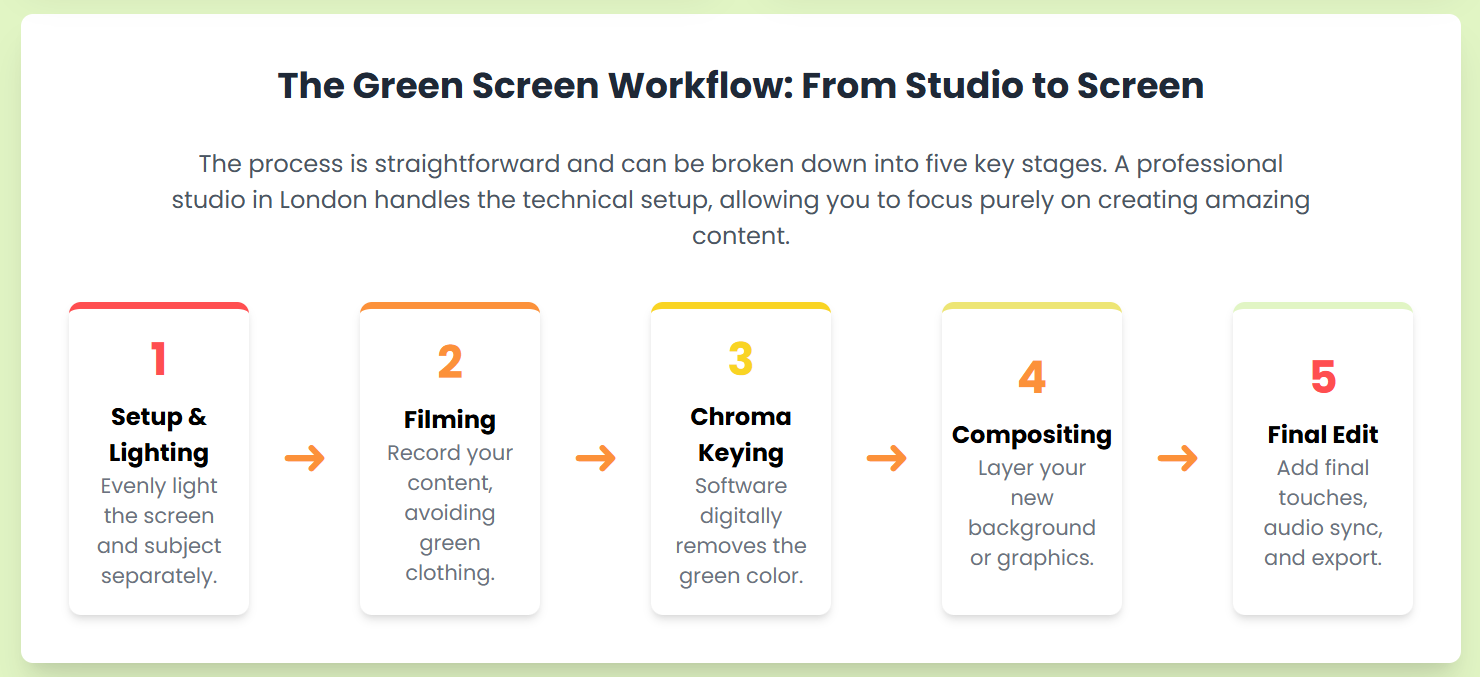
Step 1: Rough Edit First: Before any keying or color correction, it is essential to perform a rough edit of the podcast's narrative content. This ensures that time-intensive visual effects work is only performed on clips that will make it into the final cut, saving a significant amount of time and effort.6
Step 2: Apply a Garbage Matte: The first step in the keying process itself is often to apply a "garbage matte." This is a simple mask used to crop out any areas of the frame that are not the subject or the essential part of the green screen, such as lighting equipment, the edges of the backdrop, or microphones.9 By removing these extraneous elements, the software has a cleaner and smaller area to analyze, which can simplify the keying process and improve results.9
Step 3: Apply the Keyer Effect: Next, apply the software's primary chroma key effect (e.g., Ultra Key in Premiere Pro, 3D Keyer in DaVinci Resolve). Use the effect's eyedropper tool to select a representative shade of green on the background, preferably an area near the subject that is evenly lit.37 In a well-shot piece of footage, this single step may remove most of the background.
Step 4: Refine the Matte: To properly refine the key, switch the viewer's output to the "Alpha" or "Matte" channel. This displays a black-and-white representation of the key: solid white areas are fully opaque (the subject), solid black areas are fully transparent (the background), and any grey areas are semi-transparent, indicating a poor key.37 The goal is to adjust the keyer's settings (often labeled Transparency, Pedestal, or Shadow) to make the subject a solid white silhouette against a solid black background, with no grey "holes" or noise.37
Step 5: Matte Cleanup and Spill Suppression: Once a solid matte is achieved, fine-tune the edges. "Choke" controls will slightly shrink the matte's edge, which can help eliminate a thin green line around the subject. "Soften" controls will feather the edge slightly for a more natural blend.37 Finally, apply the "Spill Suppression" tool, which is designed to detect and neutralize any green light that has reflected onto the subject, removing the tell-tale green halo.27
Step 6: Compositing and Color Matching: The final step is to place the new background layer on the video track beneath the keyed foreground layer. To create a believable composite, the two layers must be visually integrated. This involves adjusting the color, brightness, contrast, and focus of the foreground to match the background plate perfectly.9
Software Deep Dive: Post-Production Editors
Image Credit: Finchley Studio
Primary Tool: The Ultra Key effect is Premiere Pro's powerful, built-in chroma keyer.4 Workflow: After applying Ultra Key to a clip, use the eyedropper in the Effect Controls panel to select the green background. For fine-tuning, change the Output setting to "Alpha Channel" to view the matte. The key controls are found under the Matte Generation, Matte Cleanup, Spill Suppression, and Color Correction dropdowns. The "Setting" dropdown can be changed from Default to "Aggressive" for a stronger initial key on difficult footage.6 Primary Tools: DaVinci Resolve offers multiple keying tools for different workflows. The most user-friendly is the 3D Keyer, found in the Effects Library on the Edit page.40 For more advanced control, the Workflow (3D Keyer): Place the green screen clip on the track above the background clip. From the Effects Library, drag the 3D Keyer onto the green screen clip. In the Inspector panel, under the Effects tab, ensure the viewer overlay is set to "Open FX Overlay." Use the eyedropper to click on the green background in the viewer to remove it. Further adjustments for Despill and Matte Finesse are available in the Inspector.40 Primary Tool: The Green Screen Keyer effect is the primary tool for chroma keying.42 Workflow: Place the green screen clip above the background clip in the timeline. Drag the Green Screen Keyer effect from the Effects Browser onto the green screen clip. Final Cut Pro will automatically sample and remove the dominant green or blue color. To refine the key, select the clip and open the Video Inspector. Here you will find controls for Strength (tolerance), Fill Holes (to solidify the interior of the matte), Shrink/Expand, and Color Spill suppression.42Adobe Premiere Pro
DaVinci Resolve
Delta Keyer node in the Fusion page is a professional-grade tool, and the Qualifier tool on the Color page can also be used to pull a key.40Final Cut Pro
Other capable post-production software with robust chroma key features include Vegas PRO, HitFilm Pro, and Movavi Video Editor.45
Software Deep Dive: Live Streaming Production
Live streaming requires the chroma keying process to happen in real-time, which places an immense demand on both the computer's processing power and the quality of the initial setup. There is no opportunity for post-production fixes, so the lighting and camera settings must be perfect from the start.
OBS Studio: A highly popular free and open-source option for live streaming. To use its chroma key function, right-click on a video source (e.g., a webcam), select "Filters," and add a "Chroma Key" effect filter. The software provides simple sliders to adjust the key's similarity, smoothness, and spill reduction.5
vMix: A professional-grade, Windows-only live production software known for its power and extensive feature set. It offers high-quality real-time chroma keying, support for virtual sets, NDI integration for network video sources, and the ability to bring in multiple remote guests via vMix Call.35
Wirecast: A robust and user-friendly live streaming application from Telestream. It is known for its stability and professional features, including high-quality chroma keying. While it comes at a higher price point than some alternatives, it is a reliable choice for serious live productions.5
Section V: Field Guide: A Directory of London Green Screen Podcast Studios
For podcasters in London, the city offers a diverse and vibrant market of professional studios equipped with green screen facilities. These range from affordable dry-hire spaces, where creators can bring their own equipment, to full-service production houses that provide cameras, lighting, crew, and even post-production services. Choosing the right studio depends on the project's budget, technical requirements, and creative ambition. The following directory provides a curated overview of some of the top green screen studio options available for hire in London.
Conclusion: The Future is a Blank Canvas
This comprehensive analysis demonstrates that a professional green screen production is a holistic and technically demanding process. Success is not achieved through a single piece of software or a simple lighting kit, but through the meticulous integration of every stage of the production lifecycle. From the foundational science of light and camera sensors to the precise execution of lighting, the strategic selection of camera settings, and the nuanced workflow of post-production, each element is inextricably linked and contributes directly to the quality and credibility of the final output. The "data-first" approach—understanding that every on-set decision is an act of optimizing the raw data for the keying algorithm—is the principle that separates amateur results from professional broadcasts.
Image Credit: Finchley Studio
However, this technical mastery is not a barrier to entry but rather the very foundation upon which true creative freedom is built. By understanding and implementing the principles and practices outlined in this report, podcasters can transcend the fear of technical hurdles and confidently wield the green screen as a limitless canvas for storytelling. The technology ceases to be a mere tool for background replacement and becomes a dynamic narrative device, capable of creating immersive branded worlds, visualizing complex data, and connecting with audiences on a deeper, more engaging visual level.
For the vibrant community of creators in London, the resources are readily available. The city's diverse ecosystem of professional studios provides the physical spaces and technical support necessary to bring ambitious visions to life. With the knowledge of how to execute a flawless key now in hand, London's podcasters are empowered to experiment, to innovate, and to push the boundaries of what a video podcast can be. The future of the medium is a blank canvas, waiting for their creativity to fill it.
Think of a green screen not as a piece of technical equipment, but as a key that unlocks a door to infinite visual worlds. For podcasters and creators in a creative capital like London, it’s the ultimate canvas for making your show visually unforgettable. It’s your chance to craft an environment as unique and ambitious as your content.
Let's move beyond simple backdrops and explore how you can truly unleash your creativity using the professional green screen facilities at our podcasting studio London, transforming your show into a one-of-a-kind visual experience.
## 1. Design Your Dream Virtual Set
Why be confined by four walls when you can broadcast from anywhere your imagination can take you? A green screen allows you to create a signature virtual studio that becomes an integral part of your show's brand.
Unleash Your Creativity: Imagine hosting your tech podcast from the bridge of a futuristic starship. Picture your history show broadcasting from a detailed 3D reconstruction of an ancient library. Or envision your business podcast from a stunning virtual penthouse overlooking the City of London. Your set can finally match the scale of your ideas, creating a powerful and memorable brand identity.
-
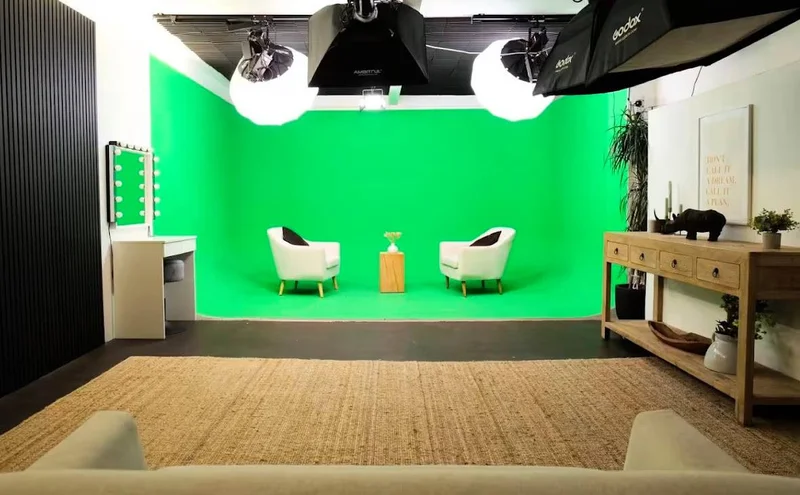
Why a Pro Studio Matters: Making a virtual set look believable requires a flawless key, which is only possible with a perfectly smooth and evenly lit surface. Our pre-lit Green Screen Cove provides the professional canvas you need for a seamless, cinematic result.
## 2. Master the Art of Visual Storytelling
Transform your podcast from a simple "talking head" format into an interactive visual narrative. A green screen allows you to use your background as an active storytelling partner.
Unleash Your Creativity: Don't just describe a complex idea—visualise it. Have animated charts, diagrams, and key text appear next to you as you speak. Interact with your graphics, pointing to specific areas of a map or walking your audience through a digital flowchart. This dynamic approach makes your content more engaging, easier to understand, and far more memorable.
## 3. Go "On Location" Anywhere in the World
Break free from the confines of the studio and take your audience on a journey. A green screen lets you report from anywhere, adding a layer of context and excitement to your content.
Unleash Your Creativity: Are you discussing a recent film? Place yourself "inside" one of its key scenes. Reviewing a new product? Show yourself using it in its intended environment with beautiful 4K footage as your backdrop. This technique makes your content feel more dynamic and immersive, instantly elevating it above a standard studio shoot.
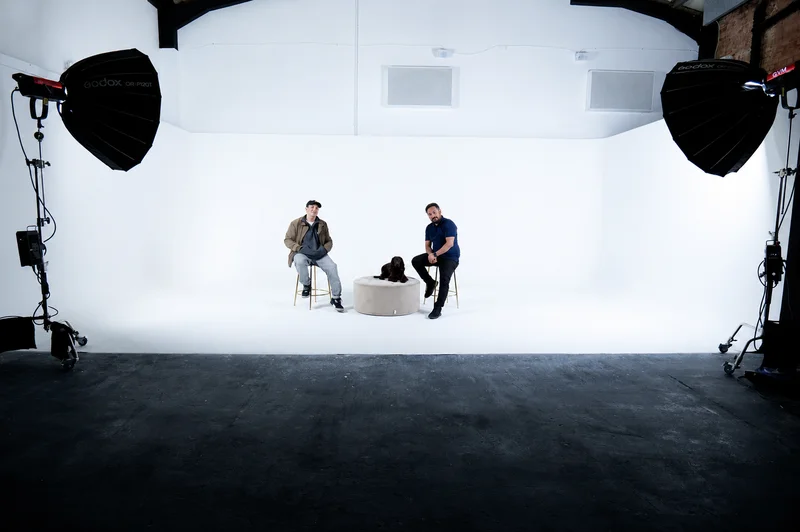
Why a Pro Studio Matters: To make these "on-location" shots feel real, you need space to move. Our Giant Green Screen is large enough for full-body shots and dynamic movement, making your performance feel natural and believable.
At Finchley Studio, we provide the professional tools and expert support; you bring the vision. It's time to create something extraordinary.
Create Your World at Finchley Studio
Ready to unleash your creativity? At Finchley Studio, we provide the state-of-the-art green screen facilities and expert support you need to produce visually stunning content. Our commitment to quality is why leading organisations like the BBC and Lloyds Bank trust us with their productions. See what our clients are saying in our Google reviews and on Trustpilot.
Our green screen studios are designed for maximum flexibility and professional results:
Green Screen Cove: A fully equipped, pre-lit, curved studio designed for seamless and immersive video production.
Giant Green Screen: Housed in our spacious warehouse, this is one of London's largest green screens, perfect for ambitious film, TV, and commercial projects.
We also offer a full range of pre-styled sets for when your vision calls for a physical space:
Our professional Video Editing Service can handle all your chroma keying and post-production needs. The team at Finchley Studio is here to ensure your vision is realised perfectly.
Ready to create a show that is as visually unique as your content?
Find Us Easily: Our studio is conveniently located just a two-minute walk from Finchley Central on the Northern Line and adjacent to the Travelodge London Finchley. We offer one free parking space per booking.
what3words: orders.yards.jokes
Stay Connected: Follow our journey and see behind-the-scenes content on our social media channels:
Have questions? Check our FAQ or get in touch directly.
WhatsApp: +447587827200
Phone: +447587827200
Email: [email protected]
Works cited
Creative Green Screen Podcast Studio London - Finchley Studios, accessed September 18, 2025, https://www.finchley.co.uk/finchley-learning/creative-green-screen-podcast-studio-london
What's the Best Background for Podcast Video? | Lower Street, accessed September 18, 2025, https://lowerstreet.co/blog/video-podcast-backdrop
www.boomcaster.com, accessed September 18, 2025, https://www.boomcaster.com/mastering-green-screen-techniques-for-videos/#:~:text=For%20podcasters%20and%20digital%20creators,narratives%20more%20engaging%20and%20dynamic.
Podcast Video Editing: Engaging Audiences Using Green Screening Effects - Finchley Studios, accessed September 18, 2025, https://www.finchley.co.uk/finchley-learning/podcast-video-editing-engaging-audiences-using-green-screening-effects
The Best Chroma Key Software For Live Streaming + Comparison, accessed September 18, 2025, https://www.streamingvideoprovider.com/live-streaming-platform/chroma-key-software-for-live-streaming/
How to use a green screen | How does a green screen work | Adobe, accessed September 18, 2025, https://www.adobe.com/creativecloud/video/discover/how-to-use-green-screen.html
What is Chroma Key? | Adobe, accessed September 18, 2025, https://www.adobe.com/creativecloud/video/discover/what-is-chroma-key.html
Chroma key - Wikipedia, accessed September 18, 2025, https://en.wikipedia.org/wiki/Chroma_key
The Ultimate Guide to Chroma Key and Green Screen - VEGAS Creative Software, accessed September 18, 2025, https://www.vegascreativesoftware.com/us/video-effects/guide-to-chroma-key-and-green-screen/
Green Screen Studio London - Sugar Studios, accessed September 18, 2025, https://www.sugarstudios.co.uk/greenscreen-studio
www.adobe.com, accessed September 18, 2025, https://www.adobe.com/creativecloud/video/discover/what-is-chroma-key.html#:~:text=%E2%80%9CChroma%20keying%20is%20using%20color,place%20them%20somewhere%20completely%20different.%E2%80%9D
Why Is a Green Screen Green? - Gearshift Studios, accessed September 18, 2025, https://www.gearshift.tv/faqs/why-is-a-green-screen-green.cfm
Why is a green screen green? - BBC Science Focus Magazine, accessed September 18, 2025, https://www.sciencefocus.com/future-technology/why-is-a-green-screen-green
Why is green always used in special effects like green screens? Why not yellow or purple or red? - Reddit, accessed September 18, 2025, https://www.reddit.com/r/askscience/comments/8lj266/why_is_green_always_used_in_special_effects_like/
How to Use a Green Screen: The Complete Guide | Pinnacle Studio, accessed September 18, 2025, https://www.pinnaclesys.com/en/tips/green-screen/
Everything You Need to Know About Chroma Key and Green Screen Footage, accessed September 18, 2025, https://www.premiumbeat.com/blog/chroma-key-green-screen-guide/
Best green screen in 2025: our top picks for streamers | TechRadar, accessed September 18, 2025, https://www.techradar.com/gaming/best/best-green-screen
DIY Green Screen - Film School - WeVideo, accessed September 18, 2025, https://www.wevideo.com/blog/diy-green-screens
Green Screen Backdrop Comparison Guide: What's the Difference?, accessed September 18, 2025, https://spectrum-brand.com/blogs/news/green-screen-backdrop-comparison-guide-what-s-the-difference
Mastering the Green Screen: A VFX Breakdown Guide - Filmustage Blog, accessed September 18, 2025, https://filmustage.com/blog/mastering-the-green-screen-a-vfx-breakdown-guide/
Best Green Screen Selection: Detailed Review - OWN3D, accessed September 18, 2025, https://www.own3d.tv/en/blog/hardware/greenscreen-review/
15 Common Green Screen Mistakes and How to Avoid Them ..., accessed September 18, 2025, https://www.mindedfactory.com/green-screen-mistakes-avoid/gloriagaynor/
Common Green Screen Mistakes and How To Avoid Them - Pro Cyc, accessed September 18, 2025, https://www.procyc.com/common-green-screen-mistakes-and-how-to-avoid-them
How to Choose Your Green Screen Backdrop? | 36Pix Blogs, accessed September 18, 2025, https://www.36pix.com/blog-how-to-choose-a-green-screen-backdrop/
Choosing between Green Screen Paint and Green Screen Flooring ..., accessed September 18, 2025, https://www.procyc.com/choosing-between-green-screen-paint-and-green-screen-flooring-material-factors-to-consider
Guide to Green Screen Lighting - NearStream, accessed September 18, 2025, https://www.nearstream.us/blog/guide-to-green-screen-lighting
How to Make & Use Green Screens for Videos | Easy Step-by-Step Tutorial - Riverside, accessed September 18, 2025, https://riverside.com/blog/how-to-make-a-green-screen-video
Video Podcast Setup, accessed September 18, 2025, https://www.nichepodcastpodcast.com/blog/video-podcast-setup/
Best Guidelines For Shooting On Greenscreen? : r/Filmmakers - Reddit, accessed September 18, 2025, https://www.reddit.com/r/Filmmakers/comments/1kfcn23/best_guidelines_for_shooting_on_greenscreen/
www.reddit.com, accessed September 18, 2025, https://www.reddit.com/r/cinematography/comments/1j8xex7/green_screen_podcast_whats_the_best_lighting/#:~:text=Move%20further%20away%20from%20the,power%20as%20soft%20key%20light.
Green Screen Podcast - What's the best lighting setup I can use with what I have? - Reddit, accessed September 18, 2025, https://www.reddit.com/r/cinematography/comments/1j8xex7/green_screen_podcast_whats_the_best_lighting/
The Best Camera for Videography with Green Screen: Mastering Chroma Key Effects, accessed September 18, 2025, https://www.finchley.co.uk/finchley-learning/the-best-camera-for-videography-with-green-screen-mastering-chroma-key-effects
Basic Camera Settings When Shooting on a Green Screen - Pro Cyc, accessed September 18, 2025, https://www.procyc.com/basic-camera-settings-when-shooting-on-a-green-screen
10 Creative Green Screen Effects to Elevate ... - Teleprompter.com, accessed September 18, 2025, https://www.teleprompter.com/blog/creative-green-screen-effects
vMix Live Production & Streaming Software, accessed September 18, 2025, https://www.vmix.com/software/
Comparing the Top 5 Chroma Key Software For Live Streaming in ..., accessed September 18, 2025, https://www.dacast.com/blog/chroma-key-software-for-live-streaming/
How to Chroma Key in Adobe Premiere Pro - PremiumBeat, accessed September 18, 2025, https://www.premiumbeat.com/blog/chroma-key-in-premiere-pro/
How To Chroma Key In Premiere Pro: 2 Methods - Boris FX, accessed September 18, 2025, https://borisfx.com/blog/how-to-chroma-key-in-premiere-pro-2-methods/
Green screen software - Chroma key video editing tools - Adobe, accessed September 18, 2025, https://www.adobe.com/creativecloud/tools/green-screen-software.html
DaVinci Resolve Chroma Key & Green Screen Tutorial | Boris FX, accessed September 18, 2025, https://borisfx.com/blog/davinci-resolve-chroma-key-green-screen-tutorial/
ChromaKey in Resolve, best way? : r/davinciresolve - Reddit, accessed September 18, 2025, https://www.reddit.com/r/davinciresolve/comments/1cmeuve/chromakey_in_resolve_best_way/
Use the Green Screen Keyer in Final Cut Pro for iPad - Apple Support, accessed September 18, 2025, https://support.apple.com/guide/final-cut-pro-ipad/use-the-green-screen-keyer-dev078c7df1a/ipados
How to Use Green Screen with Final Cut Pro - Simon Says AI, accessed September 18, 2025, https://www.simonsaysai.com/blog/how-to-use-green-screen-with-final-cut-pro
FCP Green Screen Tutorial | Master the Chroma Key - YouTube, accessed September 18, 2025, https://www.youtube.com/watch?v=BIhUbLmOf14
20 Free Chroma Key/Green Screen Video Editing Software - Movavi, accessed September 18, 2025, https://www.movavi.com/learning-portal/best-free-green-screen-software.html
10 Best Green Screen Software (2025 Chroma Key Review) - Diggity Marketing, accessed September 18, 2025, https://diggitymarketing.com/best-green-screen-software/
Green Screen - London Media Lounge, accessed September 18, 2025, https://londonmedialounge.co.uk/green-screen/
The 16 Best Green Screen Studios for Hire in London | Tagvenue UK, accessed September 18, 2025, https://www.tagvenue.com/hire/green-screen-studios/london
The Works Studio - Green Screen London, accessed September 18, 2025, http://theworksstudio.co.uk/
Green Screen Studio Hire | UK Film & Television Industry - 4RFV, accessed September 18, 2025, https://www.4rfv.co.uk/directory/1167x1/green-screen-studio-hire
Podcast Studios In Central London - Podshop, accessed September 18, 2025, https://www.podshoponline.co.uk/services/podcast-studio